6 Calibration Procedures
Adjustments procedures
206 U3606A User’s and Service Guide
• An adjustment failure is indicated by a long beep, the primary
display showing “FAiL” and a calibration error number appearing in
the upper secondary display. Correct the problem and repeat this
procedure.
7 Repeat step 3 through step 6 for each output adjustment item shown in
Table 6- 11.
8 Repeat step 3 through step 7 for the S1 (30 V/1 A) range. Press Current
to select the S1 range (the S1 annunciator is illuminated).
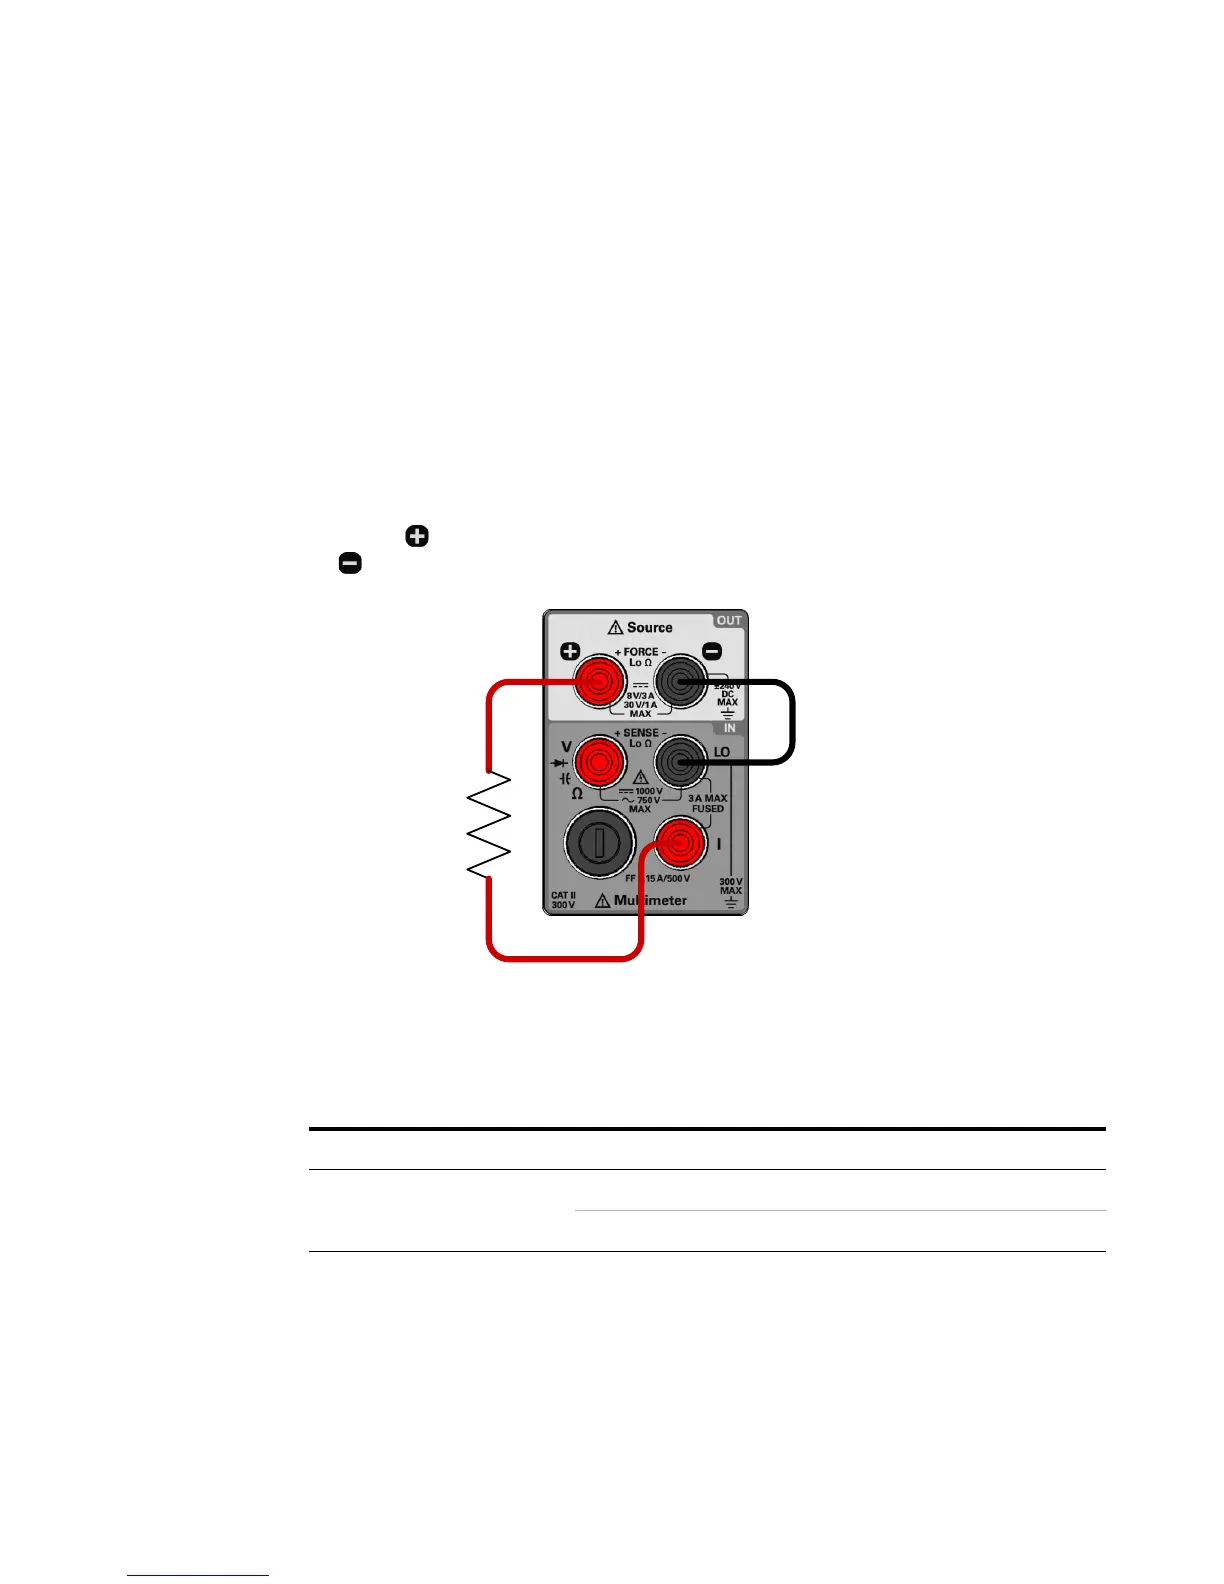
For adjustment item “LOAd”, connect a 30 Ω, 50 W load across the front
panel (red) output terminal and the I (red) terminal. Leave the
(black) terminal and LO (black) terminal connected.
9 Verify the constant current adjustments using the “CC programming and
readback accuracy” on page 163.
Table 6 - 11 Constant current output adjustment
Range Adjustment item Output current
S2 (8 V/3 A)
OUt-L 0 A
OUt-H 3 A