x930 Series Installation Guide for Virtual Chassis Stacking
189
The illustrations in the procedure show the installation of a transceiver in
port 25 of a 28-port switch. The procedure is the same for all SFP and
SFP+ ports. The transceiver in the illustrations has a duplex LC connector.
Your transceivers may have different connectors.
To install transceivers, perform the following procedure:
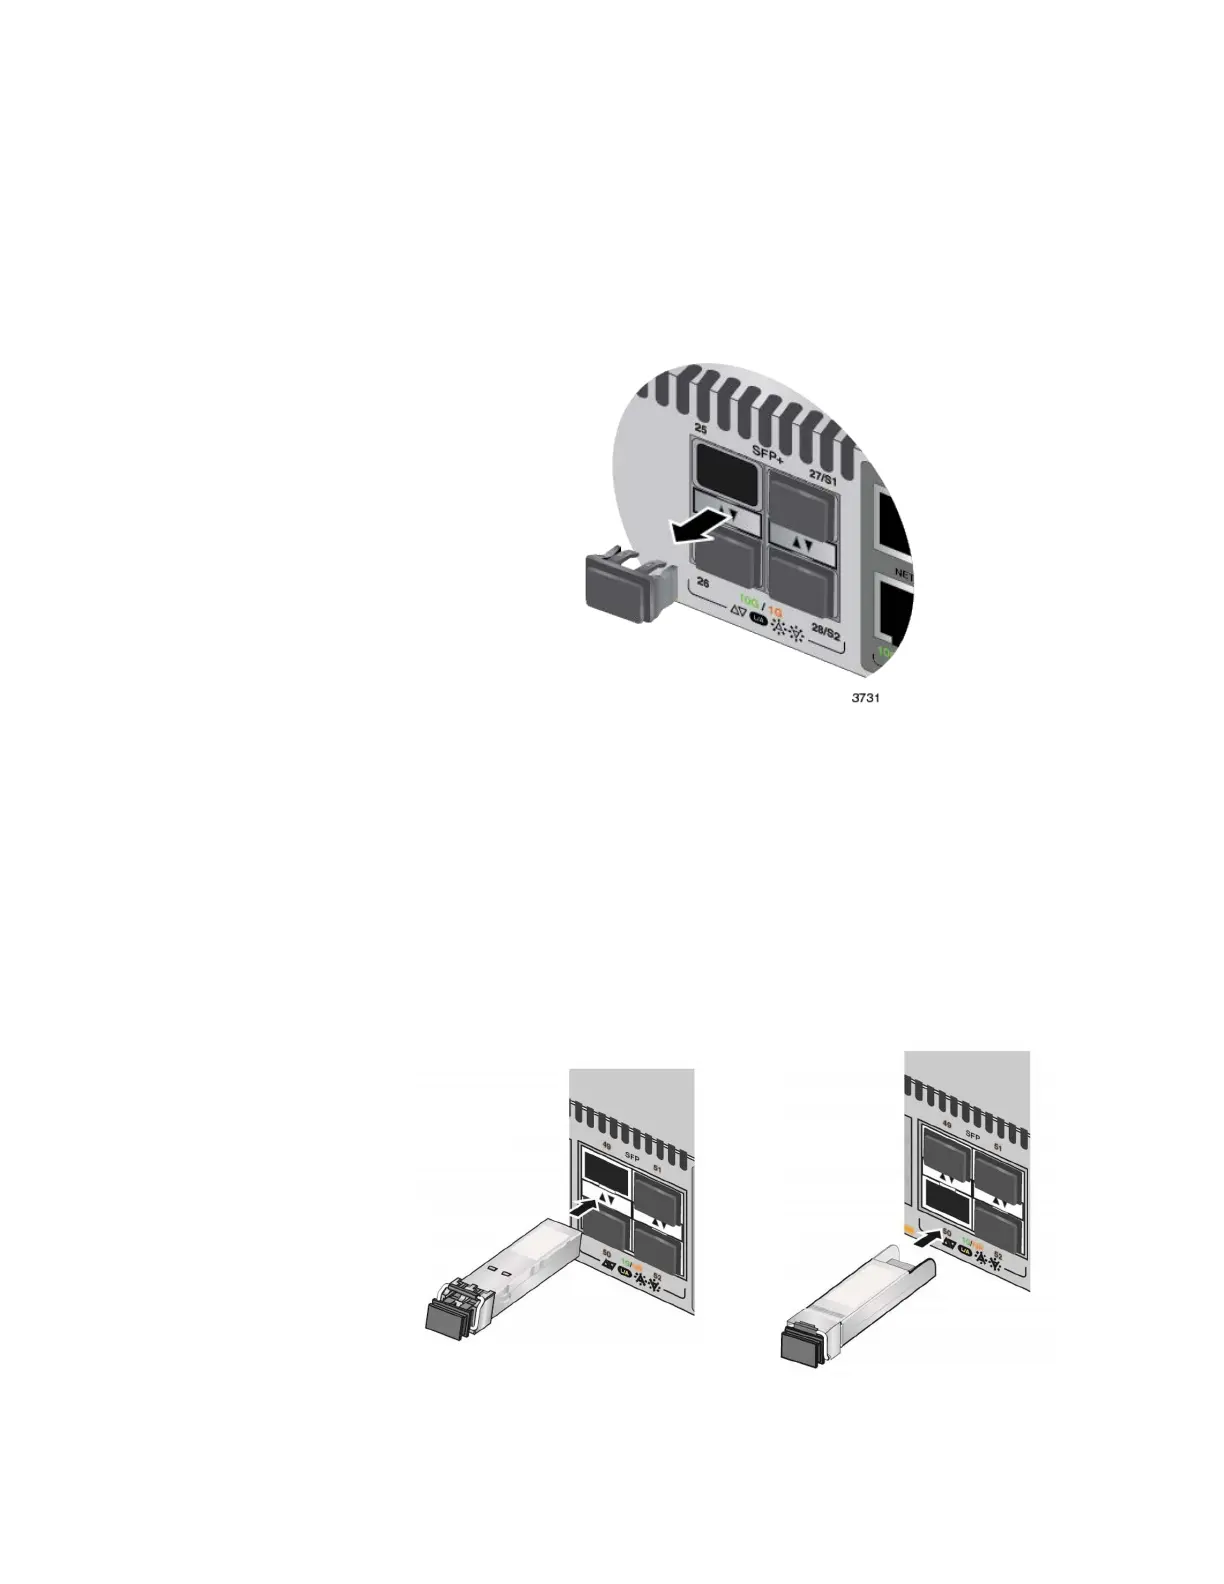
1. If the transceiver port has a dust plug, remove it. Refer to Figure 84.
Figure 84. Removing the Dust Plug from an SFP+ Port
2. Remove the transceiver from its shipping container and store the
packaging material in a safe location.
3. If you are installing the transceiver in a top port, position the
transceiver with the Allied Telesis label facing up. If you are installing
the transceiver in a bottom port, position the transceiver with the label
facing down.
4. Slide the transceiver into the port until it clicks into place. Refer to
Figure 85.
Figure 85. Installing SFP+ Transceivers
 Loading...


