7-9
Cycle and Control Value Programming Operator Manual P129394-176
b. If an incorrect number is entered, press TIME to start over,
or use the cursor arrows at the bottom of the screen to back
up to an incorrect number.
c. Once the correct time has been entered, press EXIT to save
setting, return to Menu screen to start clock.
d. If necessary, press CHANGE TIME & DATE touchpad to
return to screen #32 and adjust the date.
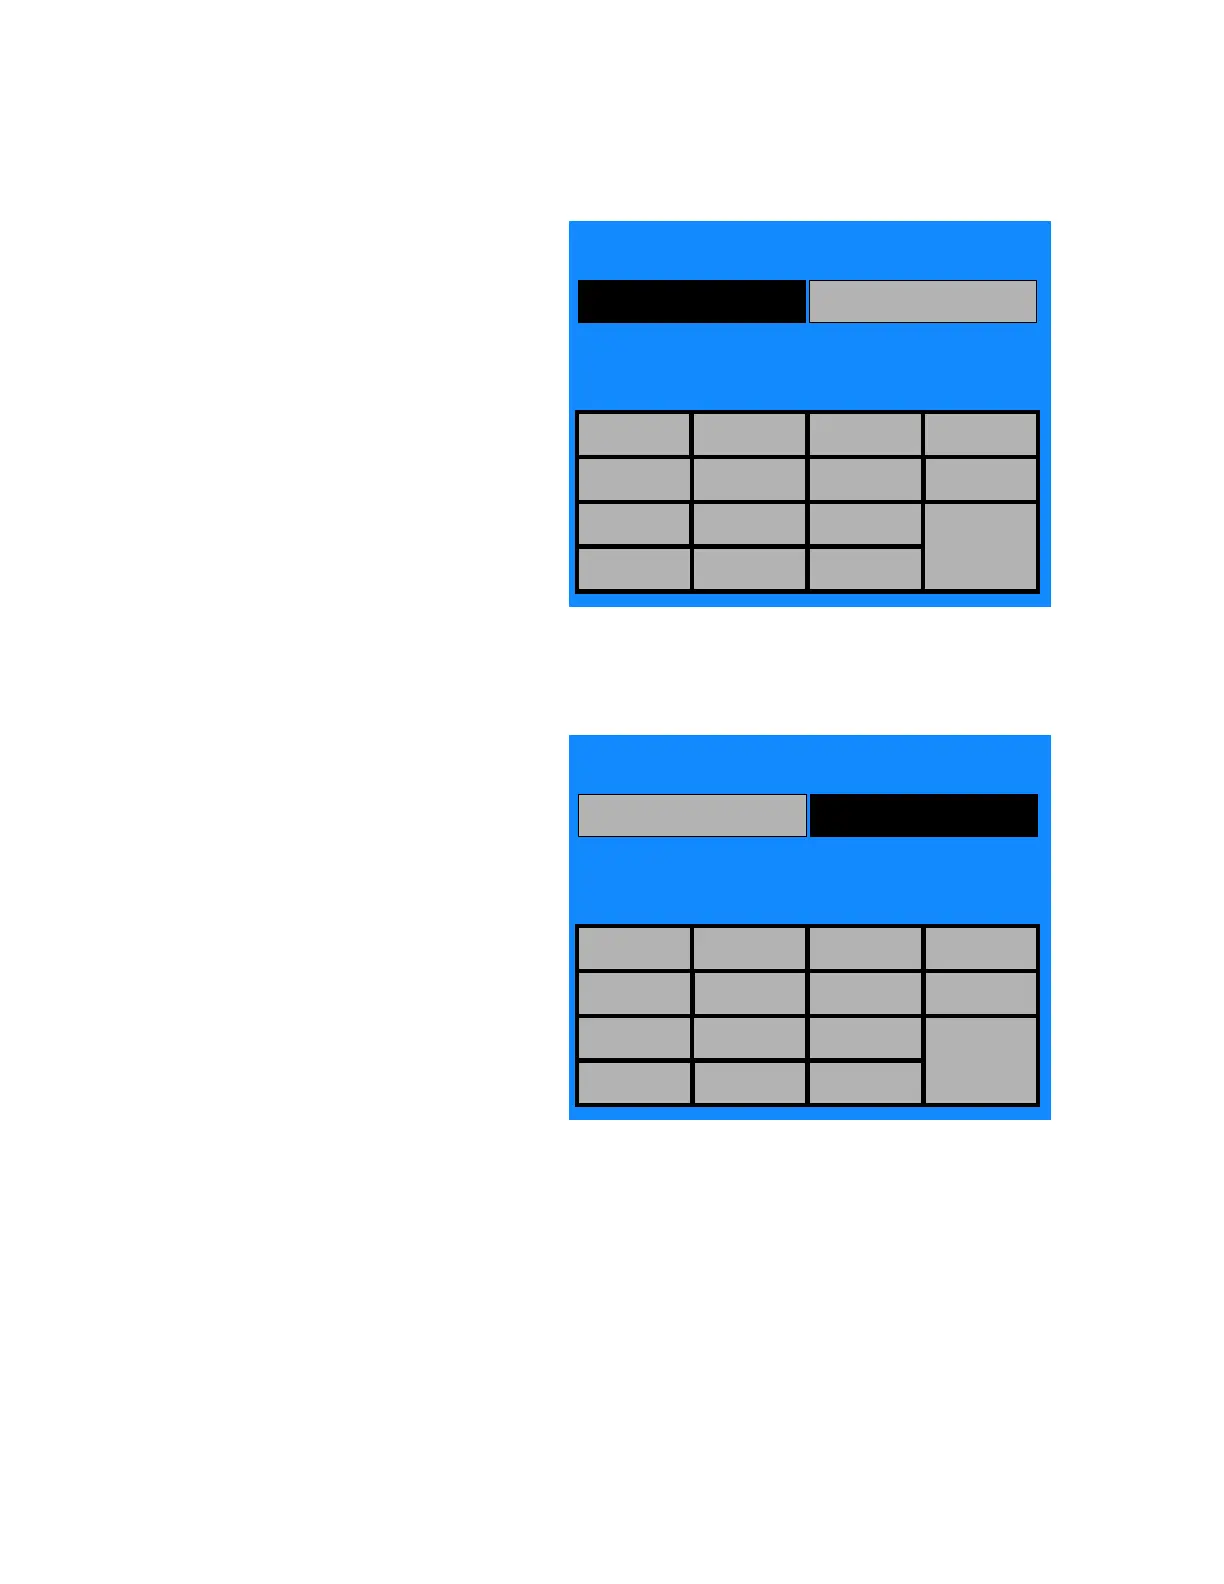
• DATE: At screen #32, press DATE and screen #32 appears with
the DATE touchpad in black. Enter the correct date using the
touch-screen keypad.
a. Press the number touchpads to enter day, month and year.
For example, 20 June 2012 would be entered by pressing
200612. (This example uses D/M/Y date format. The
format can be changed to M/D/Y, or other formats. Refer to
Section 7.5.12, Date Format, on page 7-28.
b. If an incorrect number is entered, press DATE again to start
over, or use the cursor key pads at the bottom of the screen
to backup to an incorrect number.
ENTER TIME OR SELECT "DATE" TO SET
TIME = 00:00
ENTER TIME OR SELECT "DATE" TO SET
TIME = 00:00
31
TIME DATE
1 2 3 AM
4 5 6 PM
7 8 9
EXIT
<- 0 ->
ENTER TIME OR SELECT "DATE" TO SET
DATE = 00/00/00 (WEDNESDAY)
ENTER TIME OR SELECT "DATE" TO SET
TIME = 00:00
32
TIME DATE
1 2 3 AM
4 5 6 PM
7 8 9
EXIT
<- 0 ->
 Loading...