UG-1828 Preliminary Technical Data
Rev. PrB | Page 104 of 277
Figure 108.
c. The upcoming frame is assigned to Tx.(first box).
d. There should not be any signal coming out of Tx.
13. Click on “Commit Frame-After-Next to Tx and Perform Hop” again.
Figure 109.
e. The current frame is being played for frequency 900.001 MHz, highlighted as blue.
f. Next frame is assigned as Tx as well.
g. Signal should appear at Tx output as 900.001 MHz single tone.
14. Repeat the last step.
Figure 110.
h. The current frame is advanced to the next 900.002 MHz.
i. The previous entry returned to the state Unassigned.
j. The next frame is set to 900.003 MHz.
k. Signal should appear at Tx output as 900.002 MHz single tone.
Rx Only
Rx only steps are the same for Tx Only shown above. The only difference is user instead of click play on Transmit tab, must click play on
Receive tab.
TRx
TRx steps are also very similar. Except user must click play on both Transmit and Receive tabs before operating frequency hopping.
Note, upon reset, all frequencies entries should be assigned back to Unassigned.
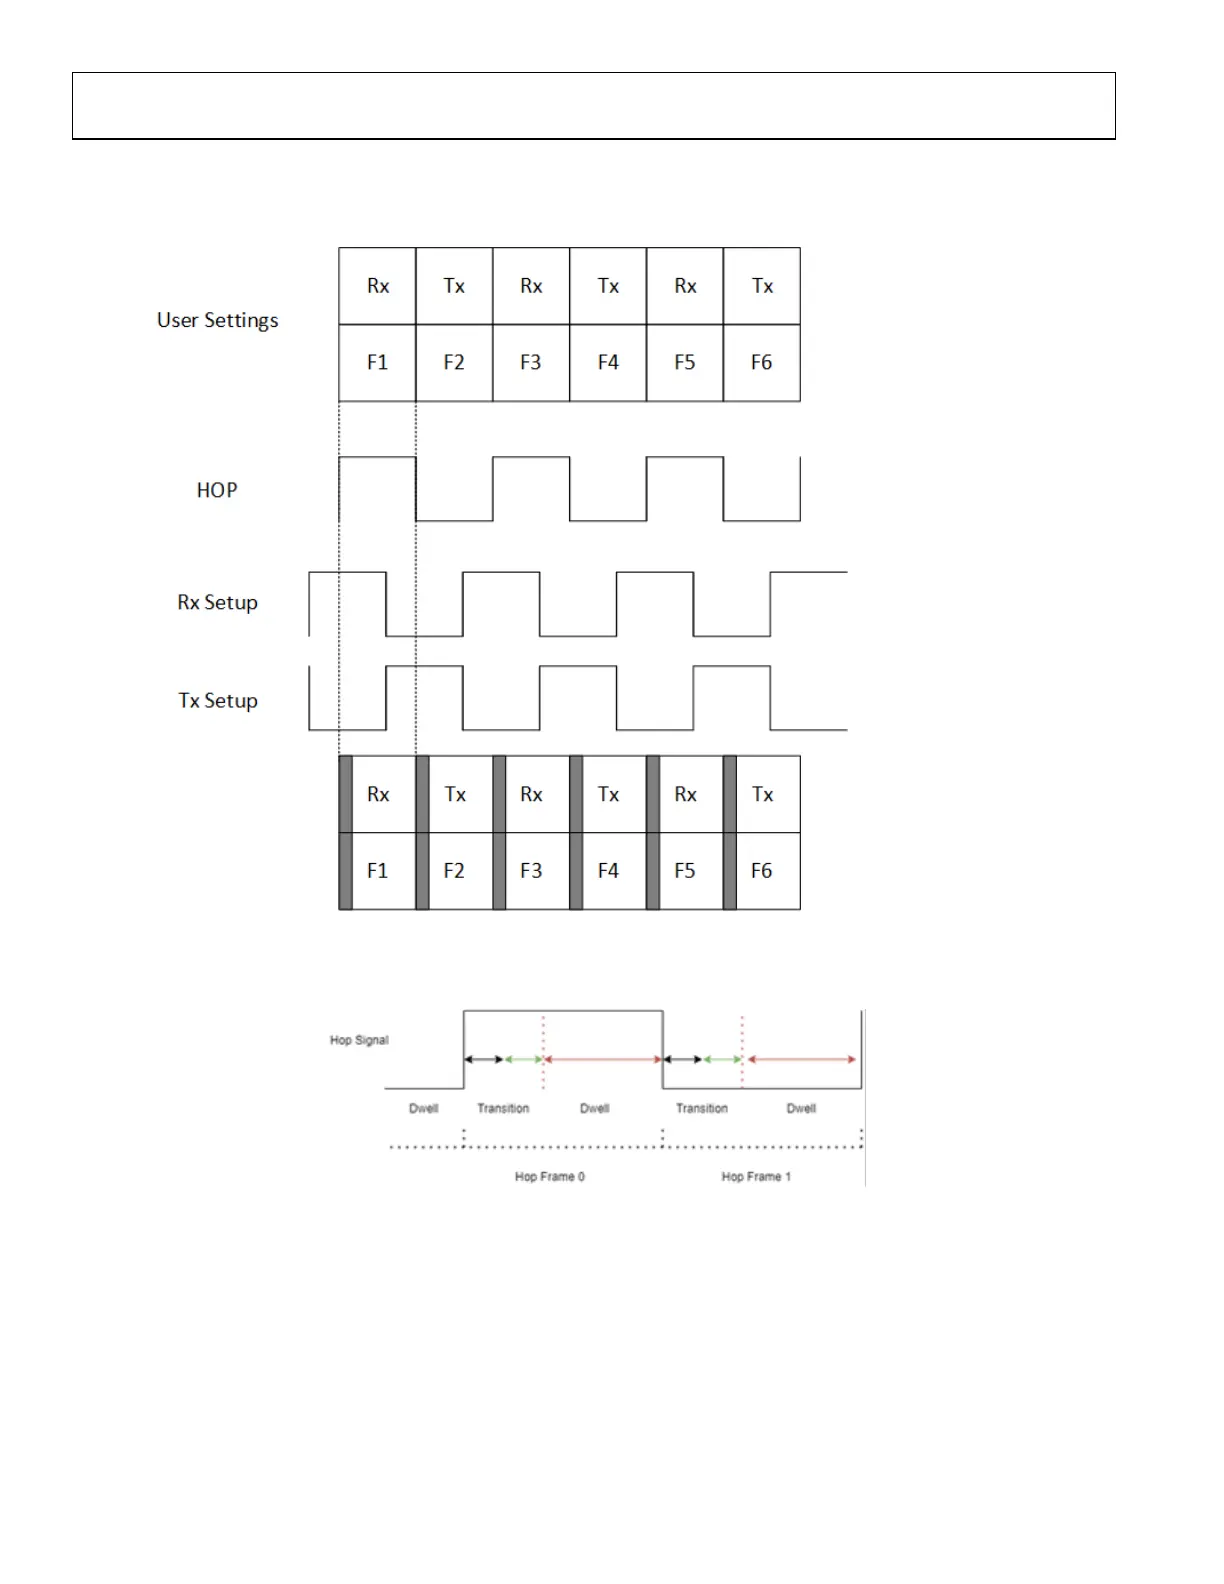
Example 2: Automated TDD with Frequency Hopping
Unlike the previous mode, in this mode user will have to specify TDD timing. User also will not have the frequency hopping window to
advance frames manually, instead the frames will be played automatically.
To achieve this,
1. Follow the steps above before programming
2. In Automated TDD tab, click Enable Automated TDD State Machine for ZC706 FPGA
 Loading...