Disassembly and Replacement Procedures
100
6-2. Hood
6-2-1. Replacing the Hood Assembly
(1) Remove the rear panel of the main body.
See (1) ~ (3) in “6.1.1 Removing the Main Body from
the HL Stand.”
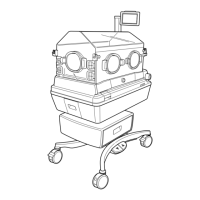
(2) Remove the control box cover.
Remove the four protective stickers and then remove
the four flat head screws (M4 x 12) with a Phillips
screwdriver.
Flat head screw (M4x12)
Double sems screw (M3x10)
Setscrew
Flat head screw (M4x12)
Flat head screw (M4x12)
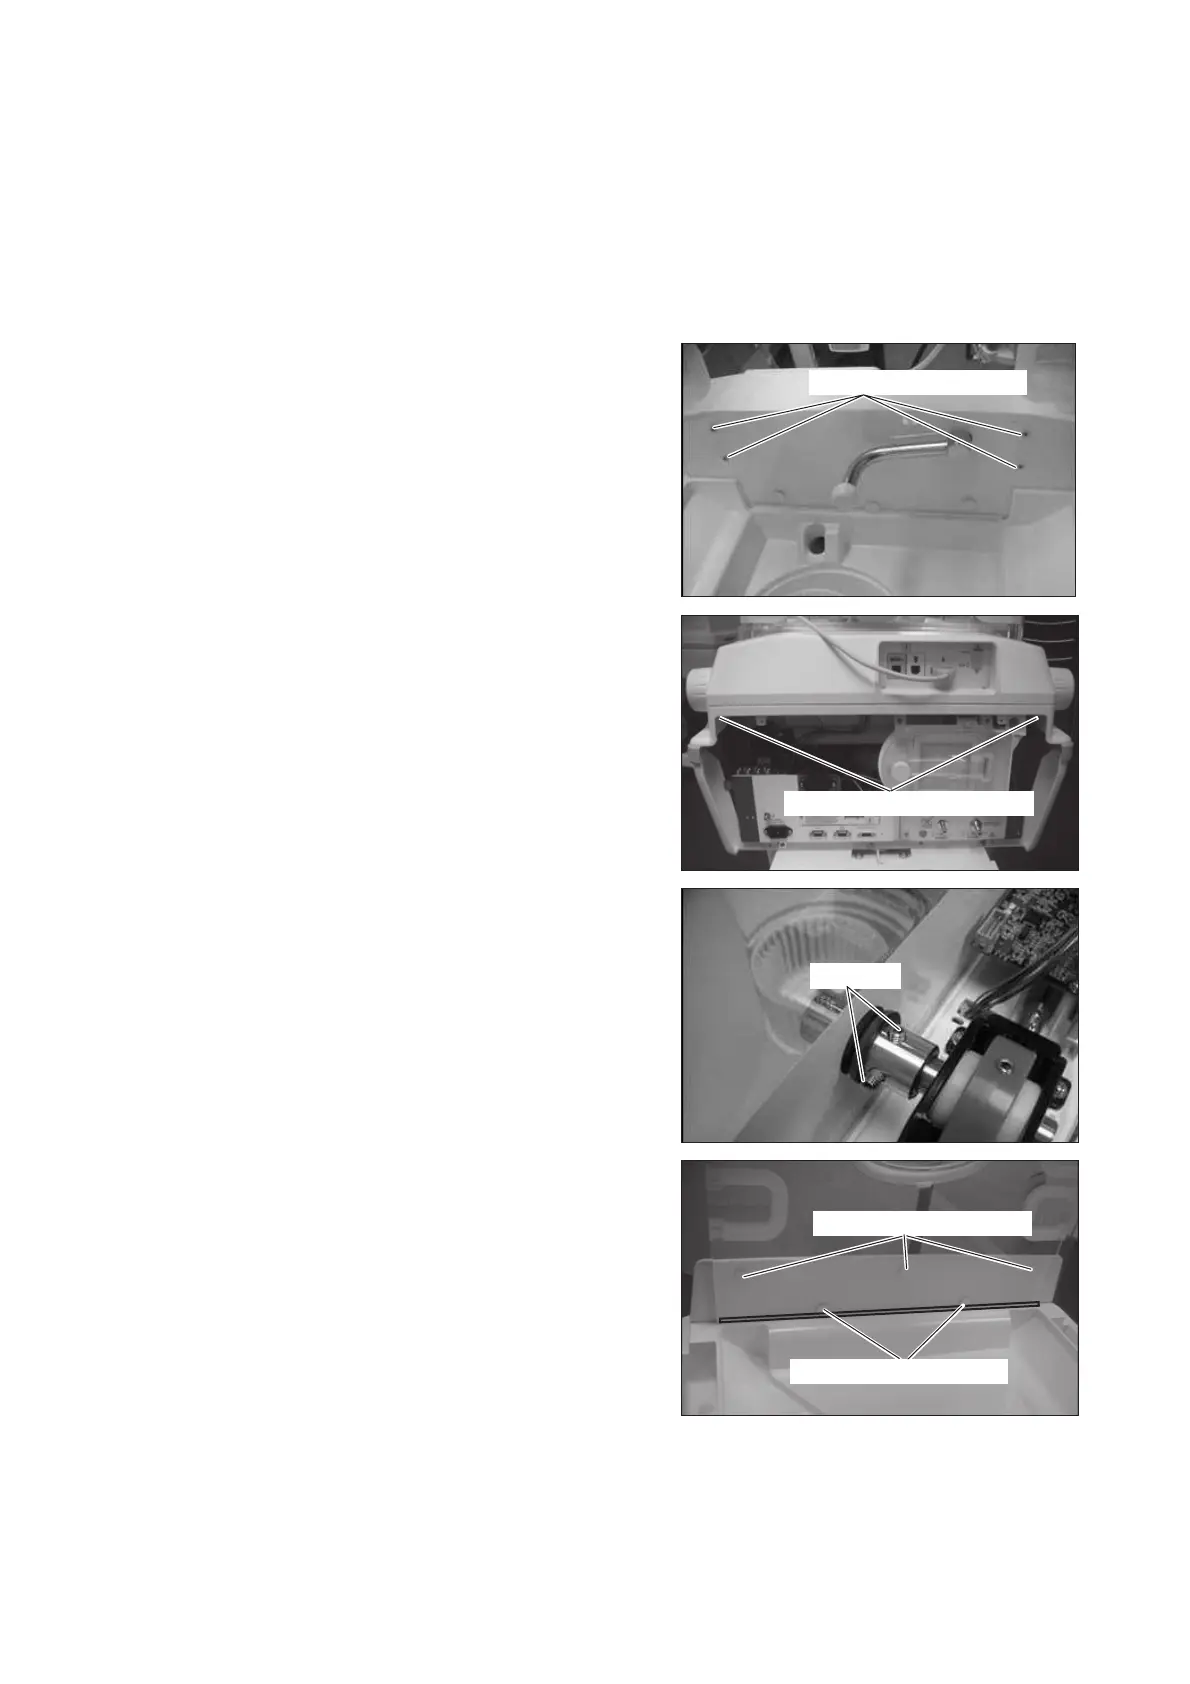
Remove the two double sems screws (M3 x 10) fix-
ing the control box cover from inside the upper sec-
tion of the main body by using a Phillips screwdriver.
Pull up the control box cover and remove it.
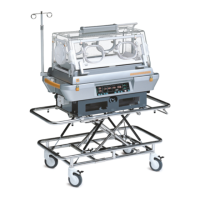
(3) Remove the tilting arm.
Loosen the two setscrews with a hexagon wrench
(distance between the opposite sides: 3mm) and
move the V ring toward the tilting unit. Then remove
the tilting arm from the tilting unit.
(4) Remove the foot-side hood cover.
Remove the six protective stickers. Remove the five
flat head screws (M4 x 12) with a Phillips screw-
driver. Then slide the foot-side hood cover upward
and remove it.