Disassembly and Replacement Procedures
DISASSEMBL
Y
AND REPLACEMENT
133
6-5-5. Replacing the LCD Module
(1) Remove the rear panel.
See (1) ~ (2) in “6-5-3. Replacing the Front Panel.”
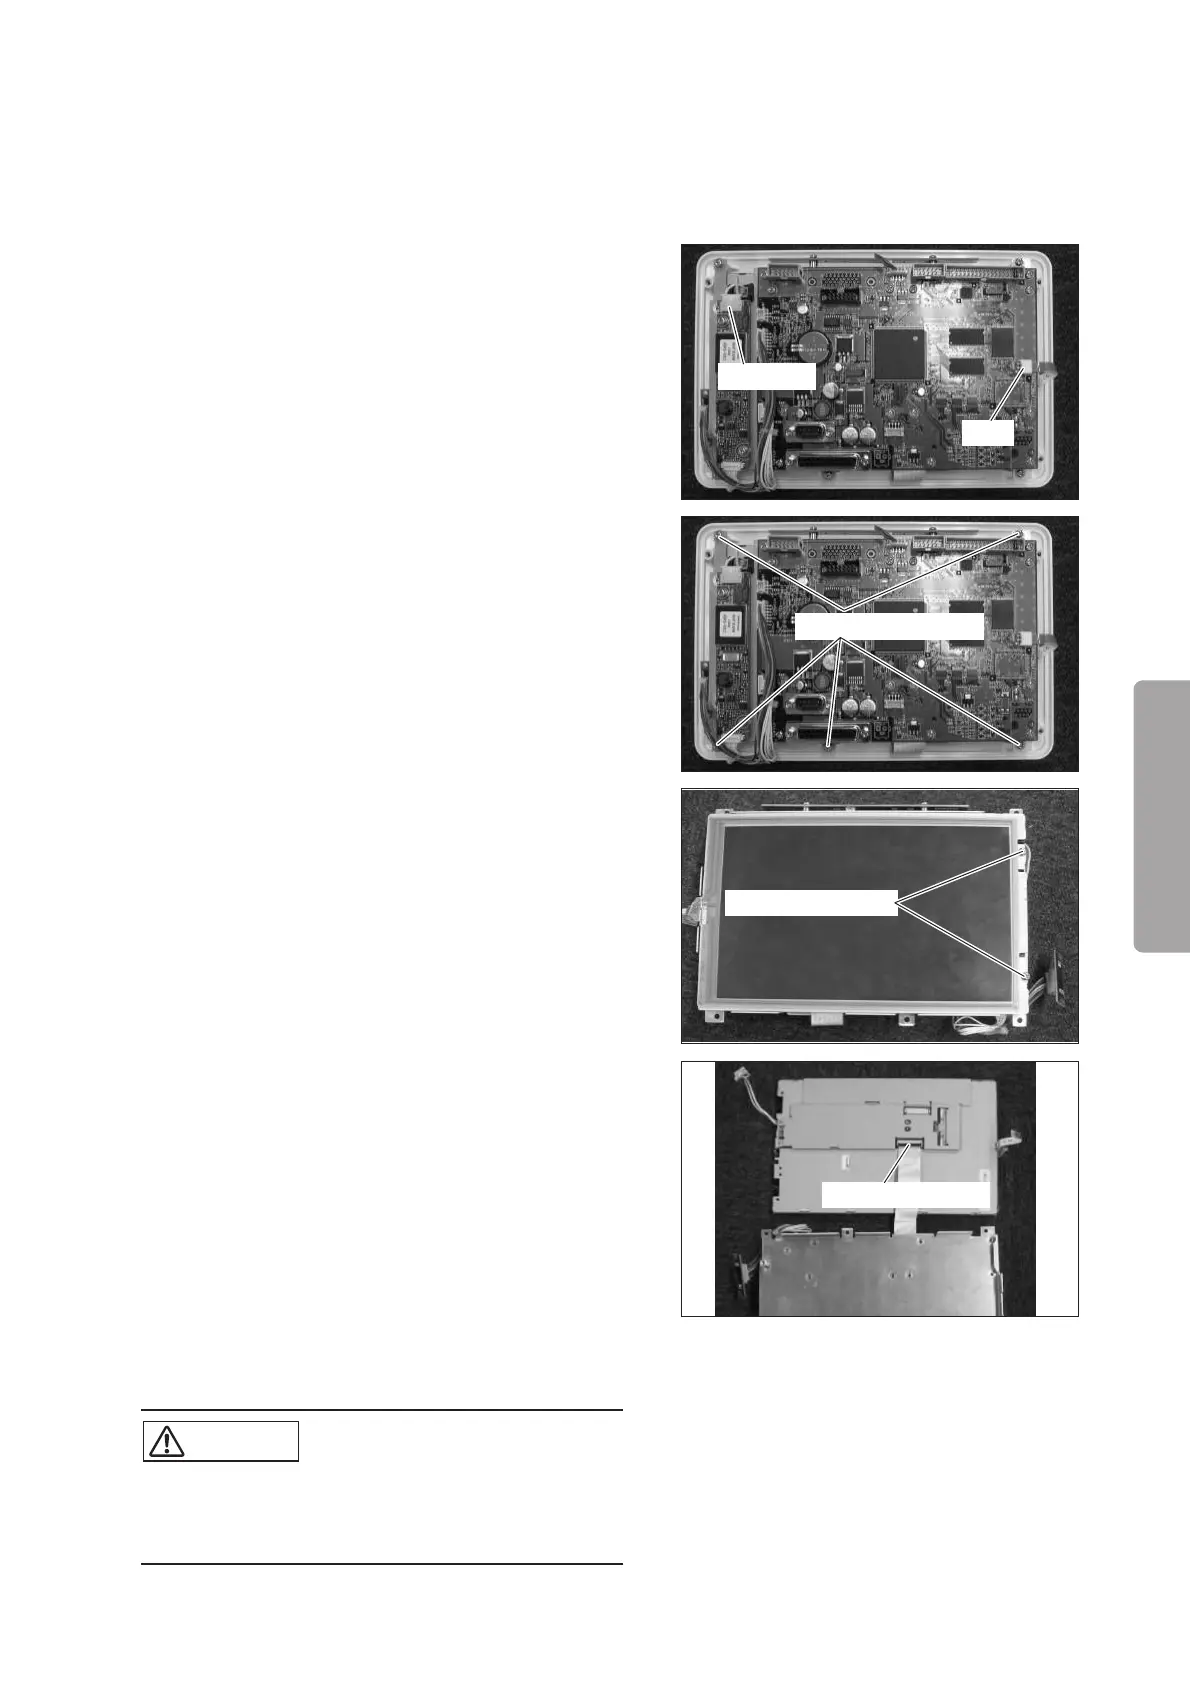
(2) Remove the connector connected to the LCD mod-
ule.
Remove the connector of the CCFL inverter and the
tab of the touch panel.
Connector
Tab
(3) Remove the LCD module, the LCD display board,
and the CCFL inverter together with the chassis.
Remove the five sems screws (M3 x 8) with a Phillips
screwdriver.
Sems screw (M3x8)
(4) Remove the LCD module from the chassis.
Remove the two sems screws (M3 x 8) with a Phillips
screwdriver.
Sems screw (M3x8)
(5) Remove the cable attached to the back of the LCD
module.
Remove the flexible flat cable from the LCD mod-
ule.
Flexible flat cable
(6) Reassembly: Reassemble in the reverse order of dis-
assembly.
CAUTION
쎲 Be sure to attach the flexible flat cable with the
correct side up. Take care not to get the touch
panel tab bent or caught.
 Loading...