Disassembly and Replacement Procedures
138
6-5-12. Replacing the Connector Cap A/B
(1) Remove the rear panel.
See (1) ~ (2) in “6-5-3. Replacing the Front Panel.”
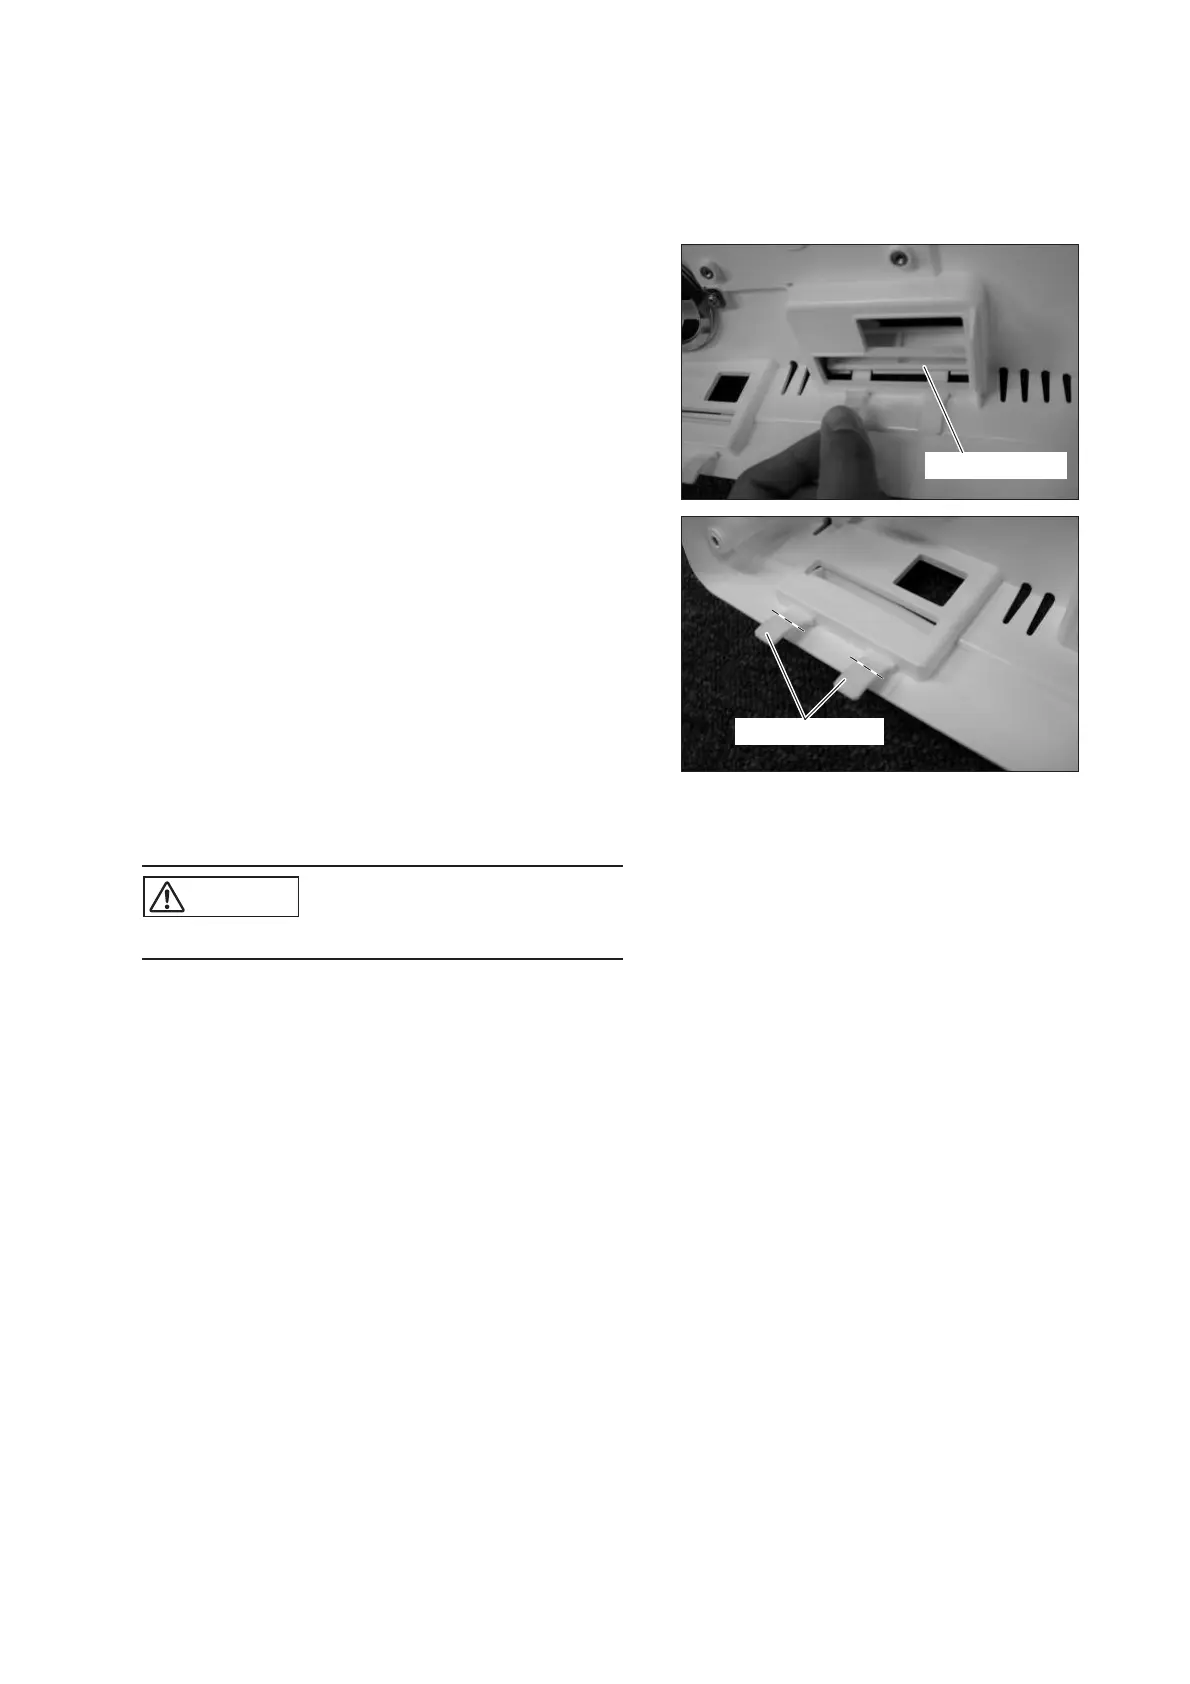
(2) Remove the connector cap.
Connector cap
(3) Attach the connector cap.
Insert the legs of the connector cap through the slots
in the rear panel and pull them from inside the rear
panel. As for the connector cap B, after inserting
the legs, cut them off along the lines shown in the
picture on the right.
Cut off the legs.
(4) Reassembly: Reassemble in the reverse order of dis-
assembly.
CAUTION
쎲 Take care not to get the cable caught.