Disassembly and Replacement Procedures
128
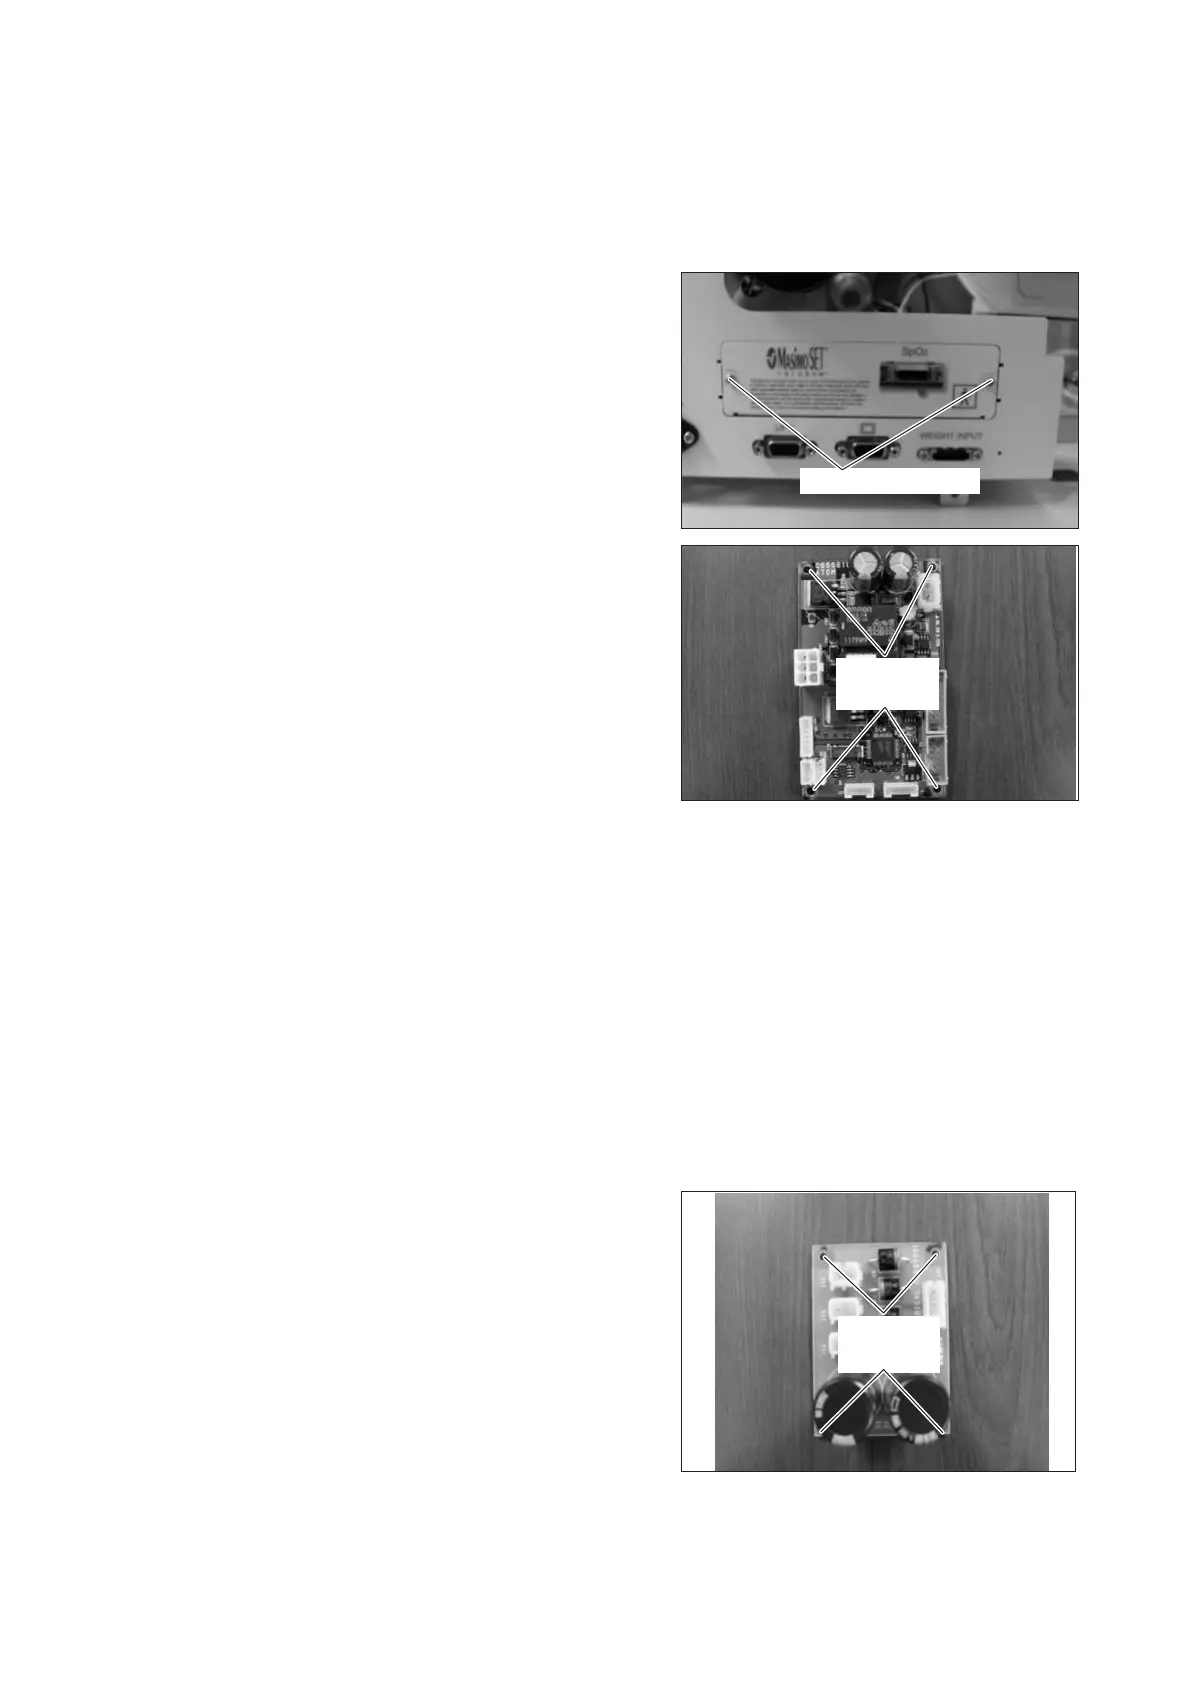
6-4-7. Replacing the Height Adjustment Drive Board
(1) Remove the power box.
See (1) ~ (3) in “6-4-3. Replacing the Heater Con-
trol Board (for the Incu
i
).”
(2) Remove the connector connected to the height ad-
justment drive board.
Remove the connector (JQ1) from the height adjust-
ment drive board.
Sems screw (M3x8)
(3) Remove the height adjustment drive board.
Remove the four sems screws (M3 x 8) with a
Phillips screwdriver.
(4) Connect the jumper pin to the “S” of JQ10 on a new
height adjustment drive board to use.
Sems screw
(M3x8)
(5) Reassembly: Reassemble in the reverse order of dis-
assembly.
6-4-8. Replacing the Rectifier Board
(1) Remove the power box.
See (1) ~ (3) in “6-4-3. Replacing the Heater Con-
trol Board (for the Incu
i
).”
(2) Remove the connector connected to the rectifier
board.
Remove the connector (J14) from the rectifier board.
(3) Remove the rectifier board.
Remove the four sems screws (M3 x 8) with a
Phillips screwdriver.
Sems screw
(M3x8)
(4) Reassembly: Reassemble in the reverse order of dis-
assembly.