Disassembly and Replacement Procedures
116
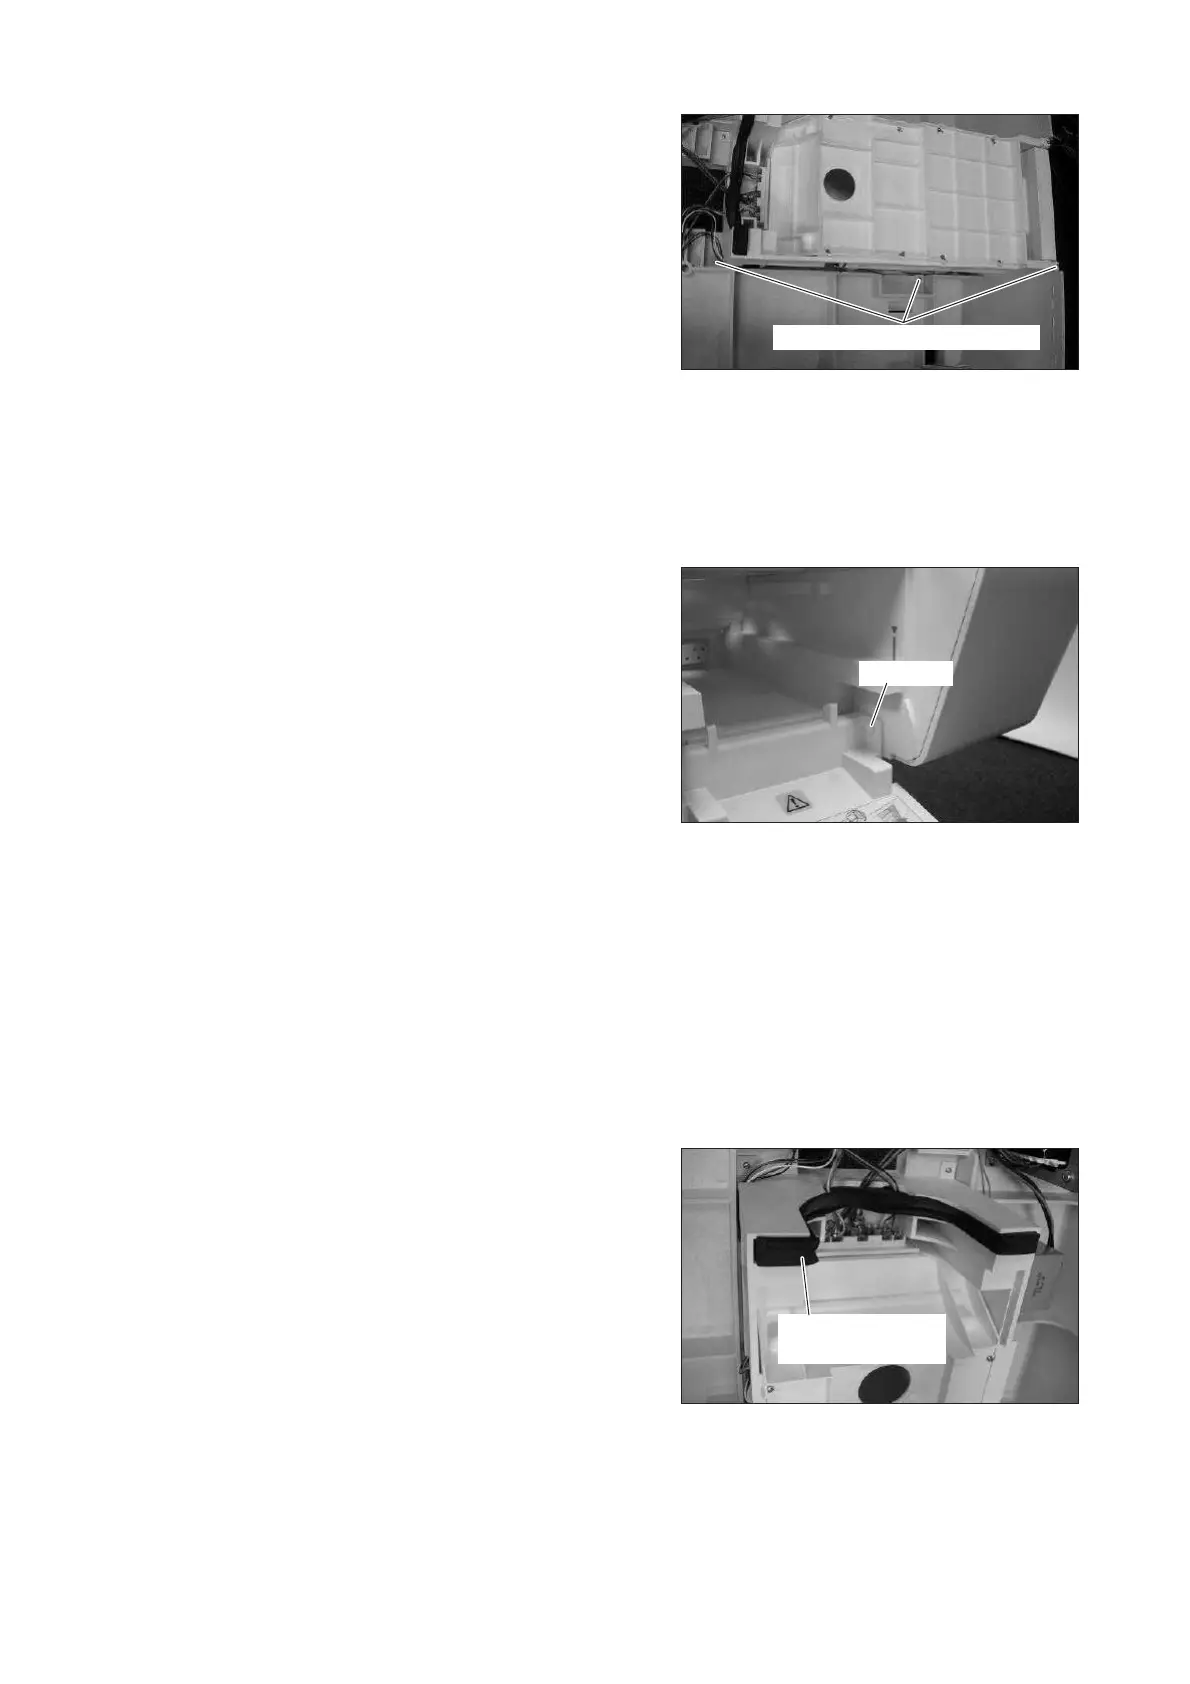
(3) Remove the humidity chamber cradle.
Remove the six resin tapping screws (M3 x 12) with
a Phillips screwdriver.
(The picture on the right shows one side only.)
Pull up the humidity chamber cradle and remove
the connectors of the position detection board (for
the detection of the humidity chamber cover and
the boiler cap).
Resin tapping screw (M3x12)
(4) Reassembly: Reassemble in the reverse order of dis-
assembly.
6-3-13. Replacing the Humidity Chamber Cover
(1) Open the humidity chamber cover and remove the
two push rivets.
(The picture on the right shows one side only.)
Push rivet
(2) Reassembly: Reassemble in the reverse order of dis-
assembly.
6-3-14. Replacing the Humidity Chamber Cover Packing C
(1) Remove the upper section of the main body from
the main body.
See (1) ~ (5) in “6-3-1. “Removing the Upper Sec-
tion of the Main Body from the Main Body.”
(2) Remove the humidity chamber cover packing C.
Humidity chamber
cover packing C
(3) Reassembly: Reassemble in the reverse order of dis-
assembly.
 Loading...