Version 5.8 167 September 2009
SIP User's Manual 3. Web-Based Management
3.4.1.3.2 Locking and Unlocking the Device
The Lock and Unlock options allow you to lock the device so that it doesn't accept any new
incoming calls. This is useful when, for example, you are uploading new software files to
the device and you don't want any traffic to interfere with the process.
To lock the device:
1. Open the 'Maintenance Actions' page (refer to ''Maintenance Actions'' 164 on page ).
2. Under the 'LOCK / UNLOCK' group, from the 'Graceful Option' drop-down list, select
one of the following options:
• 'Yes': The device is 'locked' only after the user-defined time in the 'Lock Timeout'
field (refer to Step 3) expires or no more active traffic exists (the earliest thereof).
In addition, no new traffic is accepted.
• 'No': The device is 'locked' regardless of traffic. Any existing traffic is terminated
immediately.
Note:
3. In the 'Lock Timeout' field (relevant only if the parameter 'Graceful Option' in the
previous step is set to 'Yes'), enter the time (in seconds) after which the device locks.
Note that if no traffic exists and the time has not yet expired, the device locks.
These options are only available if the current status of the device is in the
Unlock state.
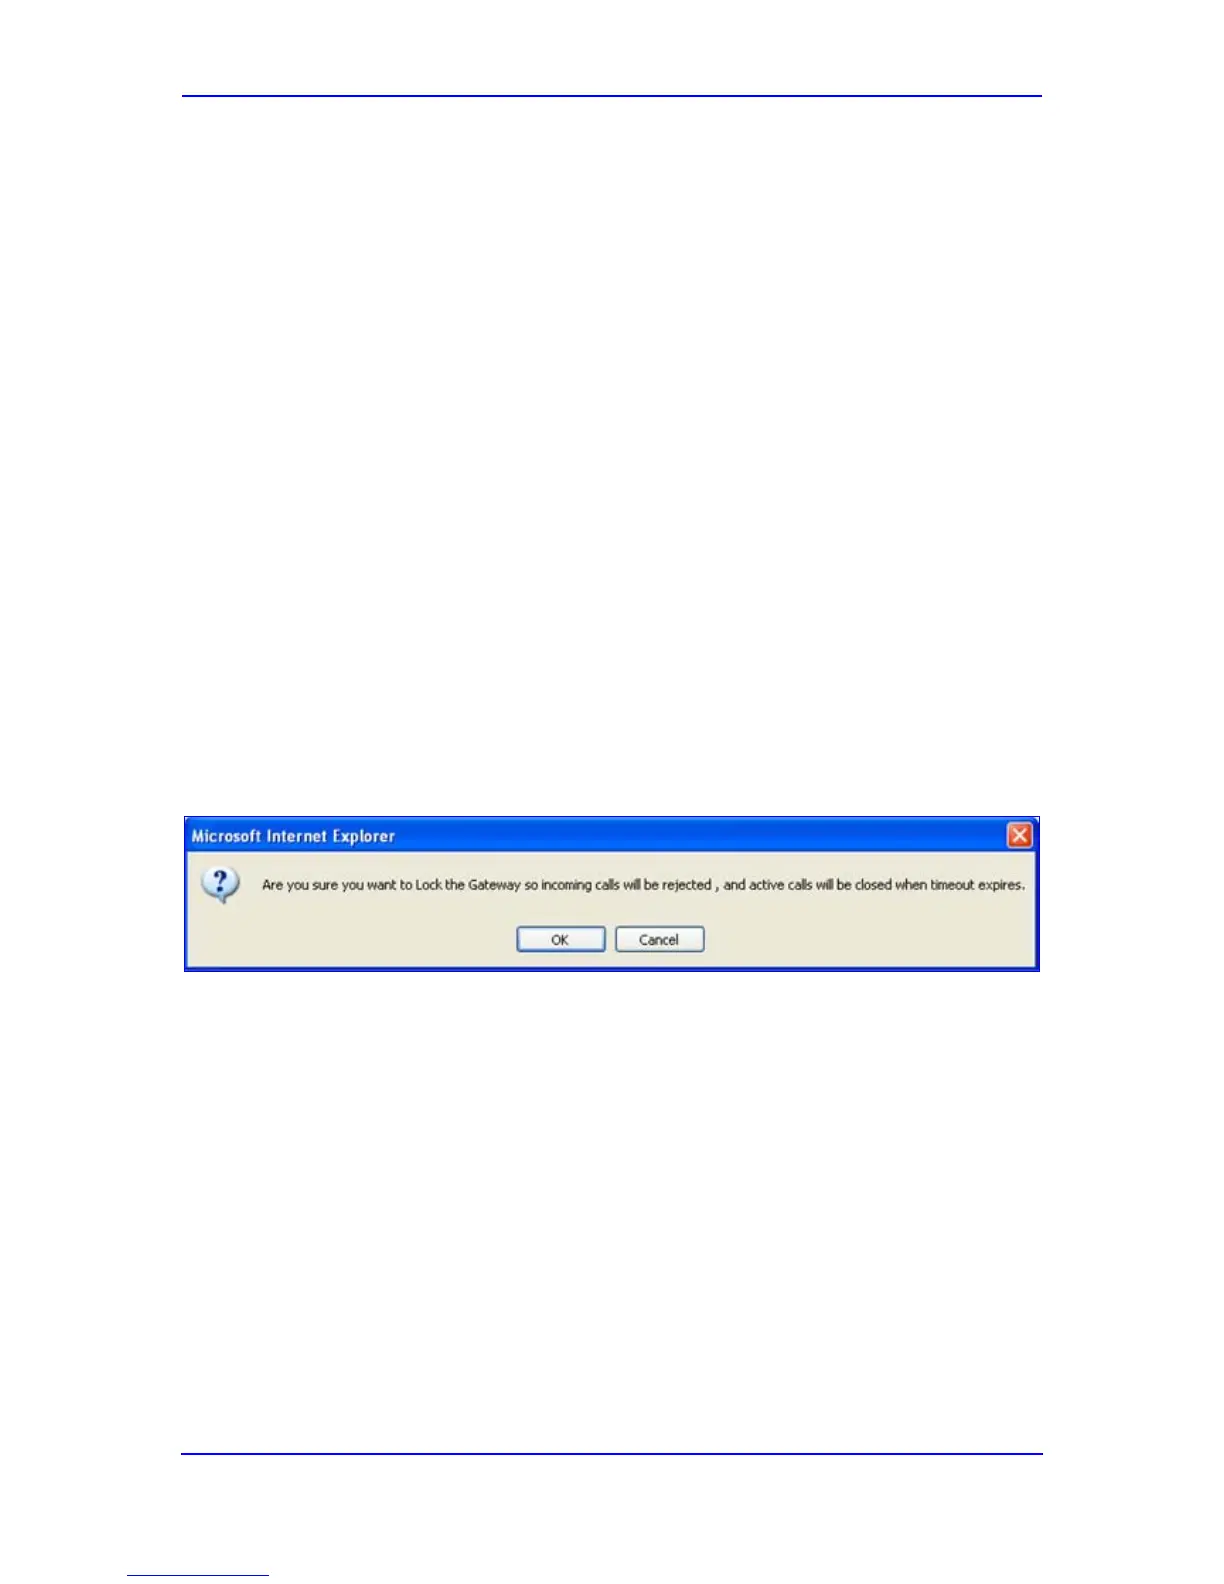
4. Click the LOCK
Figure 3-101: Device Lock Confirmation Message Box
button; a confirmation message box appears requesting you to
confirm device Lock.
5. Click OK
To unlock the device:
to confirm device Lock; if 'Graceful Option' is set to 'Yes', the lock is delayed
and a screen displaying the number of remaining calls and time is displayed.
Otherwise, the lock process begins immediately. The 'Current Admin State' field
displays the current state: LOCKED or UNLOCKED.
1. Open the 'Maintenance Actions' page (refer to ''Maintenance Actions'' 164 on page ).
2. Under the 'LOCK / UNLOCK' group, click the UNLOCK
button. Unlock starts
immediately and the device accepts new incoming calls.

 Loading...