66
Installing the Avaya G600 Media Gateway
October 2002
4 Using the Rack Mounting Guide, locate a set of rack holes to be used for mounting. Note
the position of the upper key-hole shaped slots on each rail.
NOTE:
The mounting screw holes in some commercial racks are not evenly spaced. Make sure the
holes selected for mounting the media gateway are such that the rack holes match all the
mounting bracket slots on the Guide. See ‘‘Rack hole spacing and first mounting screws
placement’’ on page 67.
!
WARNING:
Installing the top media gateway higher than shoulder level on the rack is not
recommended.
5 Insert two mounting screws into the left and right rails of the rack in the holes noted in
step 4. Leave enough space between the screw head and the rail surface to accept the
mounting bracket. See ‘‘Mounting the media gateway’’ on page 68
.
!
DANGER:
Use lifting precautions! An empty Avaya G600 Media Gateway weighs 35–39 pounds
16–18 kilograms).
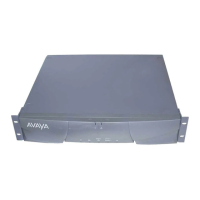
6 Lift the empty media gateway and slide the key-hole slots on the mounting brackets onto
the two mounting screws.
7 Install and tighten the two top mounting screws.
8 Install and tighten the remaining screws. See ‘‘Rack hole spacing and first mounting
screws placement’’ on page 67.
NOTE:
Follow the same steps to install the media gateway with mounting bracket in the medial
position. See ‘‘Mounting the media gateway in medial position.’’ on page 69
.
9 Reinstall the circuit packs and power supply.
10 Proceed to ‘‘Check AC Power and Ground for Avaya G600’’ on page 70.

 Loading...


