User’s Manual—SNAP™ 500 Gen 1 and Gen 2 63
Classification: Avery Dennison - Public
6.2 Print Head Replacement
When you see voids in the printing, and print quality does not improve, even after
cleaning the heads, it is time to replace the print heads. Follow the procedures
listed below.
1. Turn off the power to the printer.
2. Remove the tape and ink supplies from the printer for easier print head
removal.
WARNING: Before replacing a print head, review the Print
Head Handling Procedure Sheet packaged with each print
head to determine if any procedures have changed.
3. Follow handling techniques listed above.
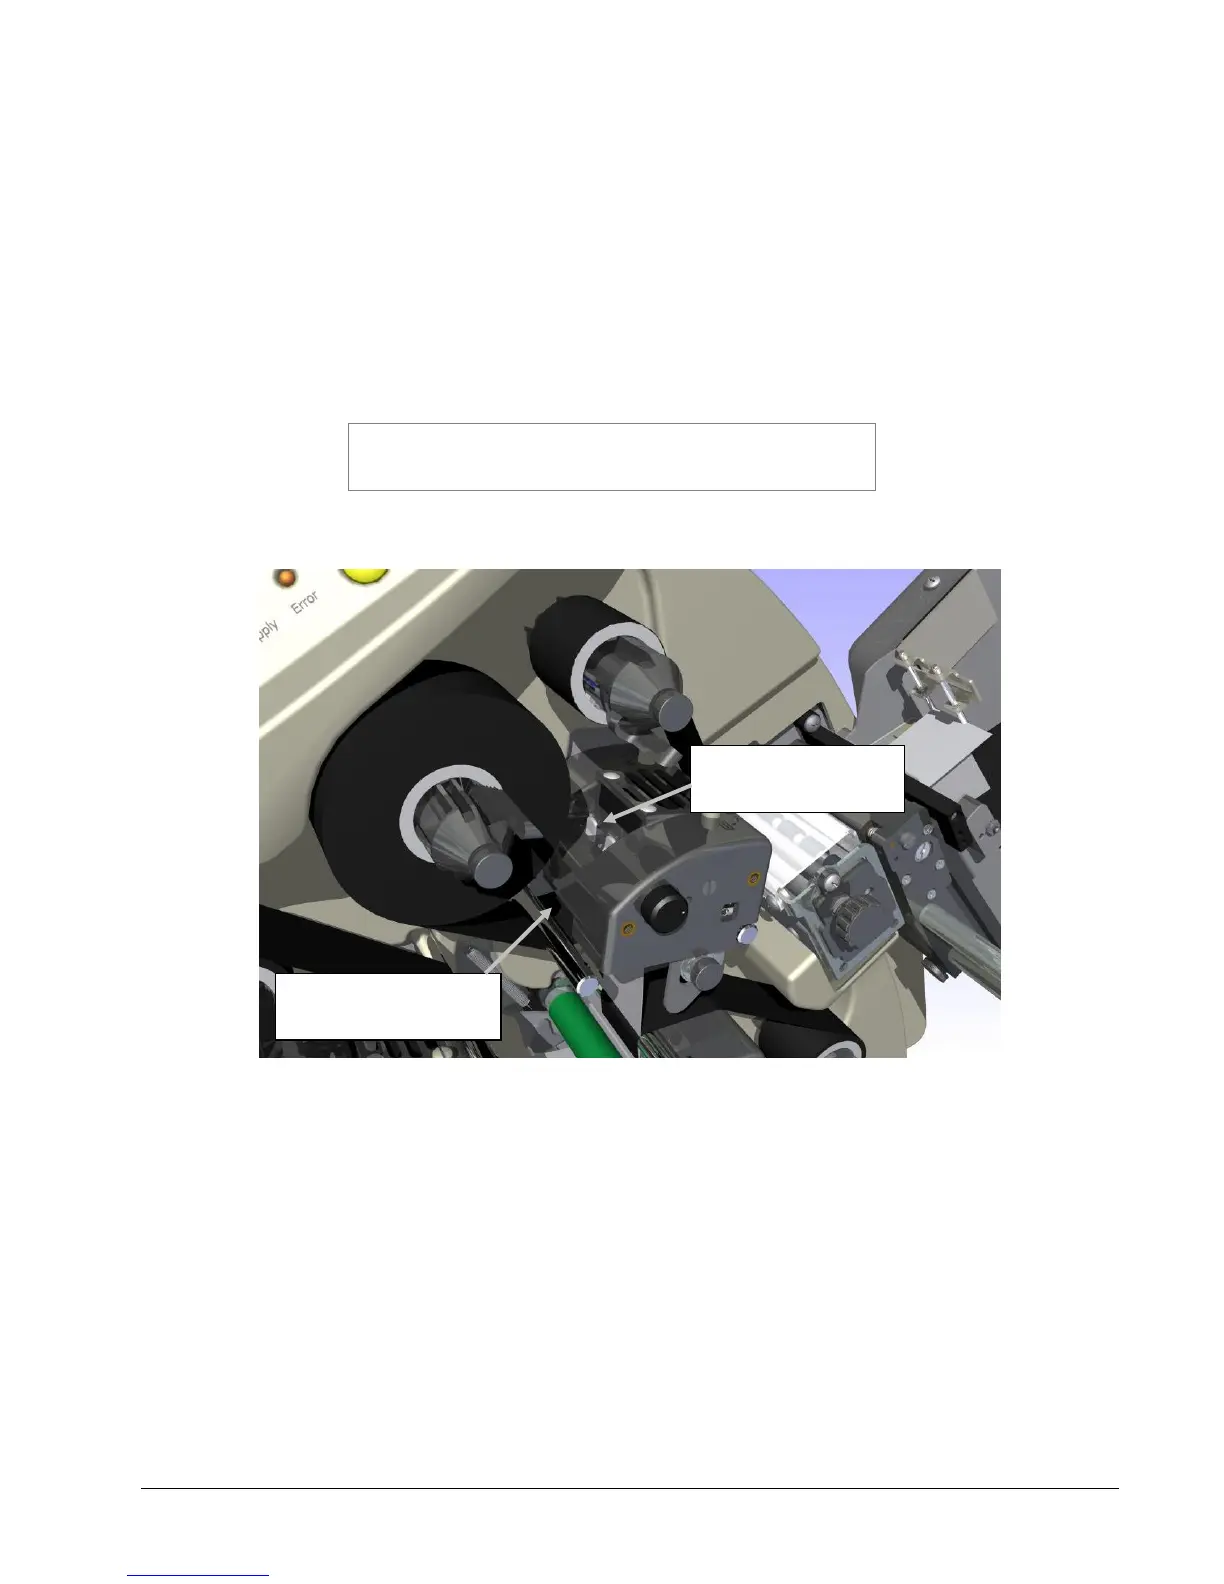
Figure 16: Print Head Components
4. Wearing your anti-static gloves, unplug the cables that connect to the print
head by grasping the print head cable, rocking it gently (see Fig. 17a).
Depressing the two grey tabs on the top of the print station (see Fig. 17b).
Reach underneath and remove the print head assembly from the print
station.
Print Head
Cable Connector
Tabs for Print Head
Release