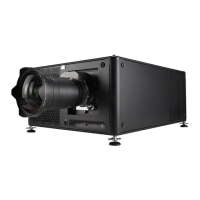
4. Lamp & Lamp House
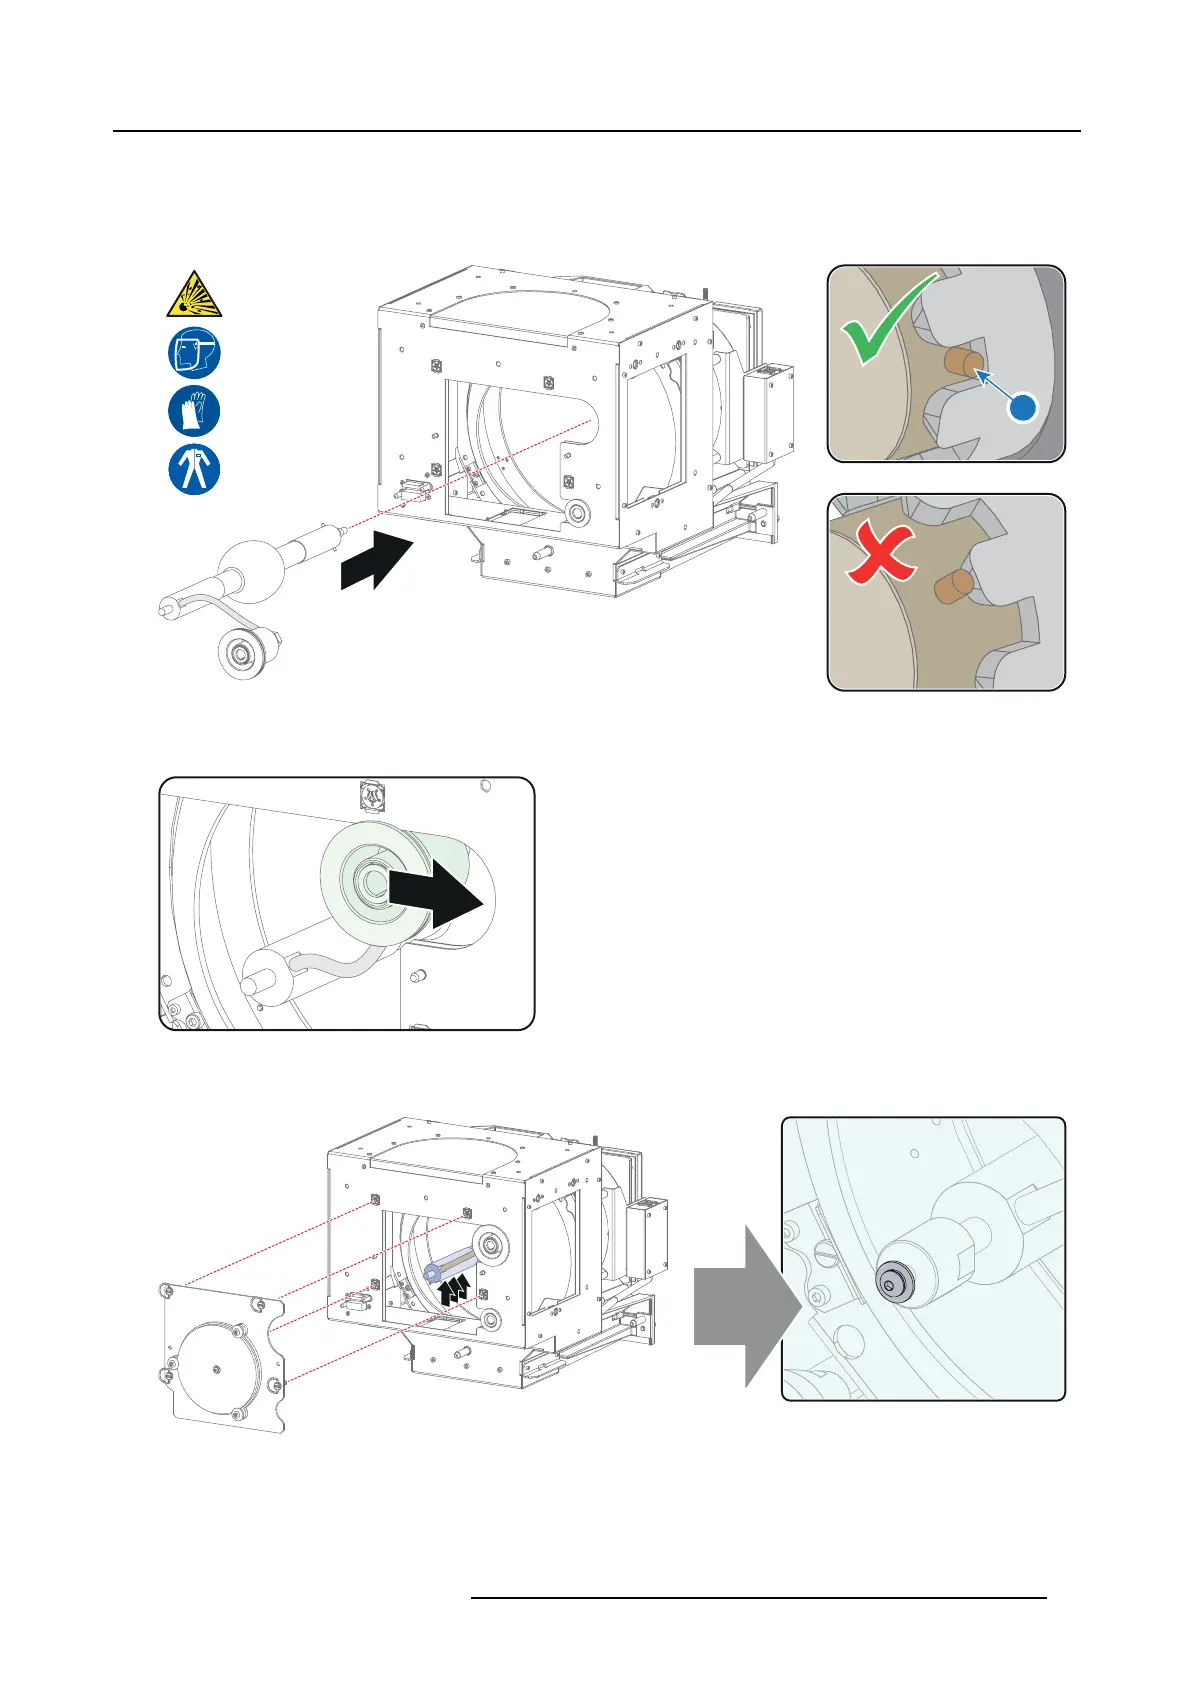
4. Remove the protective packing from the xenon lamp and gently insert the xenon lamp into the L amp House as illustrated. Lam p
cathode first, Make sure that the wire of the lam p anode is upward s oriented. While inserting the lamp, ro tate it slightly, engaging
the pins (reference 11 image 4-30) of the cathode adapter in the foreseen s lots. This is to ensure the lam p cathode is c ompletely
inserted. Kee p supporting the anode of the lamp with one hand once t he x enon lamp is in position.
Caution: Ensure that you wear protective clothing, a full face shield and protective gloves.
11
Image 4-30
5. Slide the anode connector in its position on the Lamp H ouse as illustrated.
Caution: Avoid any tension on the anode wire, ensuring there is no mechan ical stress on the lamp.
Image 4-31
6. Install the UV blocker assembly as illustrated. Use the opening at the side of the Lamp House to guide the anode pin of the
xenon lamp into the anod e supporting m e chanism of the UV blocker.
Image 4-32
7. Secure the U V blocker by fastening the four quarter turn screws (reference 5 image 4-33) as illustrated.
Note: Ensure that the qua
rter turn sc rews turning wires are flush with the cover o r interference will occ ur while inserting the
Lamp House into t he projector.
R5905963 PROMETHEUS SERIES 09/03/2015
55
 Loading...