4-9
On the initial page, each of the displayed features can be set by using the joystick. The features are
as follows:
ORIENTATION: Set either in Track Up or North Up.
AIRPORT NAMES: Labels airports in MAP mode either with ICAO code, airport or city names.
MAP UNITS: Sets all map units to ether nautical miles, statute miles or kilometres. If miles are
selected, all lengths and altitudes will be reported in feet. If kilometres are selected, all lengths and
altitudes will be reported in metres.
COORD SYSTEM: Determines whether the unit operates with reference to Lat/Long, UTM or OSGB.
DISPLAY: Sets orientation of the display into either one of four positions.
LANGUAGE: Sets language to English, French, German or Spanish.
MIN R/W LENGTH: Sets the minimum length of runway required for ten nearest airports.
R/W SURFACE REQUIRED: Sets minimum runway surface required for ten nearest airports.
EXT TRACK: Turns on or off the extended track line, which is drawn ahead of your present position in
the direction of your present track.
AUTO ZOOM: Turns on or off. When flying the last leg of a flight plan or when flying a DIRECT TO,
as soon as the distance to the destination drops below ½ the scale bar setting, the unit automatically
zooms. Auto Zoom can be disabled by simply pressing the ZOOM OUT key.
AUTO DECLUTTER: Turns on or off. If a higher priority icon label (Airport) is found to clash with a lower
priority icon label (City) already on the screen, the lower priority icon label will be removed.
KEY BEEP: Turns the key beep on or off.
LOGGING RATE: Sets the rate in seconds at which you log your position and loads it into a 2000 point
cyclic memory. To log a specific flight use the CLEAR LOG key, in the Clear Memory screen. (Please
refer to the Clear Memory section below). The flight can be replayed in DEMO MODE. (Please refer to
the Selecting DEMO MODE section above).
POSITION REF: Defines the reference to which your position is given in MAP MODE, either to all
available data, VORs only or VORs and Airports only.
Next Screens 1, 2 and 3 are accessed by repeatedly pressing the NEXT key. They allow you to
choose the level of zoom at which you wish each of the classes of data to become visible and at which
level of zoom you want their corresponding labels to become visible. You can also set the icon or line
style for many of the data classes and set their display colours for both TOPO ON and TOPO OFF
display modes.
Any changes made in any of these screens will be saved once the SAVE & EXIT key has been
pressed. At any time the RESET VALUES key can be pressed to return your unit to the default
settings on that particular screen. If you wish to reset all setup options (including NAV SETUP
options) to their default setting press the CLEAR SETUP key in Clear Memory screen.
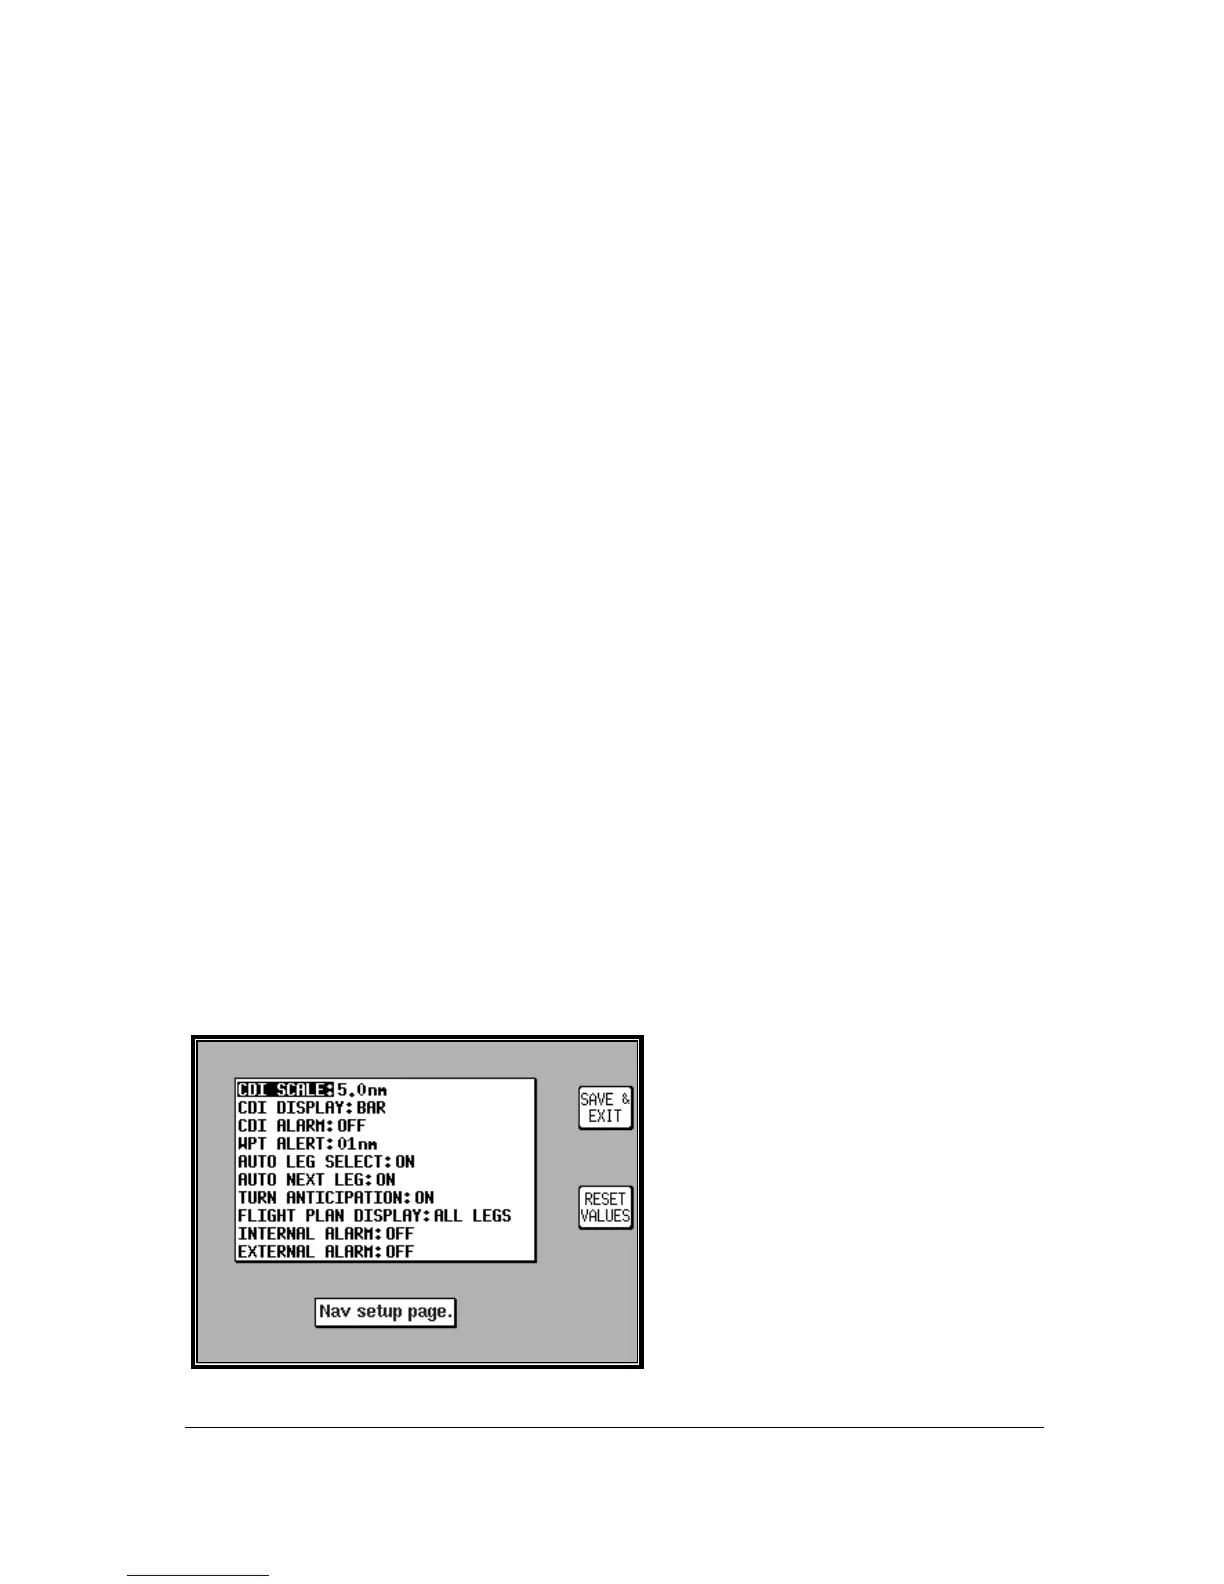
Setup of Navigation Functions
The adjacent screen allows the navigation
functions to be configured. It can be reached
by pressing SET UP in MAIN MENU, followed
by NAV SETUP.