4-2
Software Structure
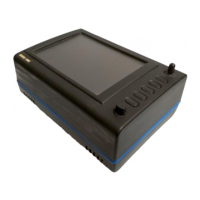
Since the software is tree structured, an analogy can be drawn between the trunk of a tree and MAIN
MENU. This can be accessed after powering on the unit by pressing the HELP key. MAIN MENU has
5 main software branches, which are as follows:
•
GPS STATUS: Shows satellite signal
strength, allows UTC, Local Offset, Date
and Position to be set.
•
FLIGHT PLAN: Allows user defined
waypoints and flight plans to be
edited/created.
•
NOTEPAD: Allow access to NOTEPAD
and E6-B functions, or turns off DEMO
MODE. DEMO MODE can only be
activated in the first power on screen.
•
SET UP: Allows Setup of map, NAV, PIN
and input/output characteristics.
•
MAP: This is the primary mode of the unit.
As a rule when trying to get to a specific function in another branch of software you should work your
way back down the present branch to MAIN MENU by pressing either the OK, PREV PAGE, SAVE &
EXIT or MAIN MENU key. Then select the branch of software that contains the desired function you
wish to access. There are, short cuts allowing you to get to the primary mode, MAP mode, more
easily. GPS STATUS is replaced with DATA IN/OUT in “Tracker” units. Tracker units will
automatically be configured to accept data from external GPS/LORAN units.
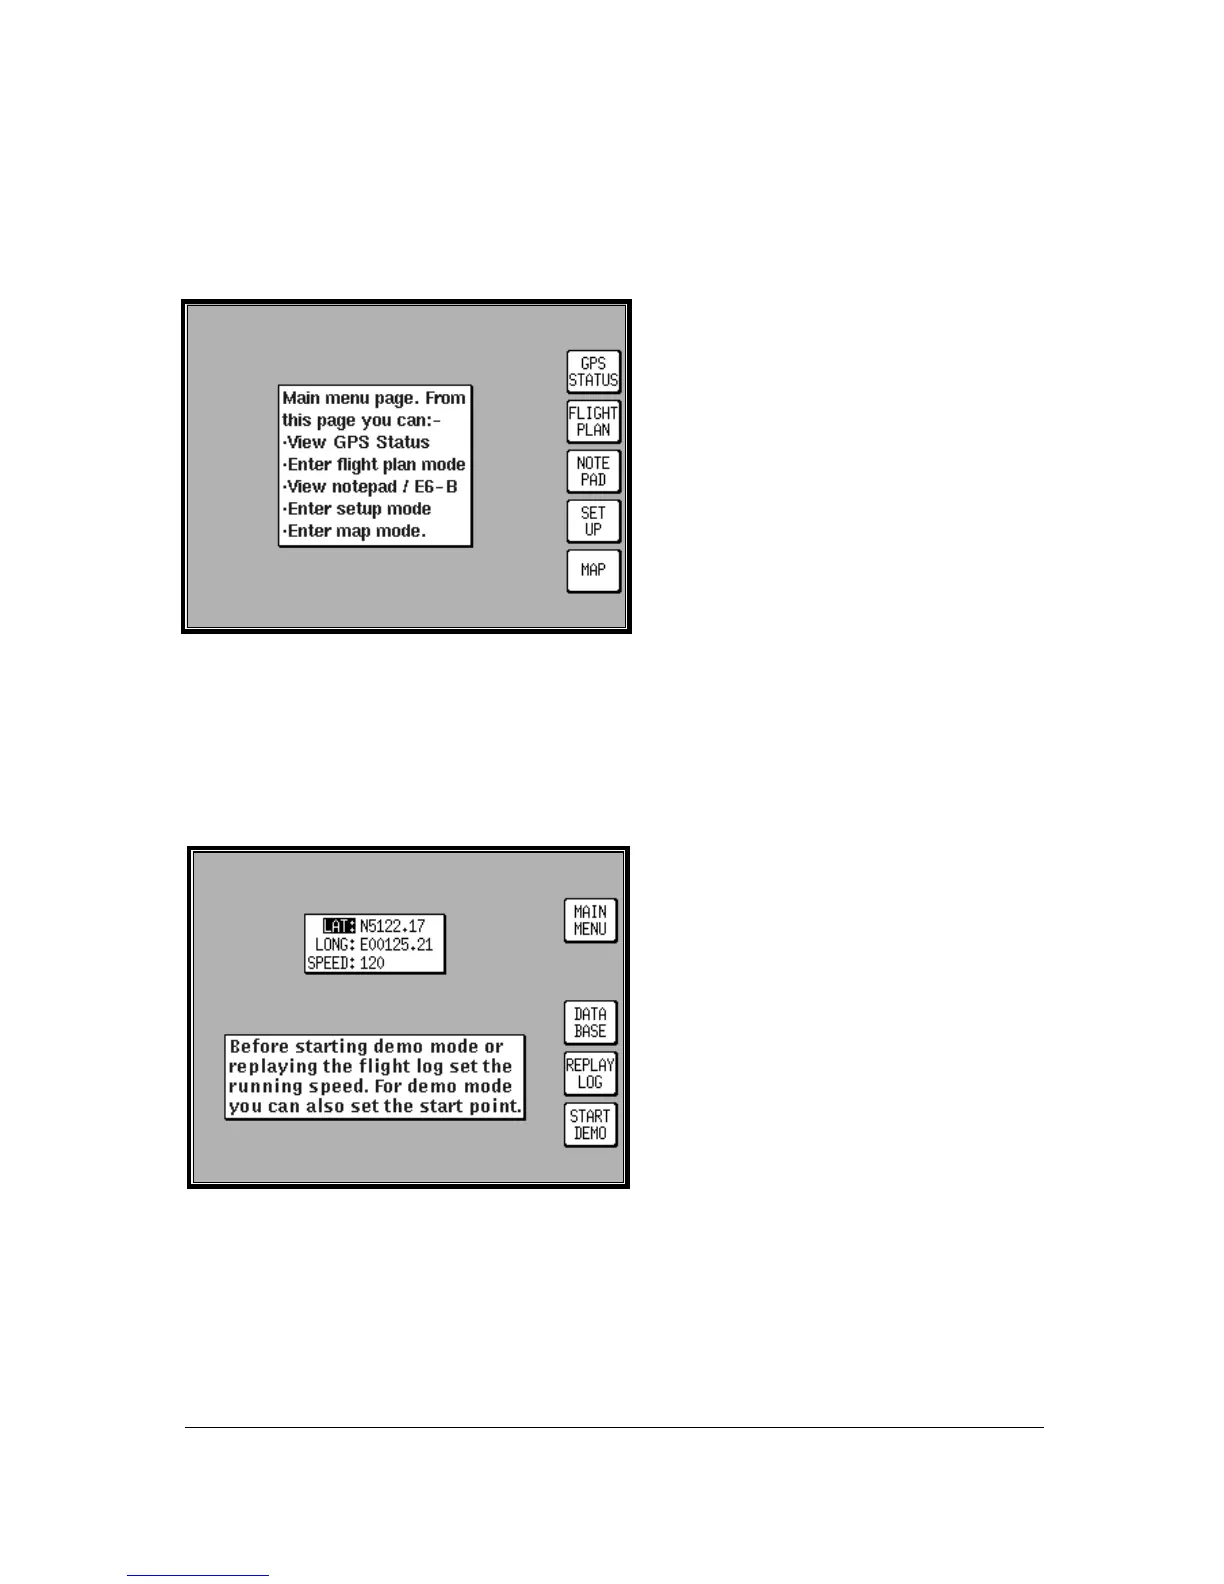
Selecting Demo Mode
Demo Mode allows you to become familiar with
handling your unit on the ground by turning it
into a simulator. Demo Mode can only be
activated in the first title screen, available at
power on. Press DEMO MODE in the title
screen, and use the joystick to select the start
LAT and LONG and the ground SPEED you
wish to use. Alternatively you can press the
DATABASE key and select a data point from
the database as a start point (for more
information on achieving this please refer to
Database Selection in this Section of the
Manual). Once the desired LAT/LONG and
SPEED is entered press START DEMO.