6-4
Setting Local Time Offset
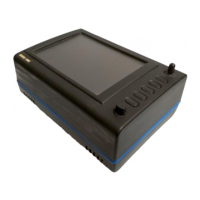
Screen 5: Local Time Offset Screen
Pressing GPS STATUS in Main Menu, followed by LOCAL OFFSET, accesses this Screen. When
this Screen initially appears a cursor will be active in the data entry field. The hour’s value can be
adjusted between the limits of +12 and -12 by using the joystick. The cursor can then be moved to the
right to adjust the minutes to one of two values, 00 or 30. Only after pressing Key 1, SET is the
information saved and the display will revert to Screen 3, GPS Status Screen.
The local offset is held in RAM and added to UTC time when calculating ETA's. Default value is
+00:00. It is important to set local offset correctly to ensure any ETA’s given are correct.
Setting Present Position
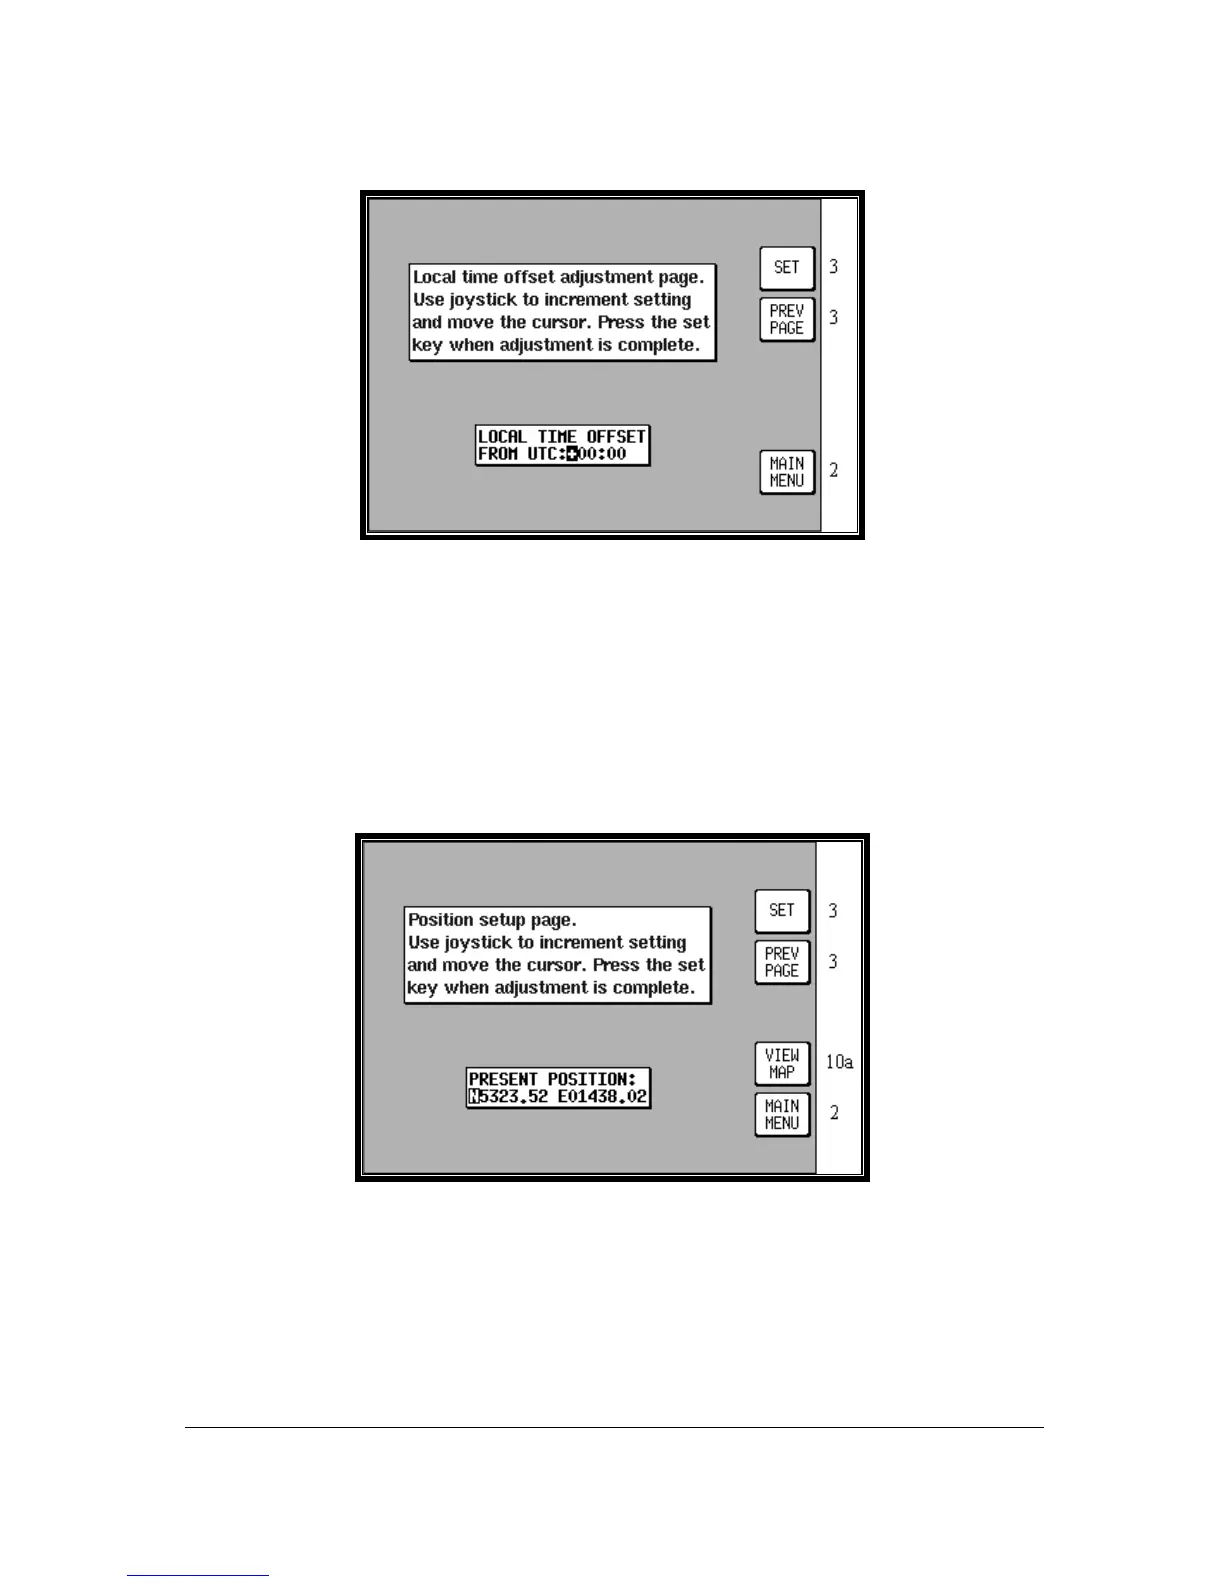
Screen 6: Present Position Setup Screen
Pressing GPS STATUS in Main Menu, followed by SET POSN, accesses this Screen. On entry to this
Screen a cursor is positioned over the first character of the latitude as shown above. The joystick can
then be used to increment or decrement values and to move the cursor right and left.
Alternatively you can press Key 4 VIEW MAP and using the joystick, simply point at your present
position.