Brocade FastIron X Series Chassis Hardware Installation Guide 131
53-1001723-02
Installing or replacing a POE daughter card
6
Installing or replacing a POE daughter card
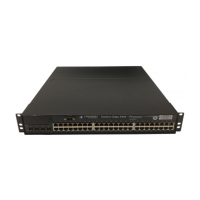
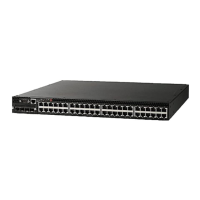
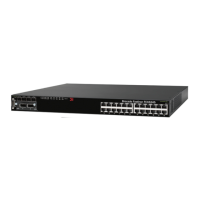
This section provides instructions for installing or replacing a Power Over Ethernet (POE) daughter
card (part number SX-24GCPOE) in the FastIron X Series chassis. The POE daughter card enables
support for POE power-consuming devices. The card is located in a connector slot on the 24-port
Gigabit Ethernet copper interface module.
These instructions apply only to the 24-port interface module.
You can install or replace a POE daughter card while the chassis is powered on and running. Before
installing or replacing the card, disable the module to prevent the remaining interface modules in
the chassis from dropping user packets.
If applicable, install the POE (48V or 220V) power supply prior to installing the POE daughter card.
The system will not recognize the POE daughter card unless there is a POE power supply operating
in the chassis. Refer to “Installing or replacing a power supply” on page 136.
To perform this task, you must have the following on hand:
• A POE daughter card, which you can order from Brocade.
• An ESD wrist strap with a plug for connection to the ESD connector on the chassis.
For safety reasons, the ESD wrist strap should contain a series 1 meg ohm resistor.
• A #2 Phillips-head or flathead screwdriver.
To replace or install the POE daughter card, complete the following tasks.
1. Disable the 24-port Gigabit Ethernet module for which you will replace or install the POE
daughter card. Enter a command such as the following at the Privileged EXEC level of the CLI.
FastIron# disable module 1
Syntax: disable module <slot num>
2. Remove the 24-port Gigabit Ethernet module from the chassis as follows:
• Put on the ESD wrist strap and ground yourself by inserting the plug into the ESD
connector located on the chassis front.
• Use the #2 Phillips-head or flathead screwdriver to loosen and remove the two screws on
the left and right ends of the 24-port module.
• Pull the card ejectors on the 24-port module toward you and away from the module front
panel. This action unseats the module from the backplane.
• Slide the module out of the chassis and place it on a static-free work area.
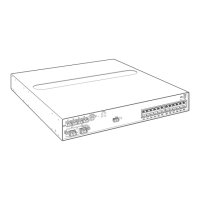
3. If you are replacing the POE daughter card, remove the existing card from the connector slots
on the 24-port module. Figure 49 shows the location of the POE daughter card.
4. Install the new POE daughter card:
 Loading...