26. Removal of interior and right-front door butt joint 2.
26.1. Disassemble the right A-pillar inner shield, push down the
connector plastic lock that fixes the right-front door harness butt
joint 2. (See Removal of A-pillar Inner Shield).
26.2. Unplug the plug of Right-front Door harness butt joint 1.
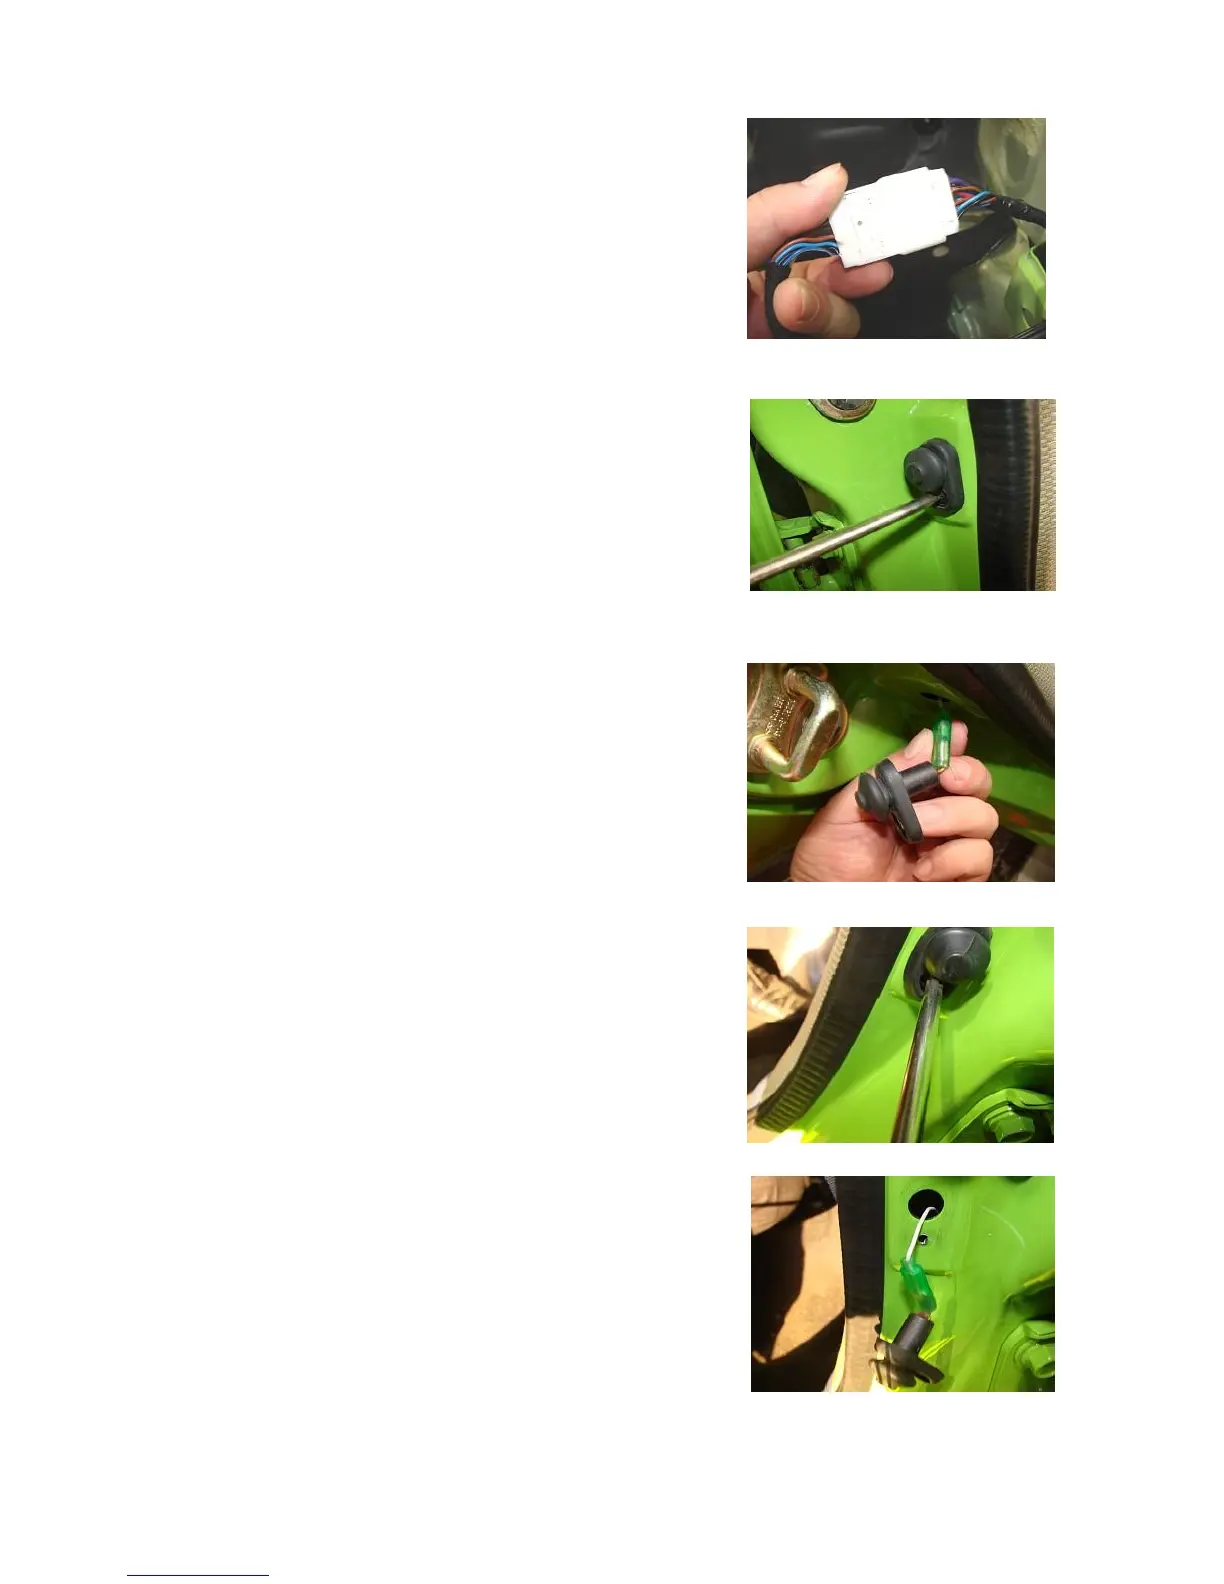
27. Removal of right-front door contact switch harness.
27.1. Use a cross head screwdriver to loosen off the screws that fix
the right-front door contact switch, and then remove the right-front
door contact switch.
27.2. Unplug the right-front door contact switch plug.
28. Removal of left-front door contact switch harness.
28.1. Use a cross head screwdriver to loosen off the screws that
fixes the left-front door contact switch, and then remove the
left-front door contact switch.
28.2. Unplug the left-front door contact switch plug.