About this task
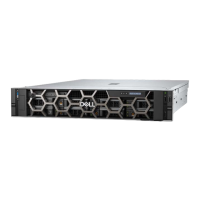
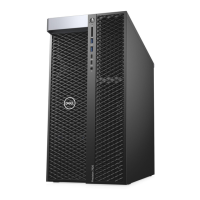
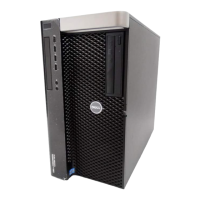
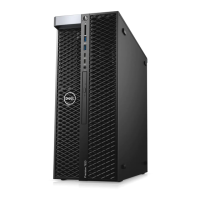
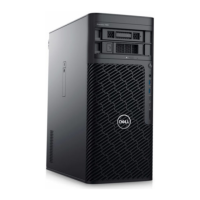
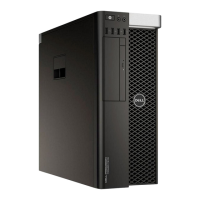
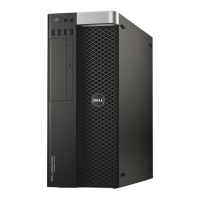
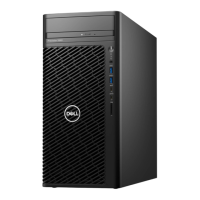
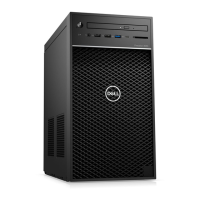
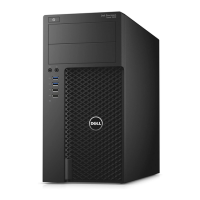
The following images indicate the location of the front I/O-board and provide a visual representation of the installation
procedure.
Steps
1. Slide and place the front I/O-board in to the front I/O-bracket.
2. Align the screw holes on the front I/O-board with the screw holes on the front I/O-bracket.
3. Replace the three (6-32) screws to secure the front I/O-board with the front I/O-bracket
4. Position the front I/O-bracket to align the tabs on the bracket with the slots on the chassis.
5. Push in and tighten the thumb screw to secure the front I/O bracket to the chassis.
6. Connect all the cables to the connectors on the front I/O-board.
Next steps
1. Install the front system-fan assembly.
2. Install the PCIe holder.
3. Install the front optical-drive and hard-drive inner bezel.
4. Install the air shroud.
5. Install the right-side cover.
26
Removing and installing components
 Loading...
