Steps
1. Push the release button on the rear-flexbay bracket to open the release latch.
2. Hold the release latch and slide the 3.5-inch hard-drive assembly out of the external flexbay slot.
Installing the rear 3.5-inch hard-drive assembly
Prerequisites
If you are replacing a component, remove the existing component before performing the installation procedure.
About this task
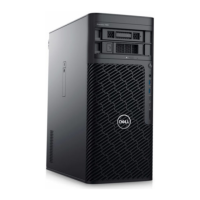
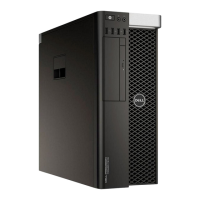
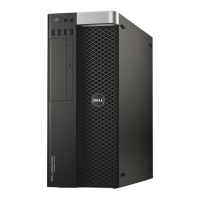
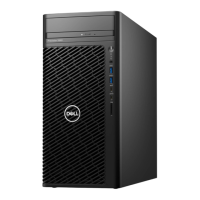
The following images indicate the location of the rear 3.5-inch hard-drive assembly and provide a visual representation of the
installation procedure.
Removing and installing components
49
 Loading...
