MAINTENANCE, SERVICE AND FAULT FINDING
25364 Issue 8 March 2018 4-33
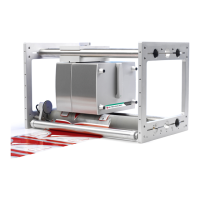
Home ‘Sensors’ - To test the home sensor, move the print head carrier
(sledge) ‘horizontally’ slowly and gently from one side to the other while
observing the sensor readings on the screen.
Print Head
assembly
(Sledge)
See “Home Sensor (Left, Middle and Right)” on page 4-31.
Sensor Test - Communicator II
Note: To test the sensors, the printer needs to be connected to the
Power Supply Unit (PSU) and the unit switched on. Remove
the outer cover of the printer to gain access to the dancing
arms. Do not fit a ribbon to the cassette unit for these tests.
When you are ready to perform the test, see “Procedure” on
page 4-32.
Sensor Descriptions
Note: With the exception of the cassette engagement sensor, all other
sensor values displayed are analogue based on detection of a
magnet.
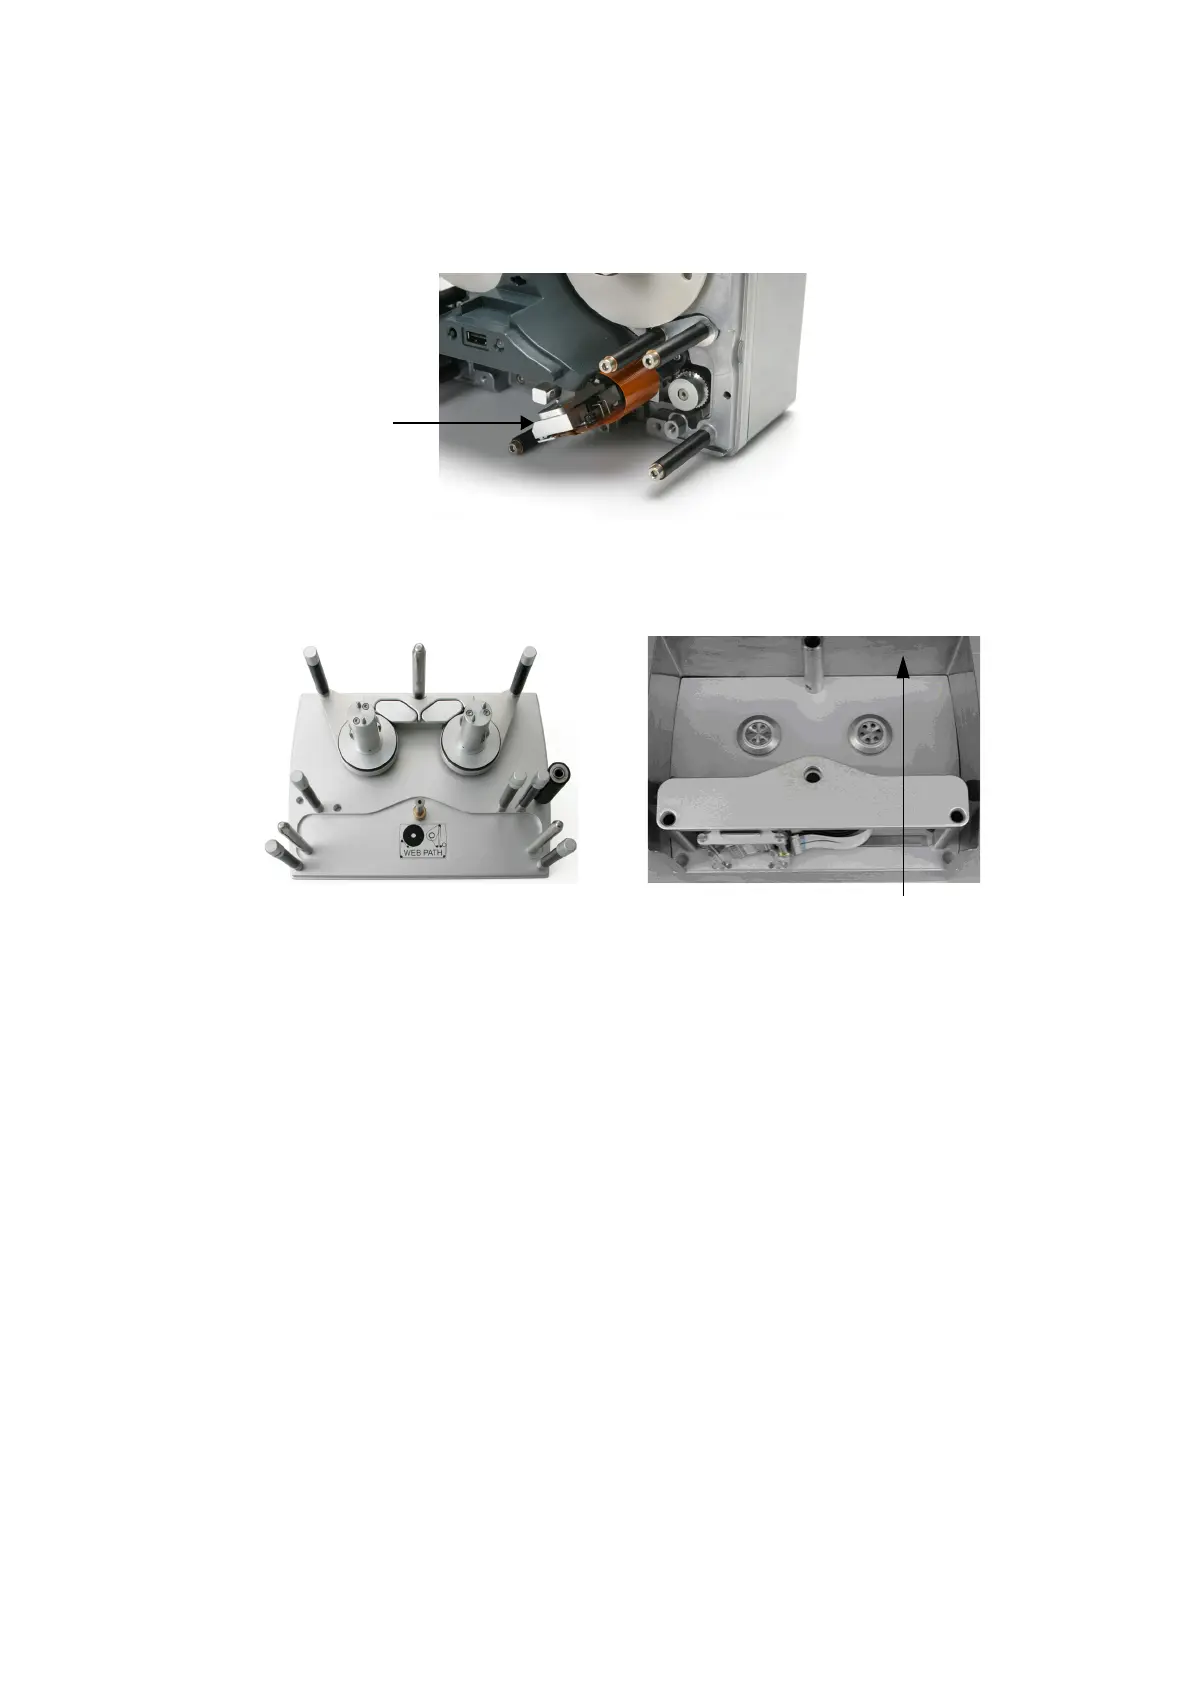
Arm 1 - 4 (Left and Right) - The arm sensor monitors the position of the
dancing arms in the dynamic range, i.e. where the dancing arms are
positioned when the printer is operating correctly. See “Arm 'Sensors'” on
page 4-32.
Printer Open - This detects whether the cassette is open or closed.
Open and close the cassette to activate the sensor (photocell).