DESCRIPTION AND INSTALLATION
2-14 25364 Issue 8 March 2018
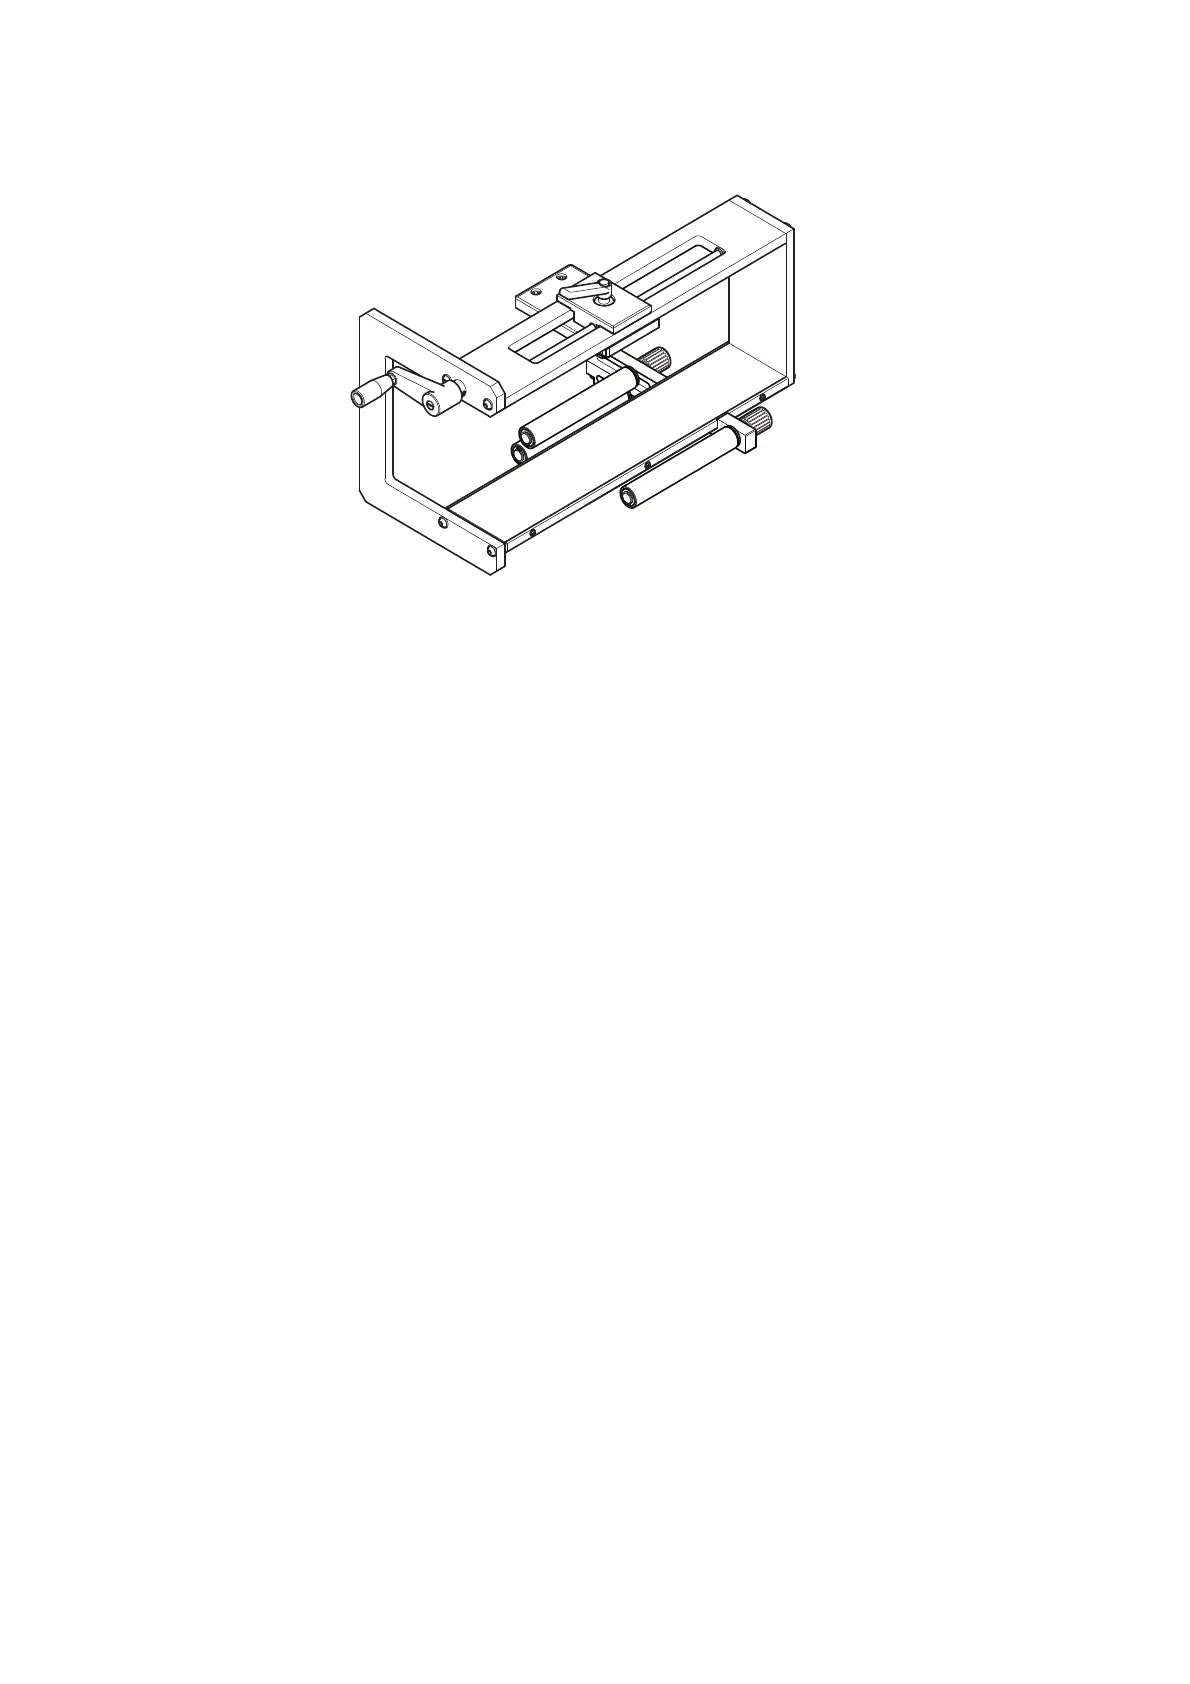
Labeller Bracket / Guide Roller (shown mounted onto the
Labeller Bracket Assembly)
Note: Guide rollers can be assembled in either left-hand or right-hand
orientation.
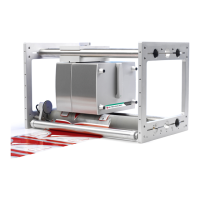
Mounting the Printer in the Bracket System
Compact 32d, 32c and 53c
Notes: (1) Tool required: 5mm Allen key
(2) Prior to mounting the Compact 32c / 53c in the bracket system,
re
move the cassette to enable easier handling.
(1) Mount the printer in the bracket system, using four M6 screws
(sup
plied with bracket).
(2) When mounting the printer in the CM bracket, ensure the print head is
po
sitioned above the top point of the rubber roller.
Note: To obtain the best print quality, fine adjustment of the print head
can
be done electronically at a later stage. See “Set Up Printer -
Final Steps (Compact 32d, 32c and 53c)” on page 2-51.
(3) In order to apply the correct print head pressure, ensure that the
height
between the base of the printer and rubber roller or platen is
approximately 3mm.
Note: The precise height of the print head will need t
o be adjusted
electronically via the software once the services are connected.
See “Set Up Printer - Final Steps (Compact 32d, 32c and 53c)”
on page 2-51.
(4) When the correct distance is obtained, tight
en the screws.
(5) Mount the power supply. See “Connectivity - Compact 32d, 32c and
53c” on page 2-33.