112
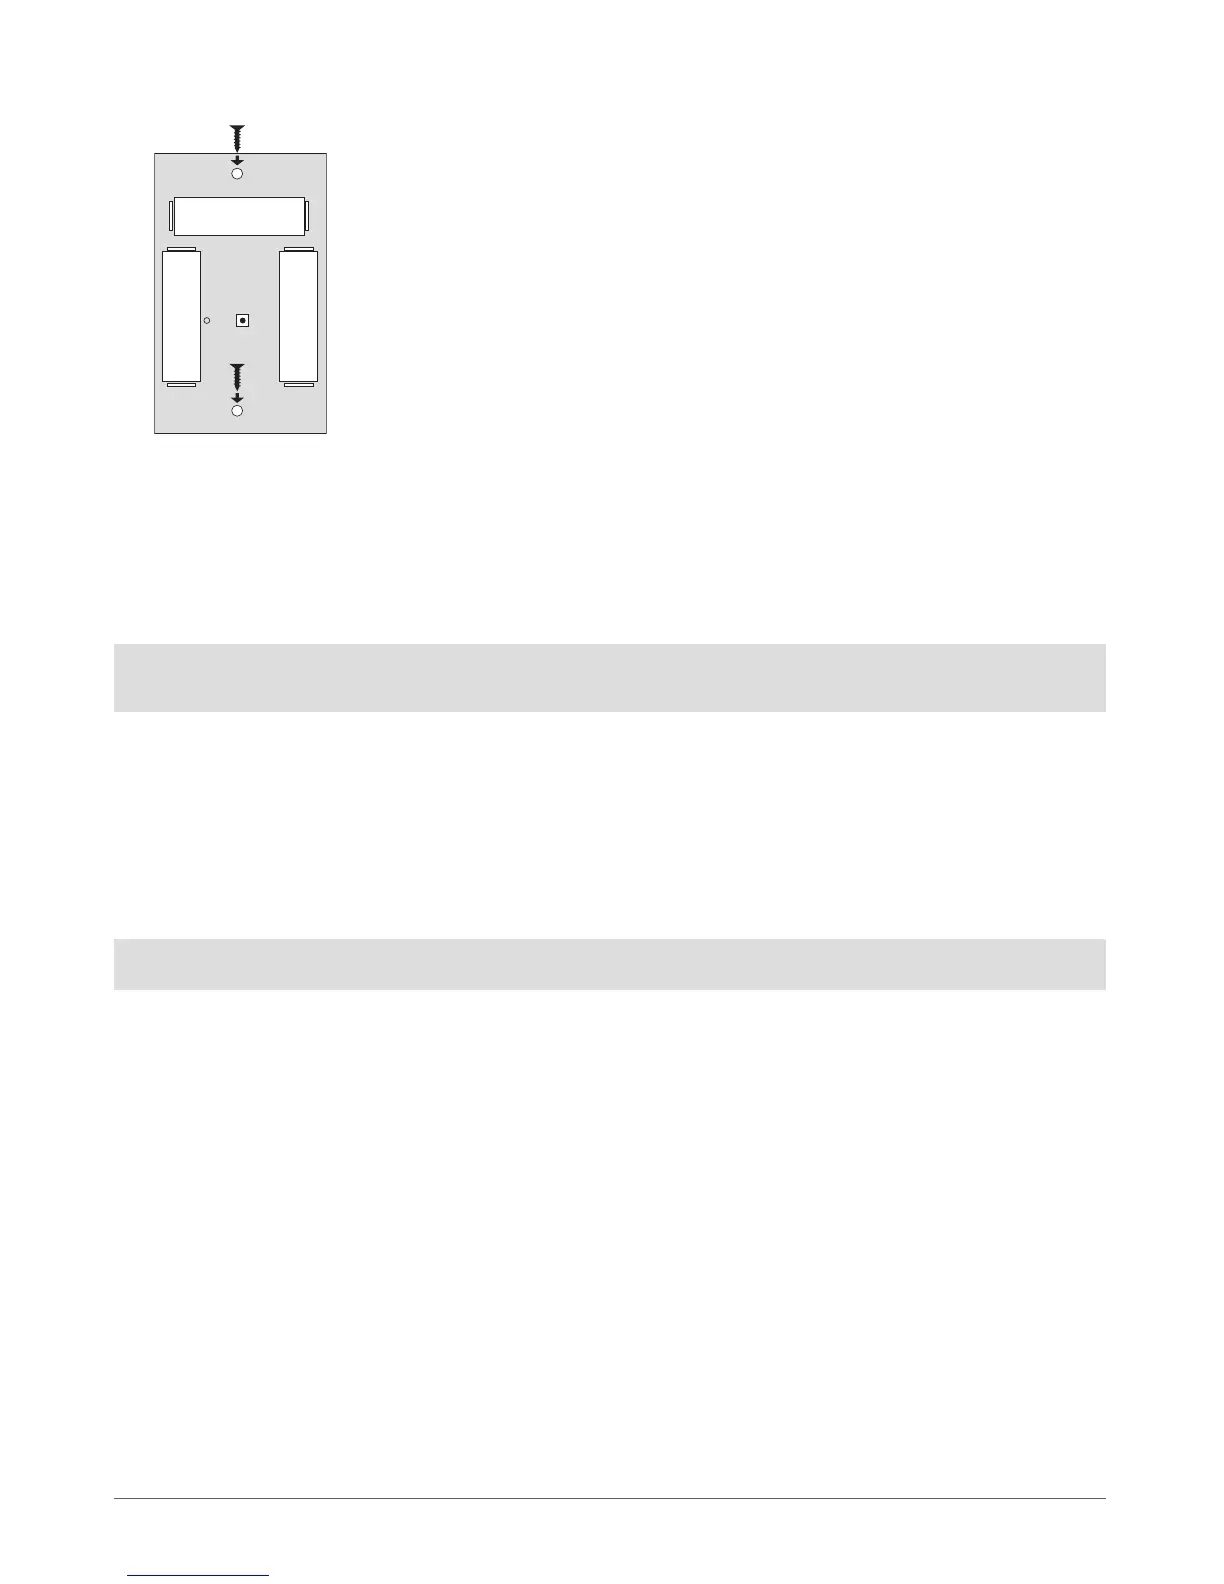
3. Fix the siren on the wall using the screws (see Fig. No. 47).
4. Close EWS1 enclosure. No tools are required for this action.
5. Bind the device to the alarm system by sending a corresponding command via SMS message or using ELDES Conguration Tool
software. Please, refer to the software‘s HELP section or refer to chapter 8. ELDES Wireless Devices for more details.
6. The system automatically informs about successful/unsuccessful binding process. If attempt to bind is unsuccessful, try to move
EWS1 closer to alarm system device and bind anew.,
7. EWS1 siren is ready for use.
NOTE: If you are unable to bind the wireless device, please, restore the parameters of the wireless device to default and try again.
See chapter 8.6.5. Restoring Default Parameters for more details.
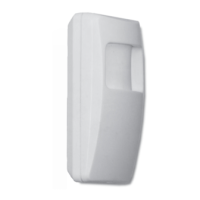
8.6.3 EWS1 Zone, PGM Output & Tamper
Upon successful EWS1 indoor siren binding process,the system adds 1 wireless Instant zone and 1 wireless Siren PGM output. The
wireless zone is intended for EWS1 tamper control and the wireless PGM output is for siren control.
In case of tamper violation, the alarm is caused regardless of system being armed or disarmed. The wireless connection loss between
EWS1 and ESIM264 system leads to alarm. The system identies this event as a tamper violation and sends alarm by SMS message and
phone call to the user (-s) by default. The SMS message contains the violated tamper number and a star * character indicating wireless
connection loss as a tamper alarm cause.
ATTENTION: The tamper will not operate if the wireless zone is disabled.
BATTERY
RESETLED
+
-
BATTERY
+
-
BATTERY
-
+
Fig. No. 47