Chapter 9 Page no. 1138
JC-DR-A-191.fm
GE Healthcare Senographe DS
Revision 1 Service Information and Procedures Class A 2385072-16-8EN
Job Card D/R A191 - PDU Board
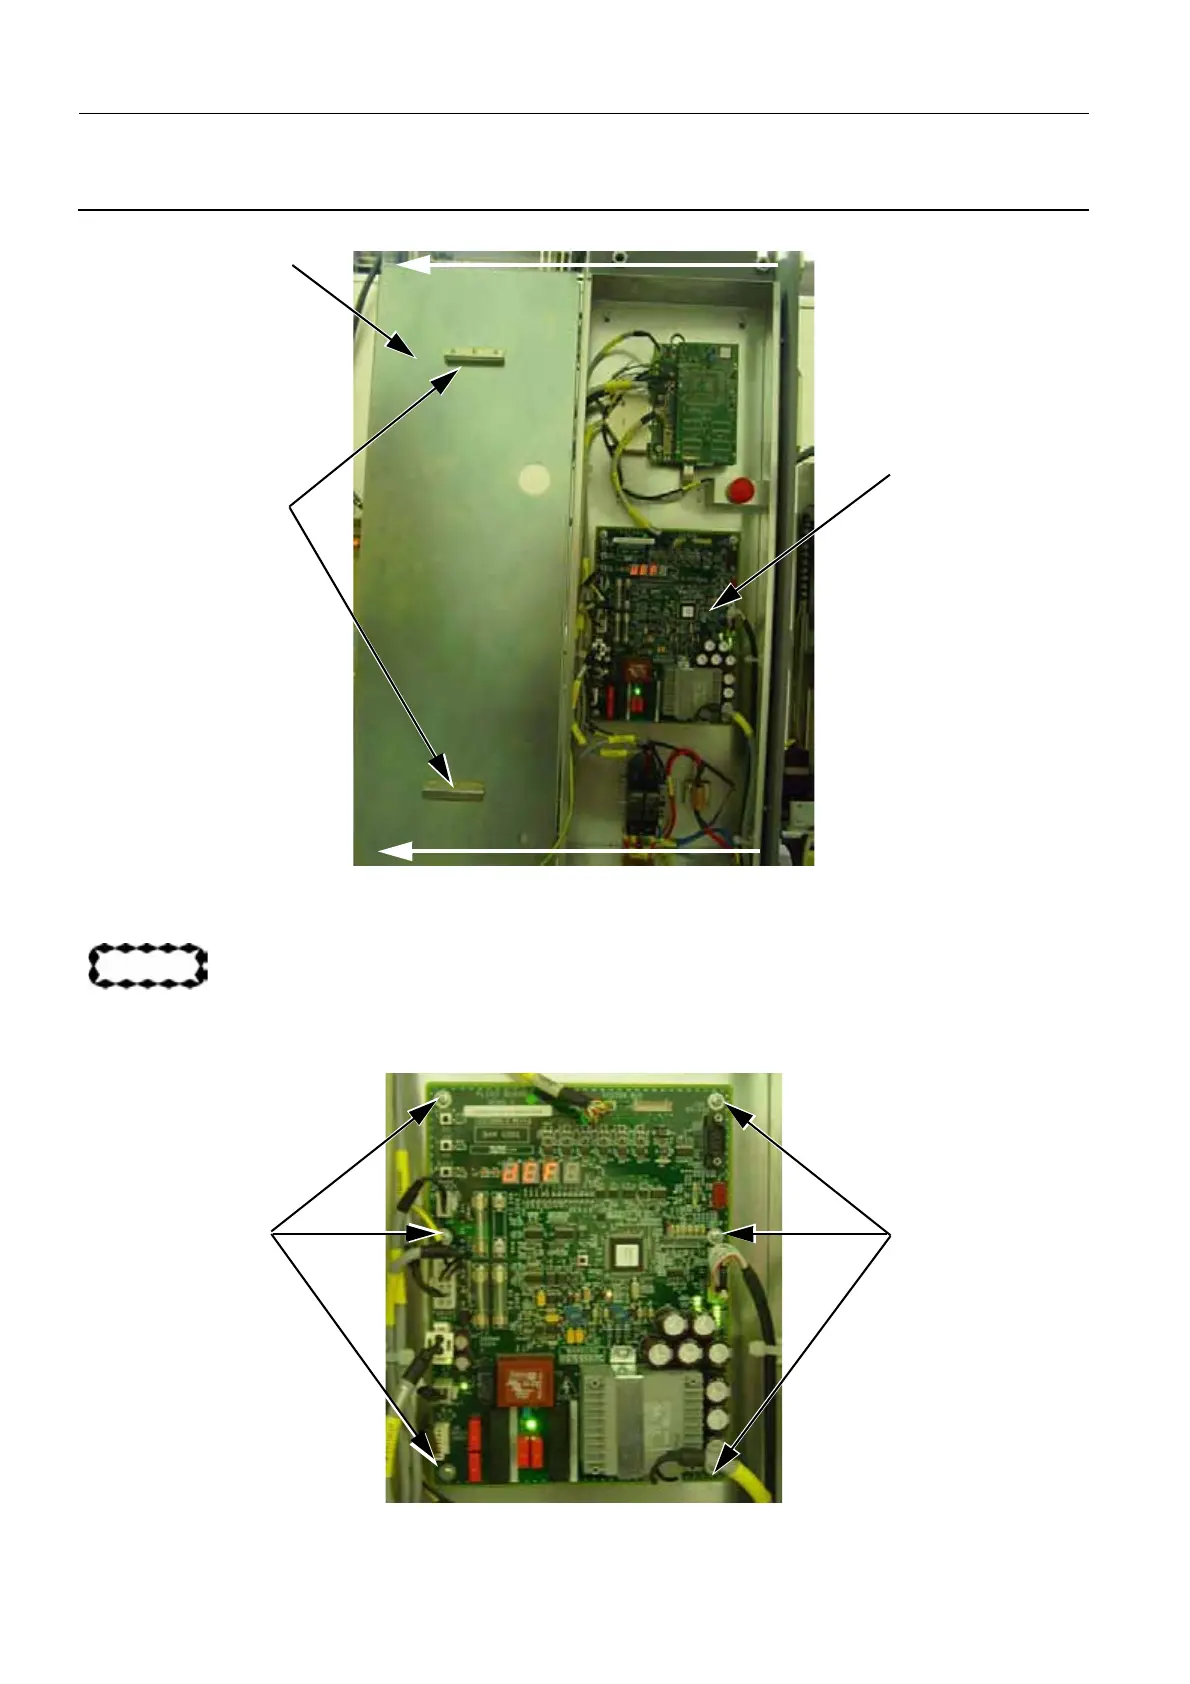
latches on the left side of the framework to expose the PDU board (3).
4. Disconnect all the cables from the PDU board and make a mental note where they connect to on the
PDU board. Ensure that you do not move them too much so it is easier to re-connect them later on.
CAUTION
Disconnect with caution to avoid damage to the connectors and cables.
5. Remove the six screws (4) securing the PDU board (cross-head screwdriver), and remove the PDU
board.
2
3
1
4
4

 Loading...


