GE Healthcare Senographe DS
Revision 1 Service Information and Procedures Class A 2385072-16-8EN
Job Card D/R A204 - Lift Potentiometer
Page no. 1177 Chapter 9
JC-DR-A-204.fm
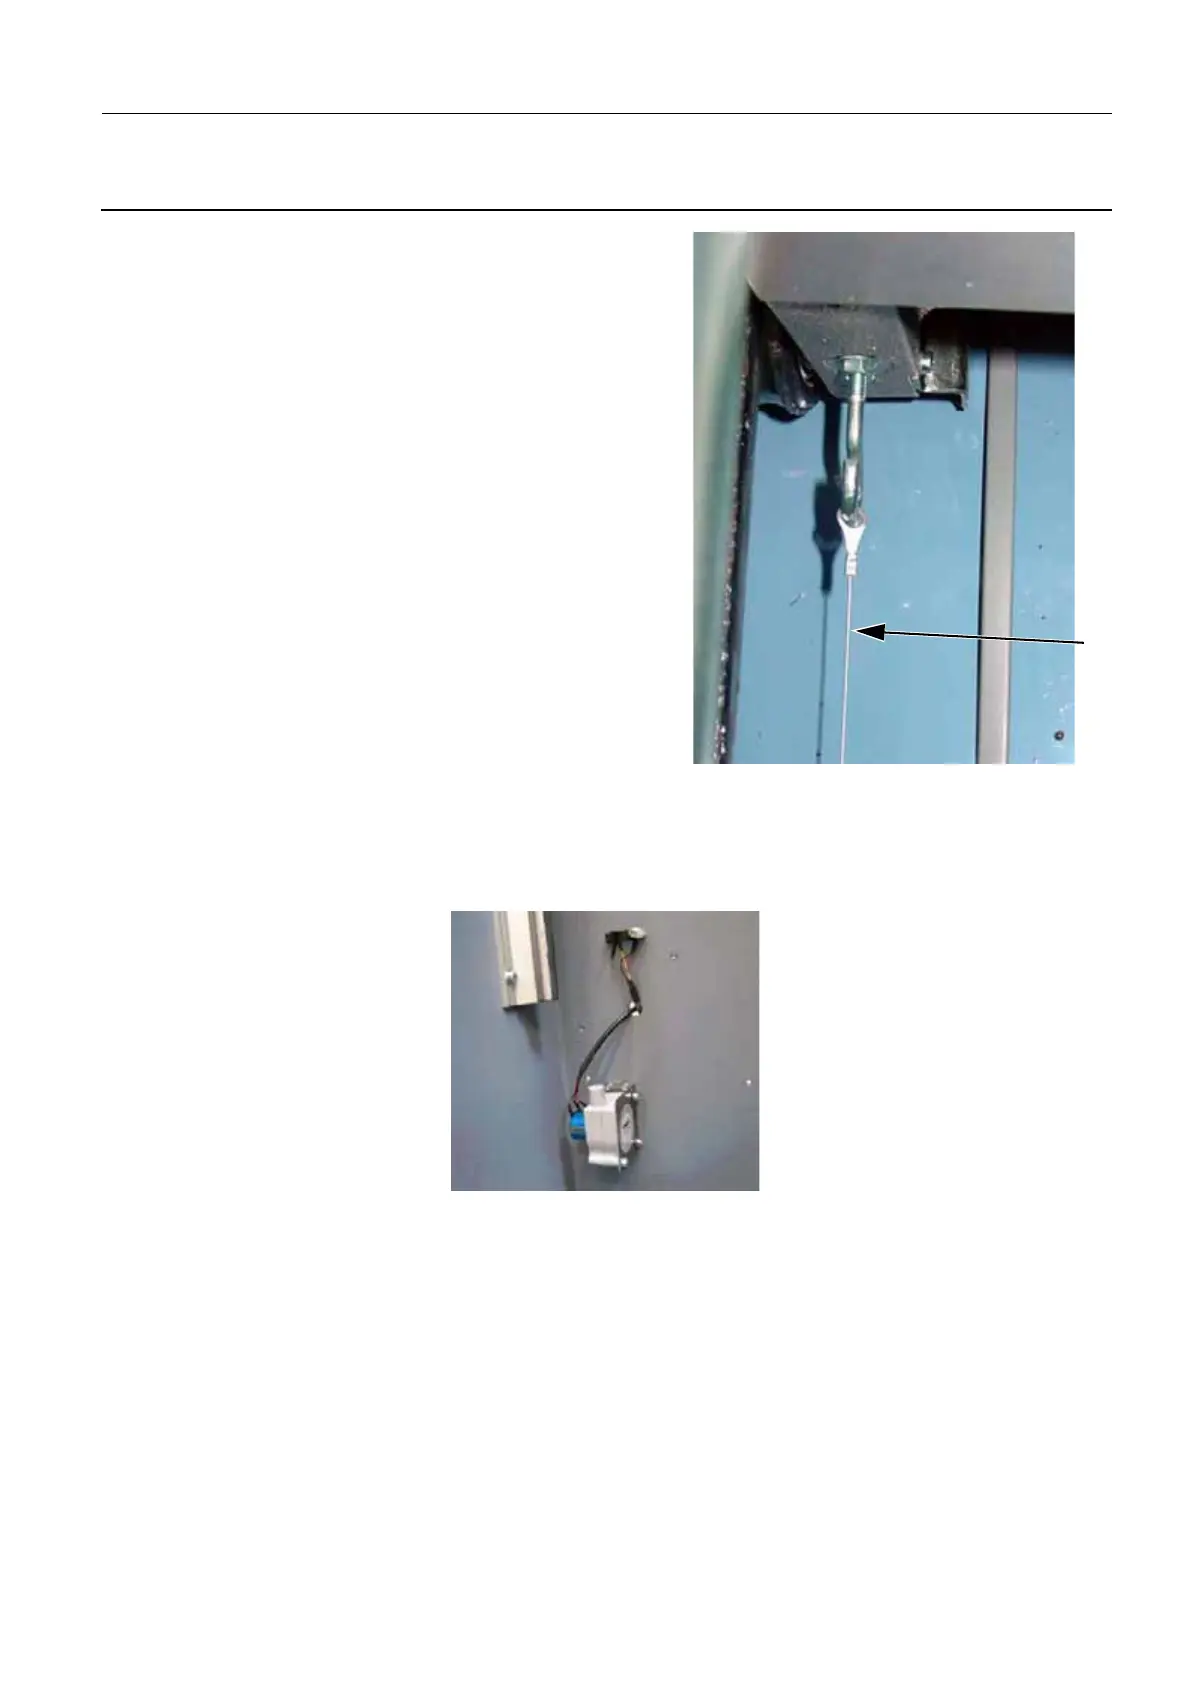
5. Unhook the extremity of the position detecting wire (4).
6-2 Reassembly of the Lift Potentiometer
1. Remove the 4 small L-shaped attachment brackets and the 4 screws from the potentiometer attach-
ment location.
2. Attach the new potentiometer with the same 4 attachment screws that were used with the old lift pot.
See the orientation in the picture below.
3. Attach the potentiometer wire loop to the trolley hook.
4. Guide the potentiometer cable through the opening in the column back and connect it to the lift
board.
7 COMPLETION
• Check that footswitches and Gantry Readout are working properly.
• Carry out the calibration procedure from Job Card CAL A031 - Lift Calibration on page 1687.
4

 Loading...


