Chapter 9 Page no. 1262
JC-DR-A-232.fm
GE Healthcare Senographe DS
Revision 1 Service Information and Procedures Class A 2385072-16-8EN
Job Card D/R A232 - Lift Screw Assembly
work, let go of the knob so that the spring loaded lower lip moves into the lock position.
f. Look down the guidance hole (9) to check the bottom part of the Arm disk is between 0 and 3 mm
above the lower surface of the recess. If it is more than 3 mm above the lower surface of the
recess, manually lower the lift position by rotating the Lift Screw clockwise (13 mm or 17 mm hex-
agonal wrench).
g. Physically verify that the Gantry LOTO Tool is locked into position.
WARNING
You MUST ensure that the nylon belt or Gantry LOTO Tool secures the Compression Arm.
If you remove the two left hand side fixing screws of the Cardan without securing the Com-
pression Arm, the entire Cardan assembly and associated Compression Arm can fall
quickly when you release the last fixing screw.
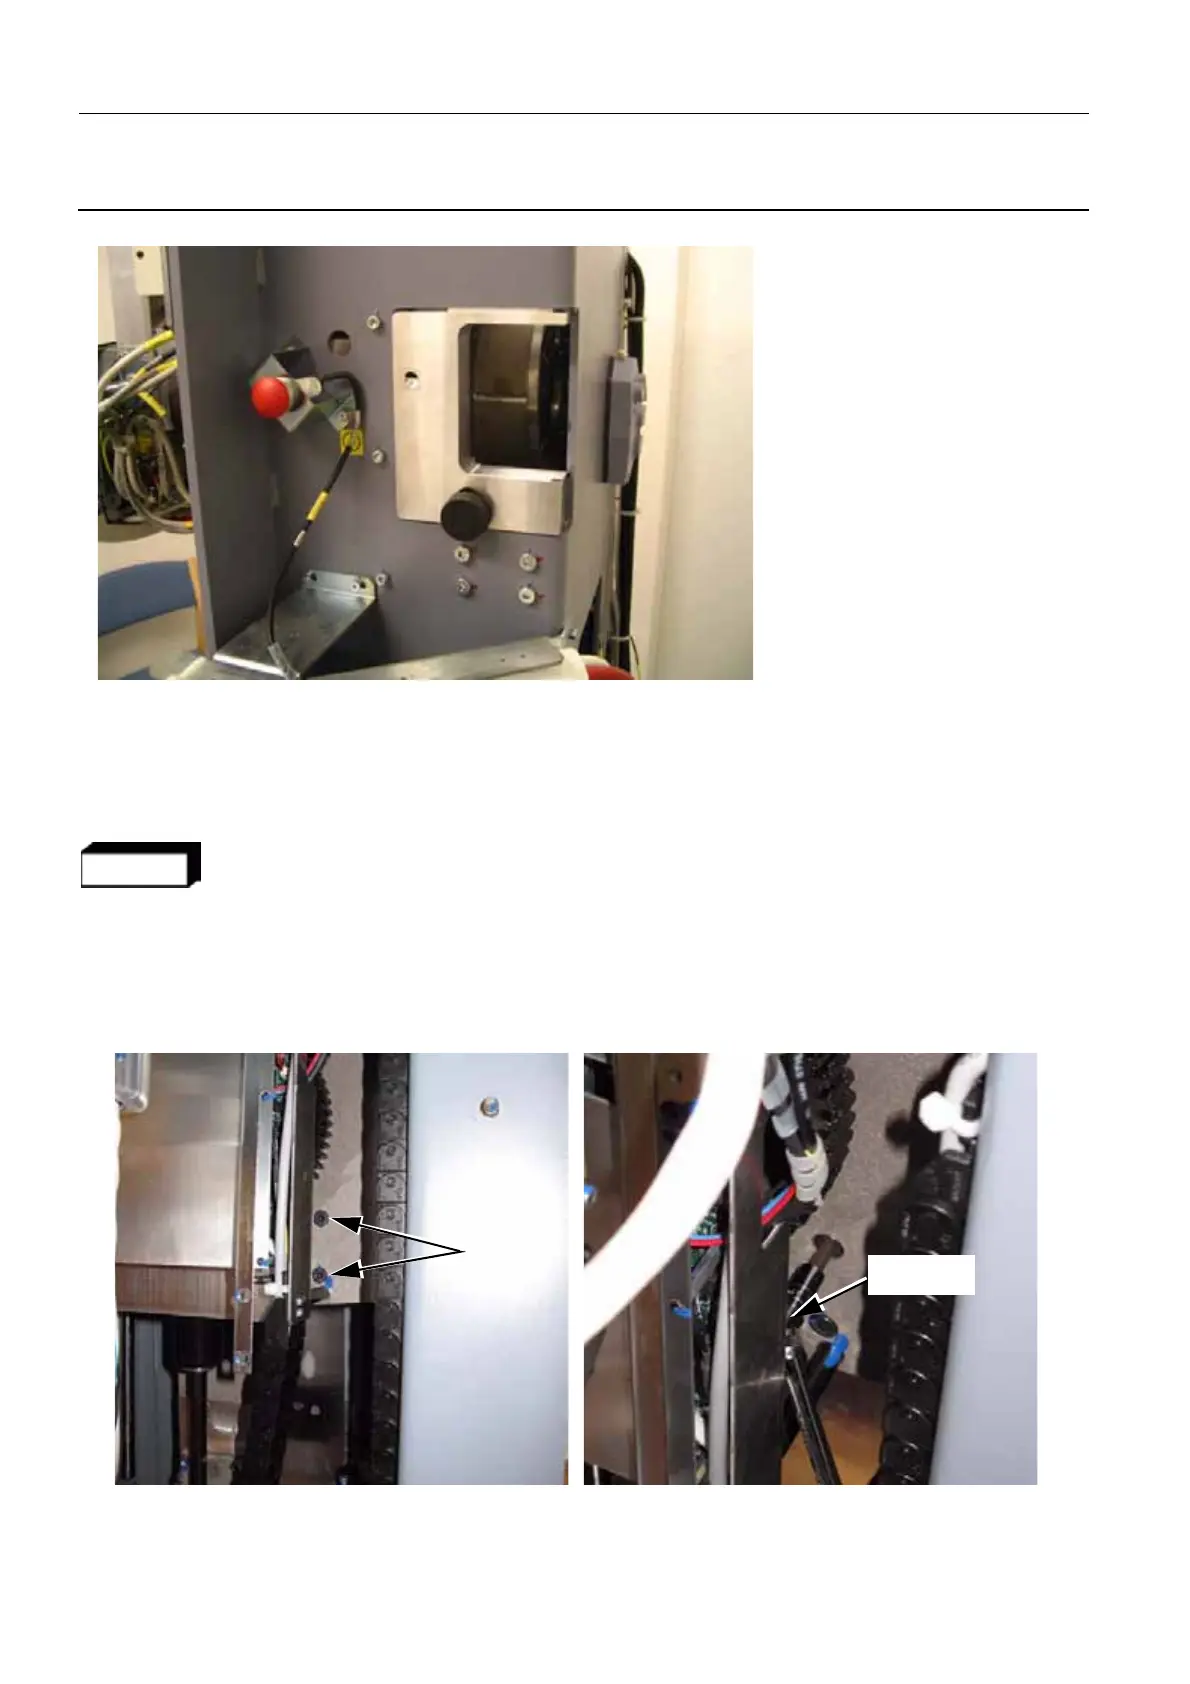
9. Release two left hand side Cardan screws (10) from the Cardan. To access these screws from
behind the Rotation board, use a 6 mm socket wrench with universal joint (knuckle joint).
10
Universal joint
(knuckle joint)

 Loading...


