Chapter 9 Page no. 1340
JC-DR-A-255.fm
GE Healthcare Senographe DS
Revision 1 Service Information and Procedures Class A 2385072-16-8EN
Job Card D/R A255 - Bucky
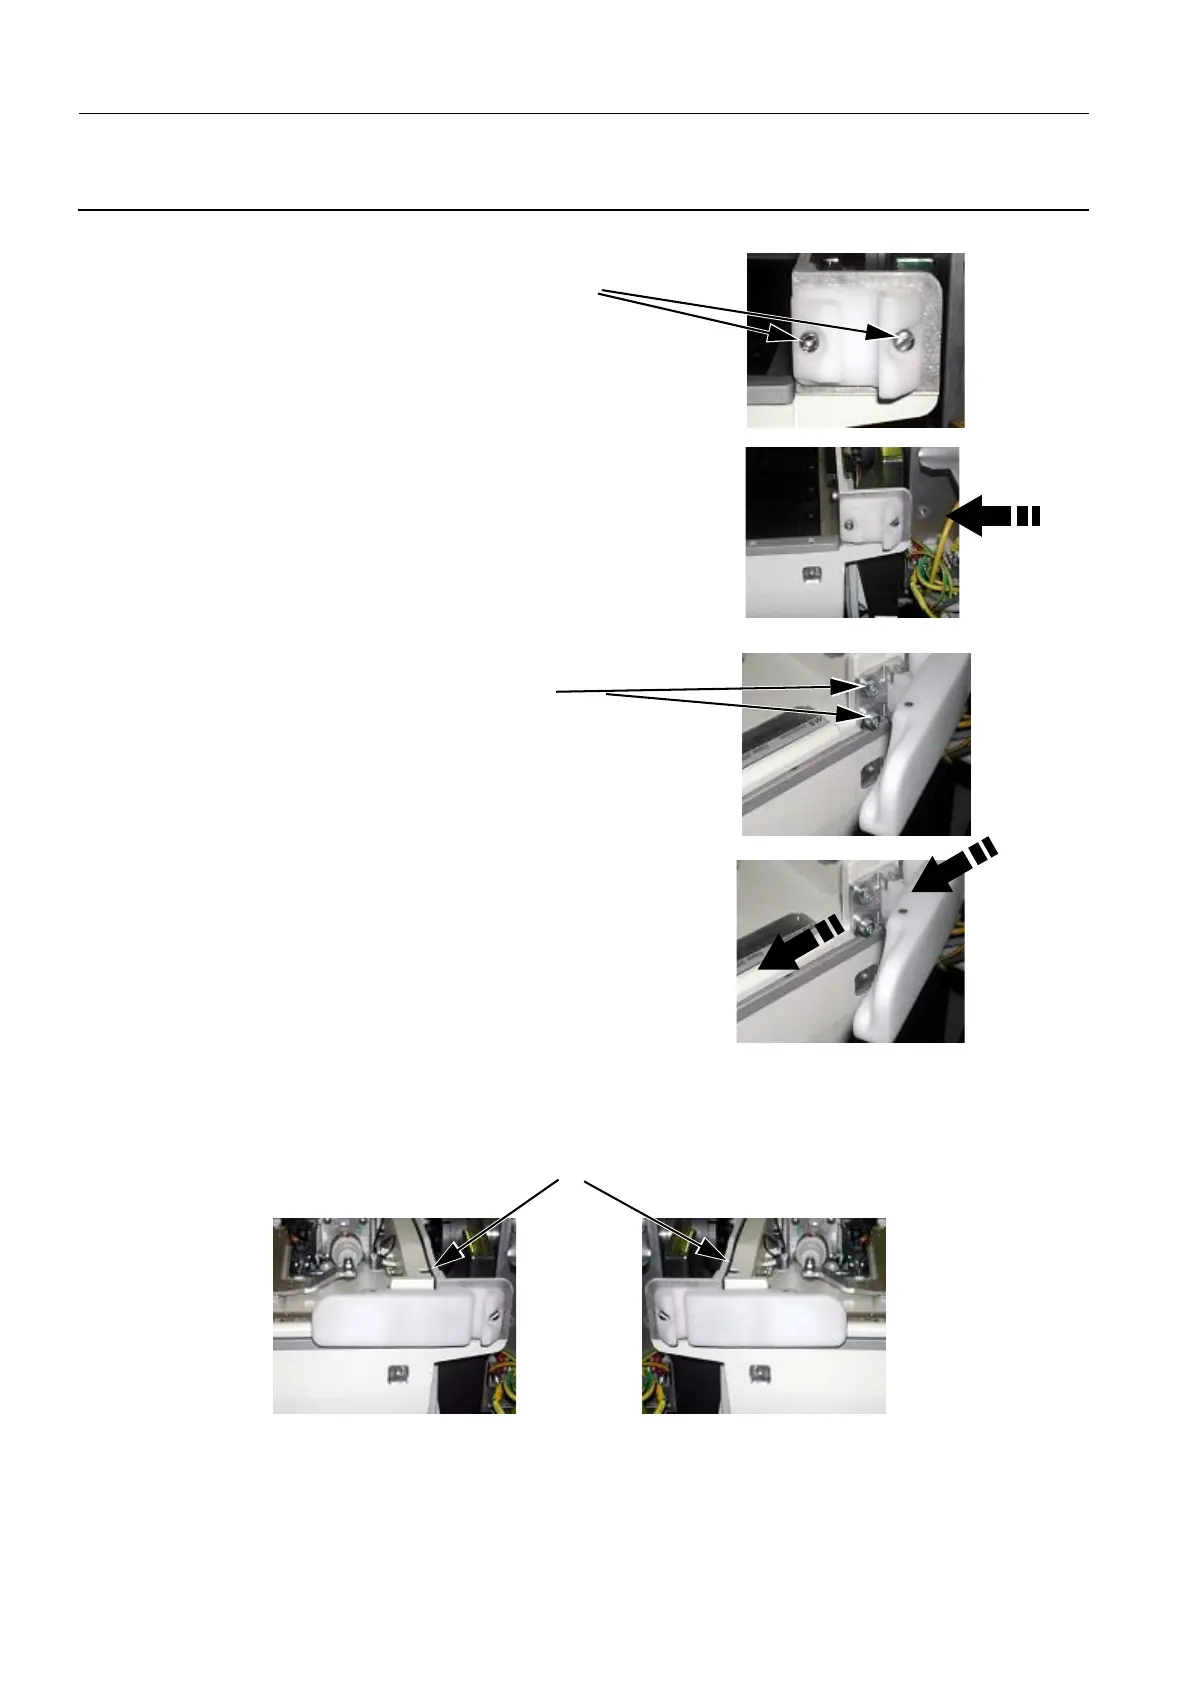
1. Adjust the latch on the Detector side:
2. Adjust the latch on the Bucky side
6-3 Verification
- Release the two screws
Tighten the screws while pushing the
latch securing plate firmly in the direc-
tion of the chest wall.
- Tighten the screws while pushing the latch
securing plate firmly in the chest wall direction,
and ensuring that it is aligned with the one on
the detector side.
- Release the two screws
Check that when the latches are tightened, the Bucky is in contact
with the back plate of the detector on both sides.

 Loading...


