Chapter 9 Page no. 1348
JC-DR-A-258.fm
GE Healthcare Senographe DS
Revision 1 Service Information and Procedures Class A 2385072-16-8EN
Job card D/R A258 - Bucky Board
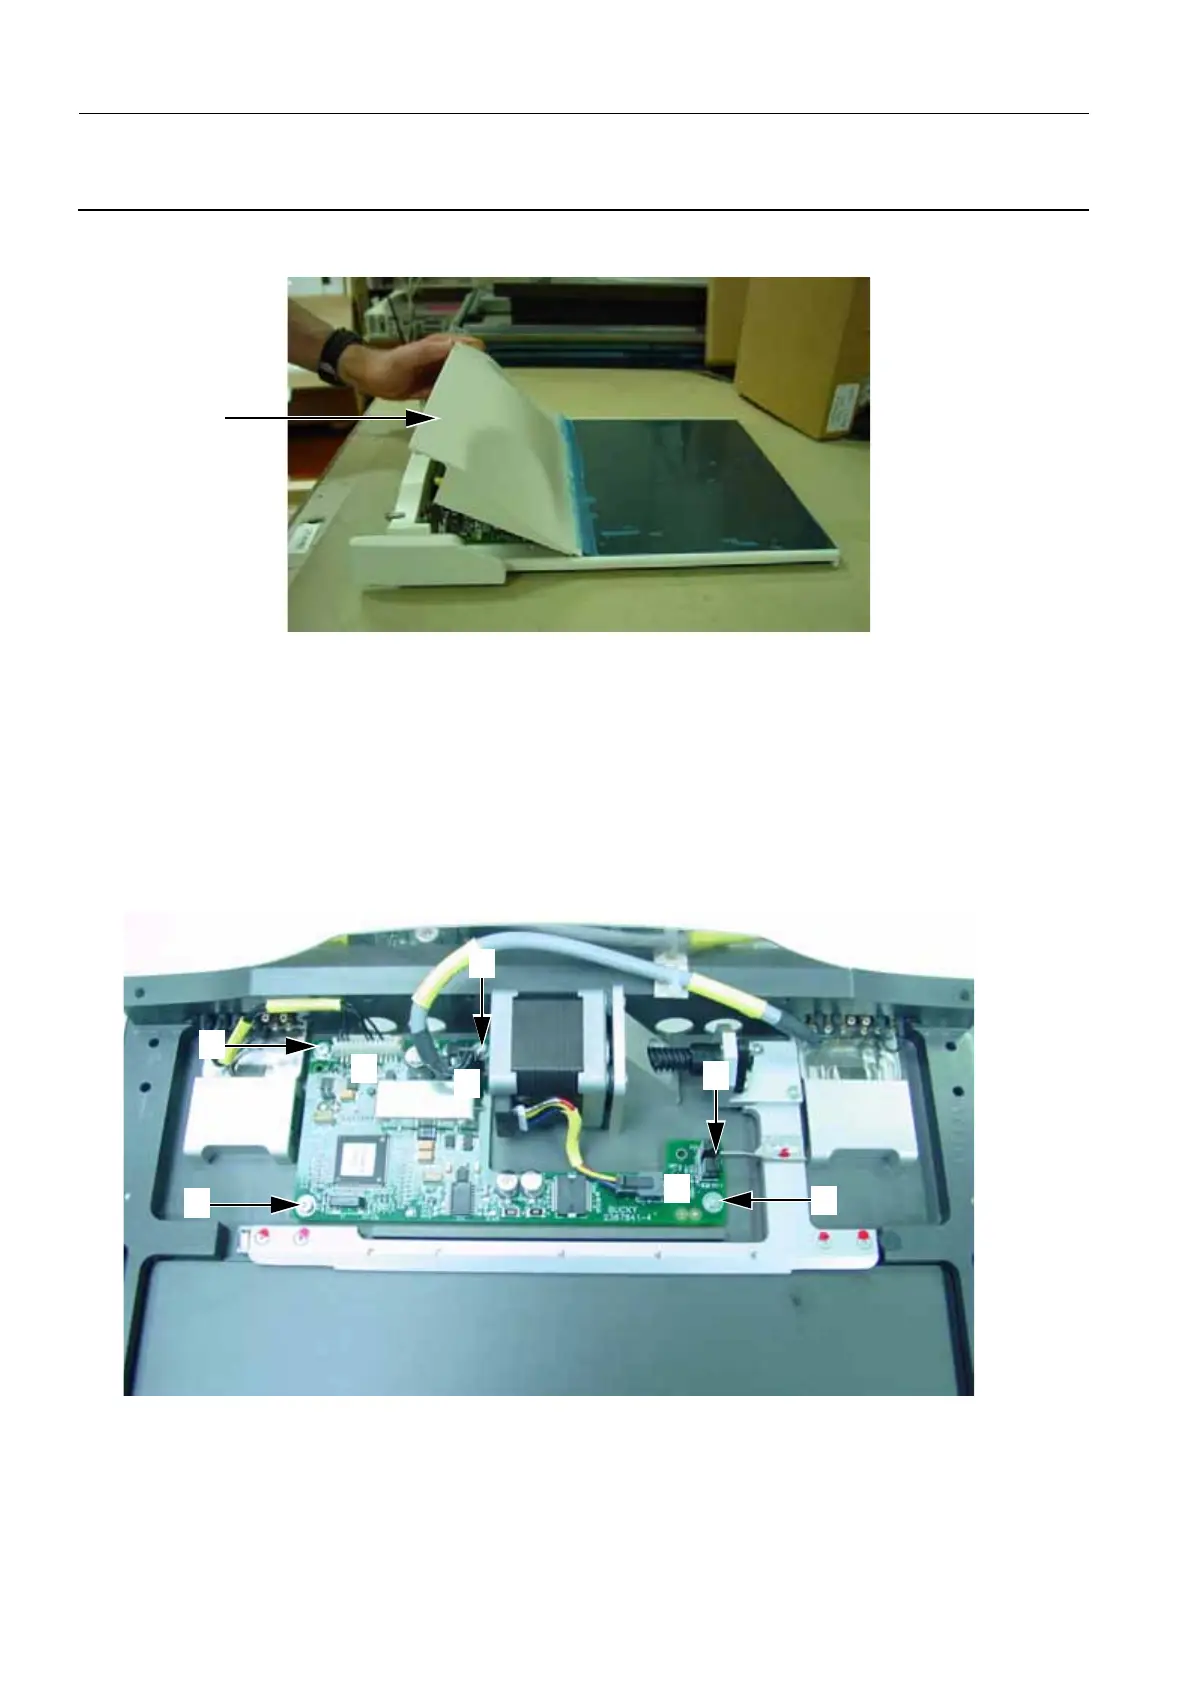
2. Gently lift the old top cover (3) from the back of the Bucky to expose the interior components of the
Bucky.
3. Gently slide the old top cover towards the back of the Bucky away from the carbon surface to fully
remove it from the Bucky.
Note:
The interior components of the Bucky are extremely delicate, and contain electrical and moving
parts. Pay special attention not to touch Bucky interior components when you fully remove the top
cover.
6-2 Change the Bucky Board
1. Carefully disconnect the Bucky connector cables (1 and 2) and Bucky motor cable (3) from the Bucky
board.
Note:
The connectors on the Bucky connector cable and Bucky motor cable are fragile. Ensure you take
care not to break them when removing them from the Bucky board.
2. Discconnect the four allen screws and washers (4) that secure the Bucky board to the Bucky (2.5 mm
3
3
1
4
4
4
4
5
2

 Loading...


