Chapter 9 Page no. 1586
JC-DR-A-408.fm
GE Healthcare Senographe DS
Revision 1 Service Information and Procedures Class A 2385072-16-8EN
Job Card D/R A408 - Generator Supply Command Board 200-PL2
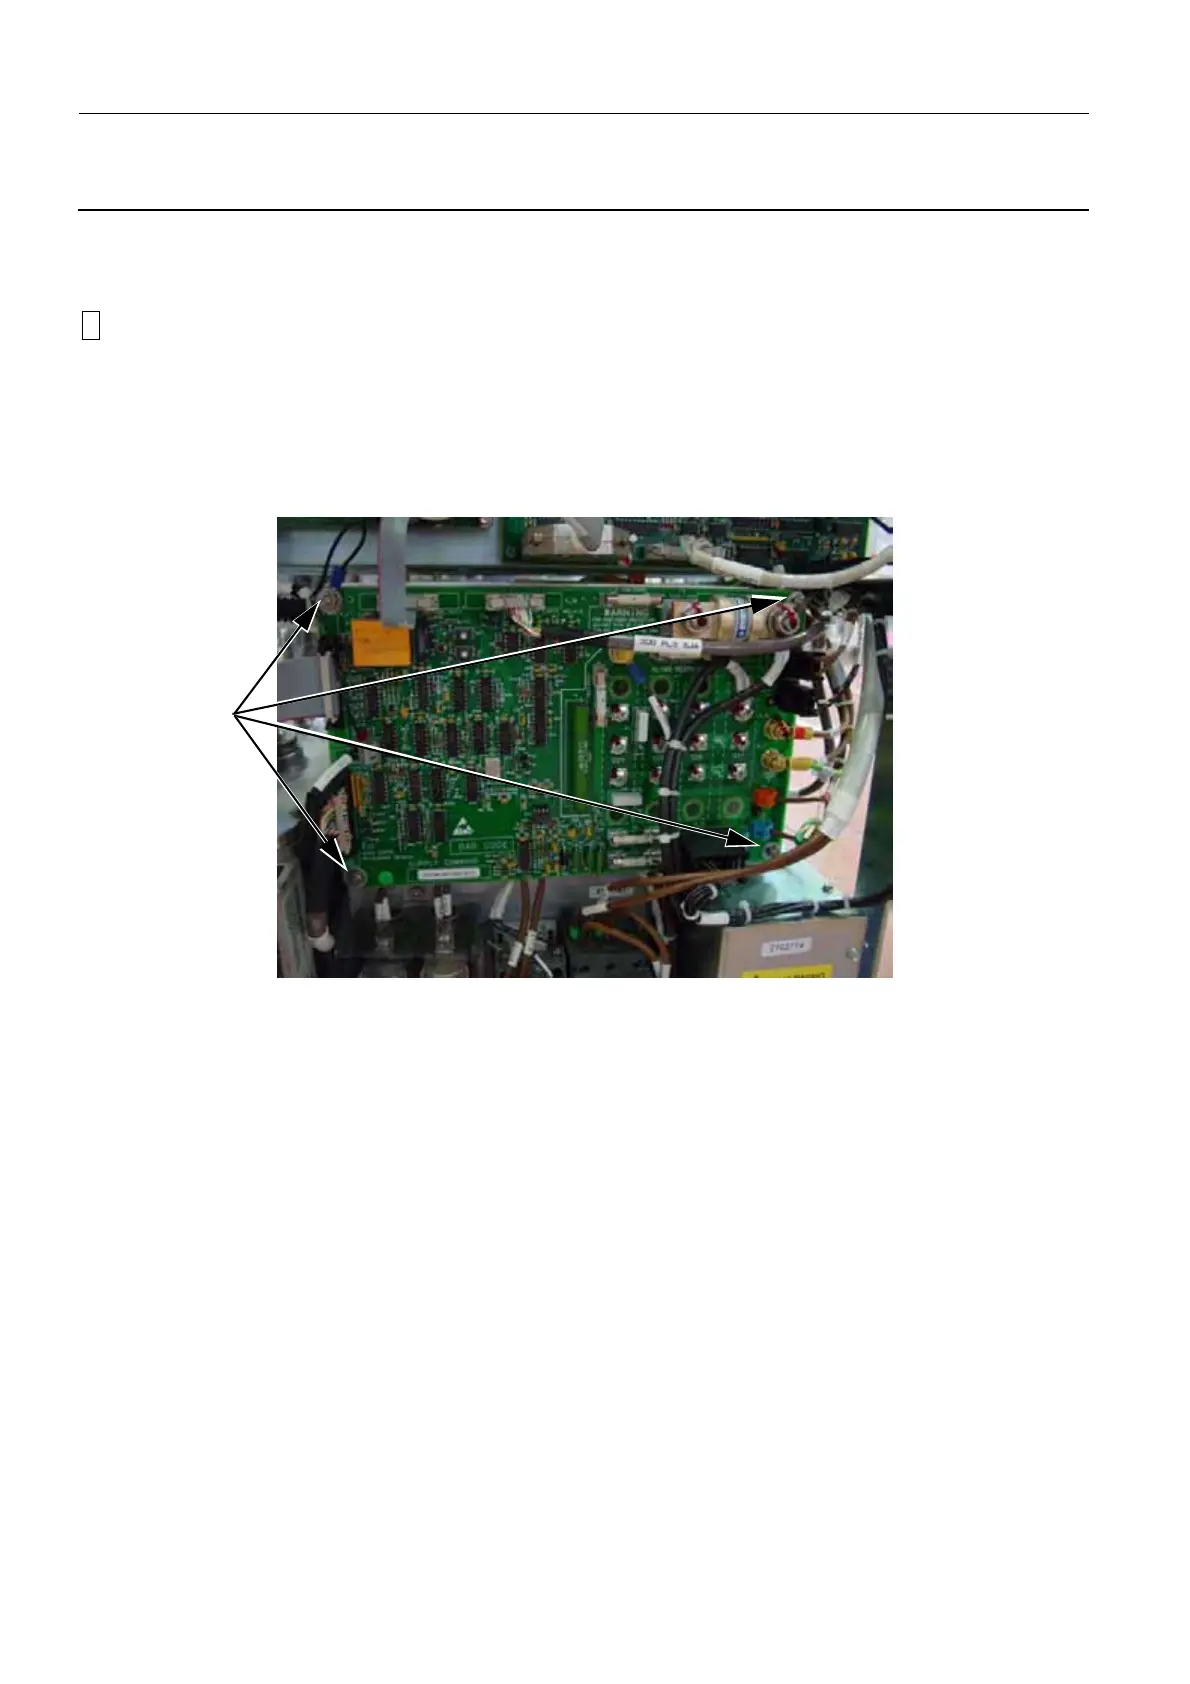
7. Disconnect all the cables from the Generator Supply Command board and make a mental note
where they connect to. Ensure that you do not move them too much so it is easier to re-connect them
later on.
!
Notice:
Disconnect with caution to avoid damage to the connectors and cables.
8. Remove the four nuts (1) (8 mm open ended wrench) that secure the Generator Supply Command
board to the Generator chassis. Carefully remove the defective Generator Supply Command board.
The top left nut also attaches a black cable to the Generator Supply Command board – do not move
this cable too far as you will re-connect it when you install the new Generator Supply Command
board.
9. Put the defective Generator Supply Command board in an anti-static bag.
1

 Loading...


