Chapter 6 Page no. 426
JC-PHY-A-009.fm
GE Healthcare Senographe DS
Revision 1 Service Information and Procedures Class A 2385072-16-8EN
Job Card PHY A009 - Opposite Side Rotative Arm Installation
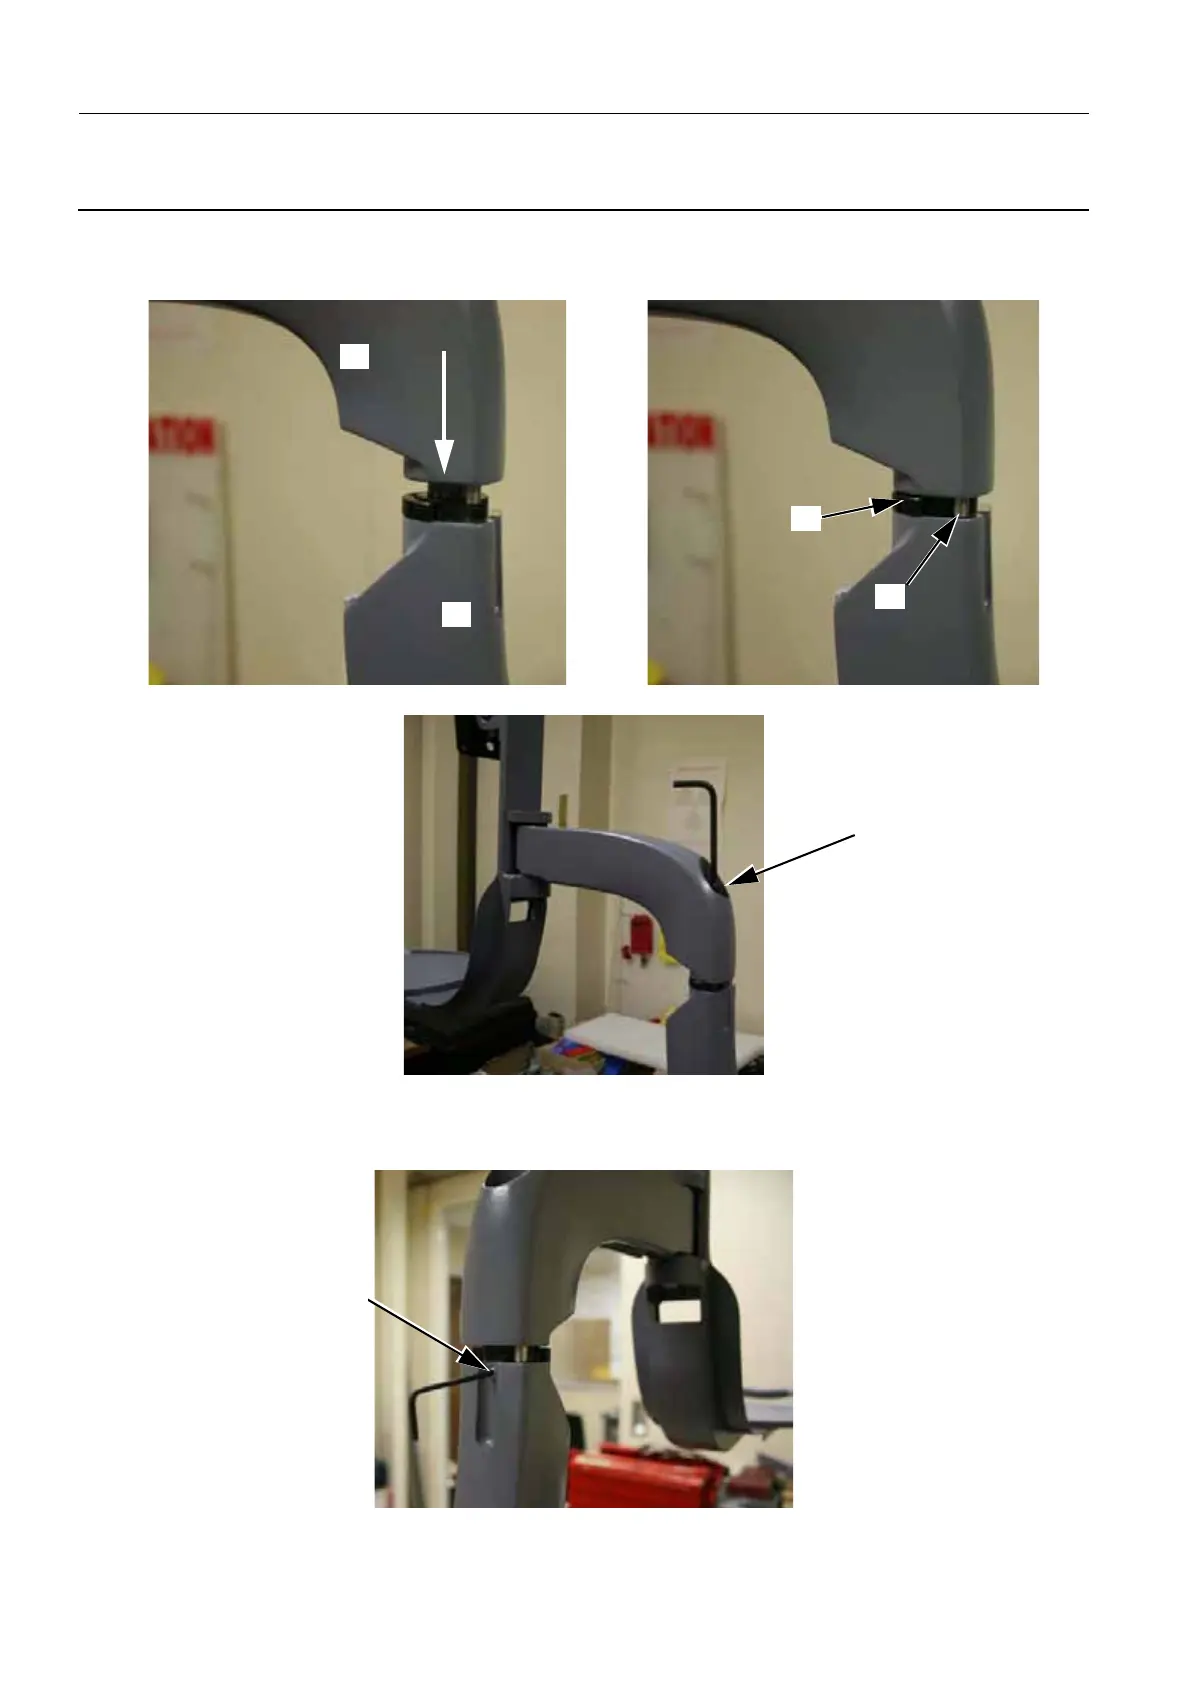
22. Put the upper part (26) of the rotative arm back on to the rotative arm support (27). When in close
proximity to the left stop bracket (28), ensure that the stop bracket screw (29) fits between the gap on
the left stop bracket.
23. Put the large allen screw (30) back in place on the joint of the rotative arm (6 mm allen wrench).
24. Use the torque wrench to tighten the large allen screw to 1.5 Nm
± 0.5 Nm.
25. Turn the allen screw (31) at the joint of the rotative arm anti-clockwise until it no longer moves
(2.5 mm allen wrench).
29
26
27
28
30
31

 Loading...


