GE Healthcare Senographe DS
Revision 1 Service Information and Procedures Class A 2385072-16-8EN
Job Card PHY A009 - Opposite Side Rotative Arm Installation
Page no. 433 Chapter 6
JC-PHY-A-009.fm
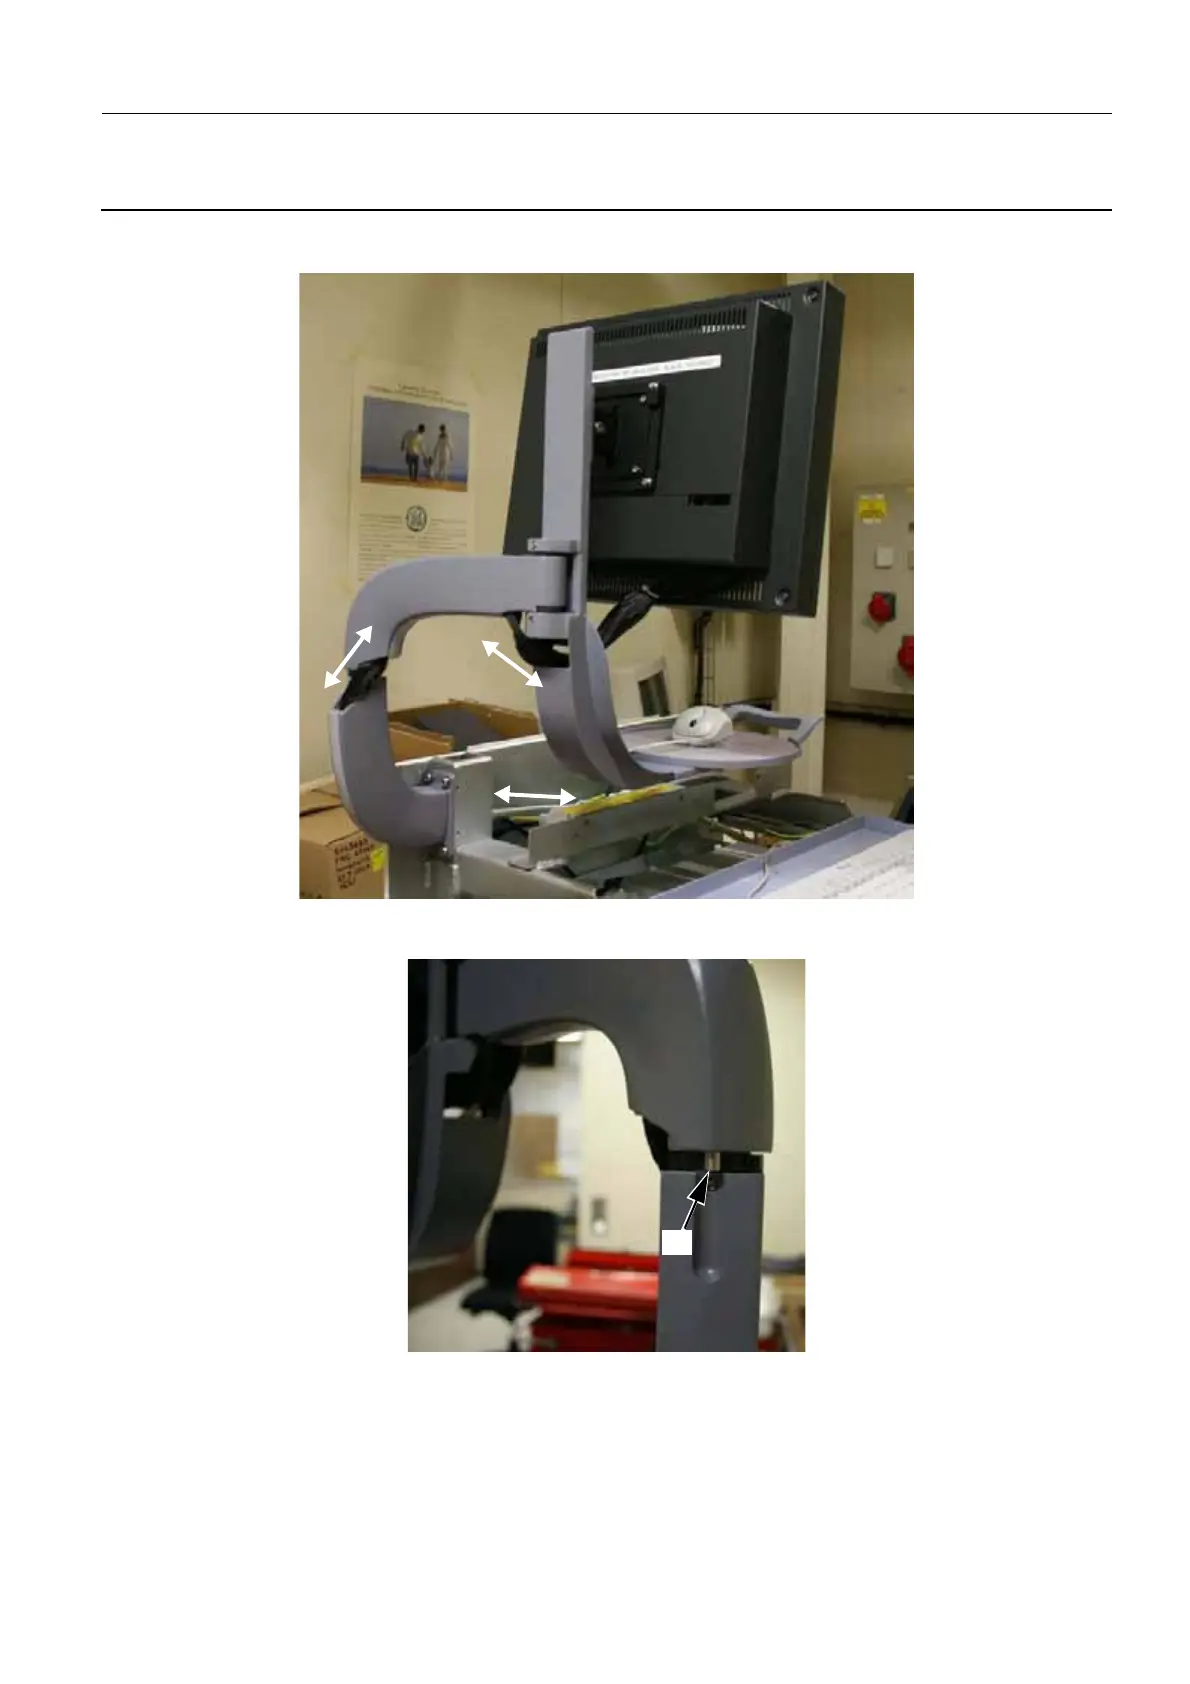
40. Turn the rotative arm though all extremes, and check that the harness, monitor cables, and mouse
cable are free to move as indicated below.
41. When moving the rotative arm through the extreme positions, check that the stop bracket screw (45)
is correctly positioned to avoid a collision with the radiation screen.
42. Install the crock on the opposite side of the Control Station, secure it with two screws (3 mm allen
wrench), but do not tighten the screws.
43. Connect the ground cable to the crock.
44. During reinstallation of the Omega Cover, adjust the position of the crock and tighten the two screws
to secure it (3 mm allen wrench).
45

 Loading...


