Chapter 6 Page no. 510
JC-PHY-A-040.fm
GE Healthcare Senographe DS
Revision 1 Service Information and Procedures Class A 2385072-16-8EN
Job Card PHY A040 - Remove/Reinstall Control Station Covers
9. Repeat steps 4 to 8 for the Omega cover on the other side of the Control Station.
10. Attach all the screw covers (9) to the fixing points of the edge pinches.
11. If the radiation screen is present, attach the main frame-radshield joint (10).
12. Ensure that the Control Station covers have been correctly fastened and all blanking disks are cor-
rectly installed.
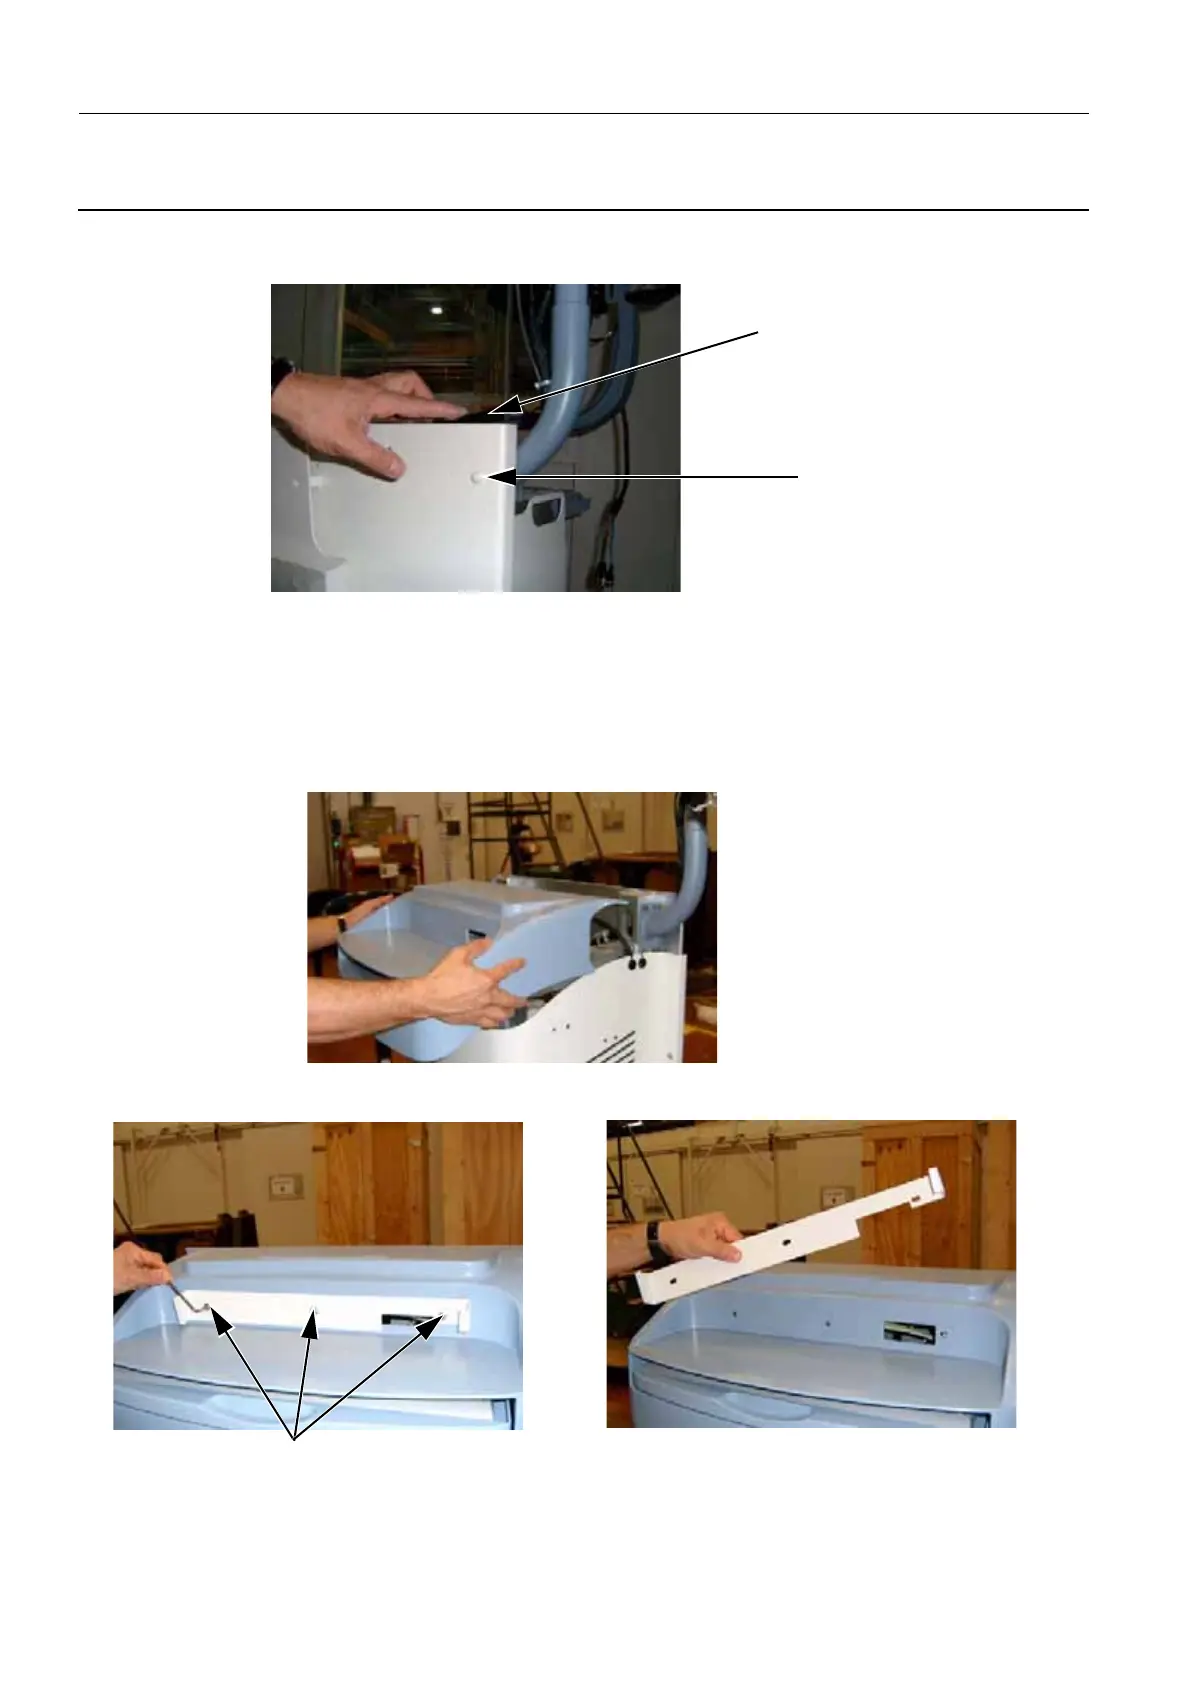
6-4 Top Cover Reassembly
1. Carefully slide the blue top cover on to the top of the Control Station. Ensure that its three holes are
aligned with the three threaded holes on the Control Station framework..
2. Use the three screws (1) to secure the bar (4 mm allen wrench) and the blue top cover on to the Con-
trol Station.
3. Ensure that the Control Station top cover has been correctly fastened.
10
9
1

 Loading...


