GE Healthcare Senographe DS
Revision 1 Service Information and Procedures Class A 2385072-16-8EN
Job Card ELE A008 - Configuring the 21-inch 3MP Monitor
Page no. 557 Chapter 7
JC-ELE-A-008.fm
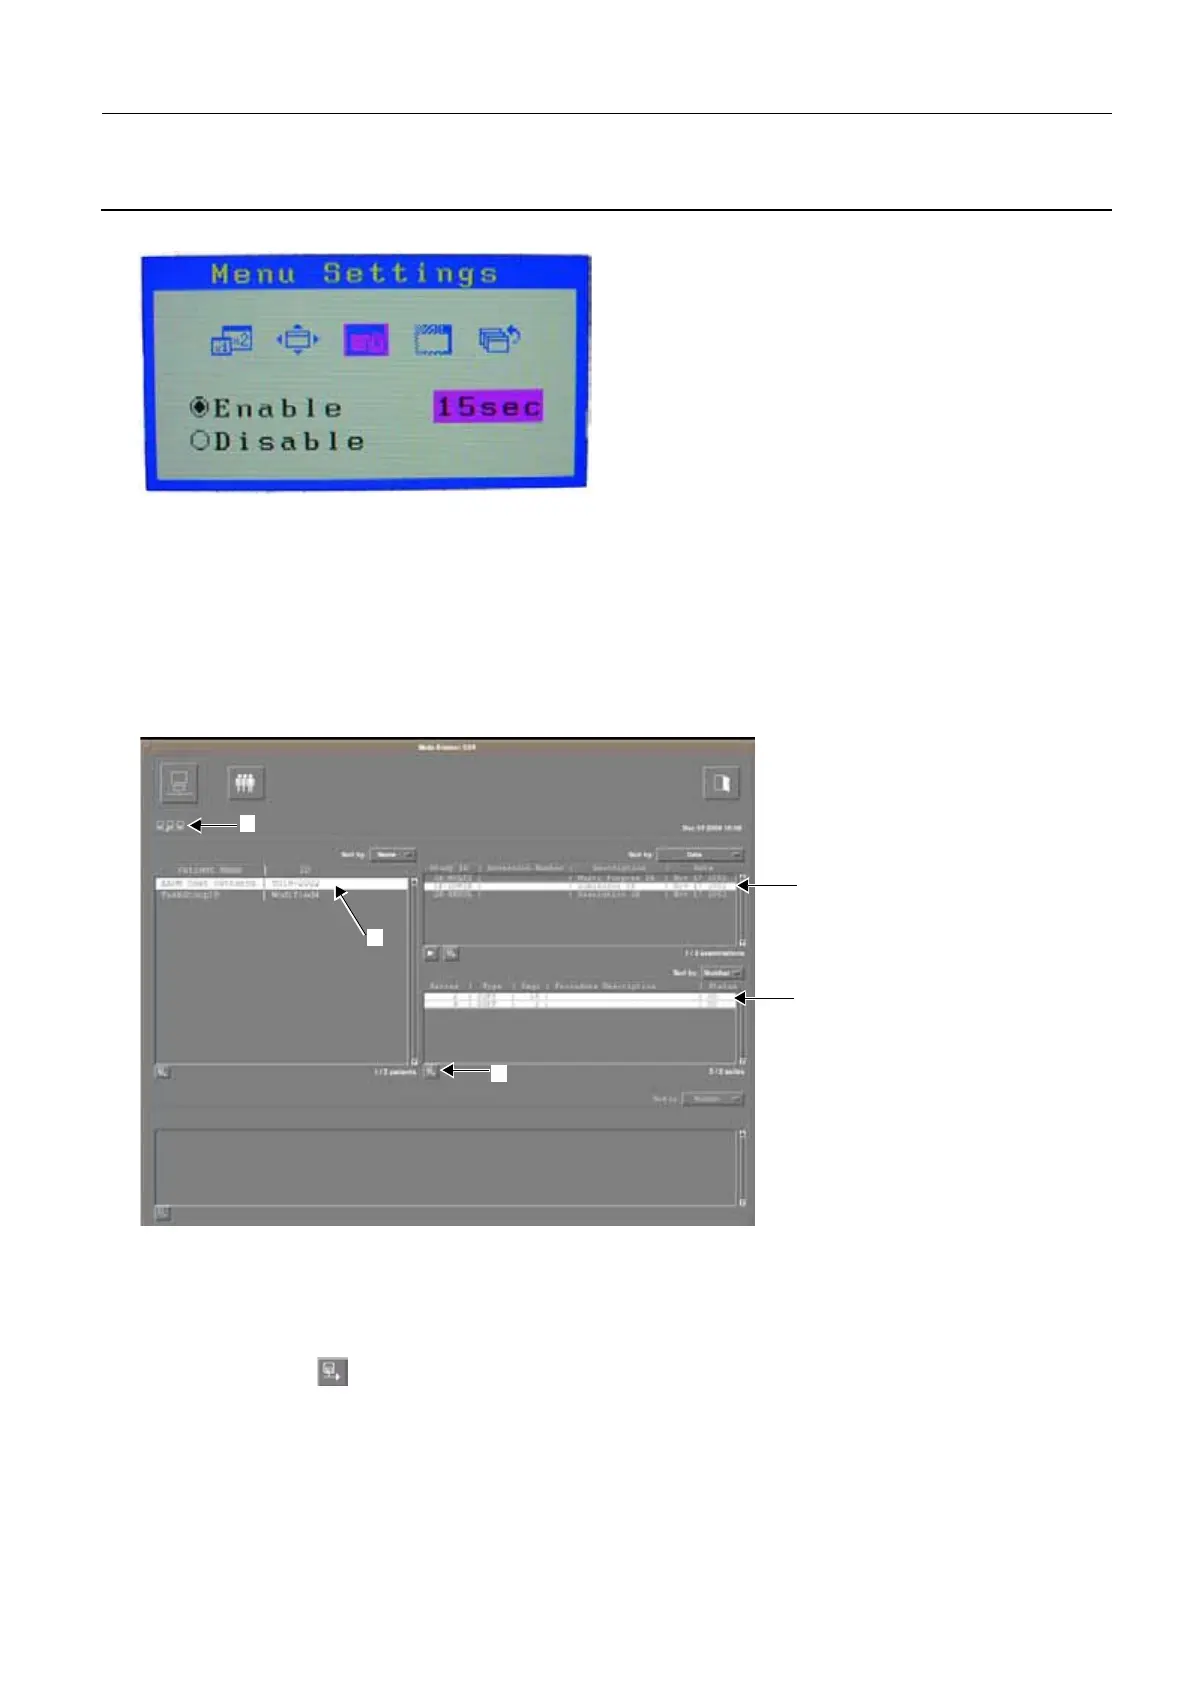
change the time to 15 sec.
6. When the settings for each mode are as described and shown above, double tap the Enter button to
store the settings and close the Setup - Mode Preset window.
7-2-6 Ensure DICOM Mode is Operating at a Luminance of 400 cd/m²
1. Ensure that the 21-inch 3MP Monitor has been powered on for at least 30 minutes. The 30 minute
warm up period is necessary before performing the luminance tests.
2. Insert the Test Pattern CD-ROM into the DVD-ROM drive of the ADS Computer.
3. In the Browser, click the CDR read/write icon and select Query from the menu that appears.
A Media Browser:CDR window appears.
4. From the Media Browser:CDR window:
a. Select the AAPM Test Patterns patient.
b. Select the 1K-LUMIN Study ID.
c. Select the 2 Series .
d. Click the Disk icon under the Series list. From the Restore dialog box that appears, click OK.
e. The test patterns from the Test Pattern CD-ROM are transferred to the patient list on the ADS
Computer. During this transfer time, an animated data transfer icon towards of the top left of the
Media Browser:CDR window appears. When the transfer of the test patterns is complete, the data
transfer icon disappears.
d
a
b
c
e

 Loading...


