Chapter 7 Page no. 636
JC-ELE-A-021.fm
GE Healthcare Senographe DS
Revision 1 Service Information and Procedures Class A 2385072-16-8EN
Job Card ELE A021 - Networking Connection and Configuration
and press the <F2> key to continue.
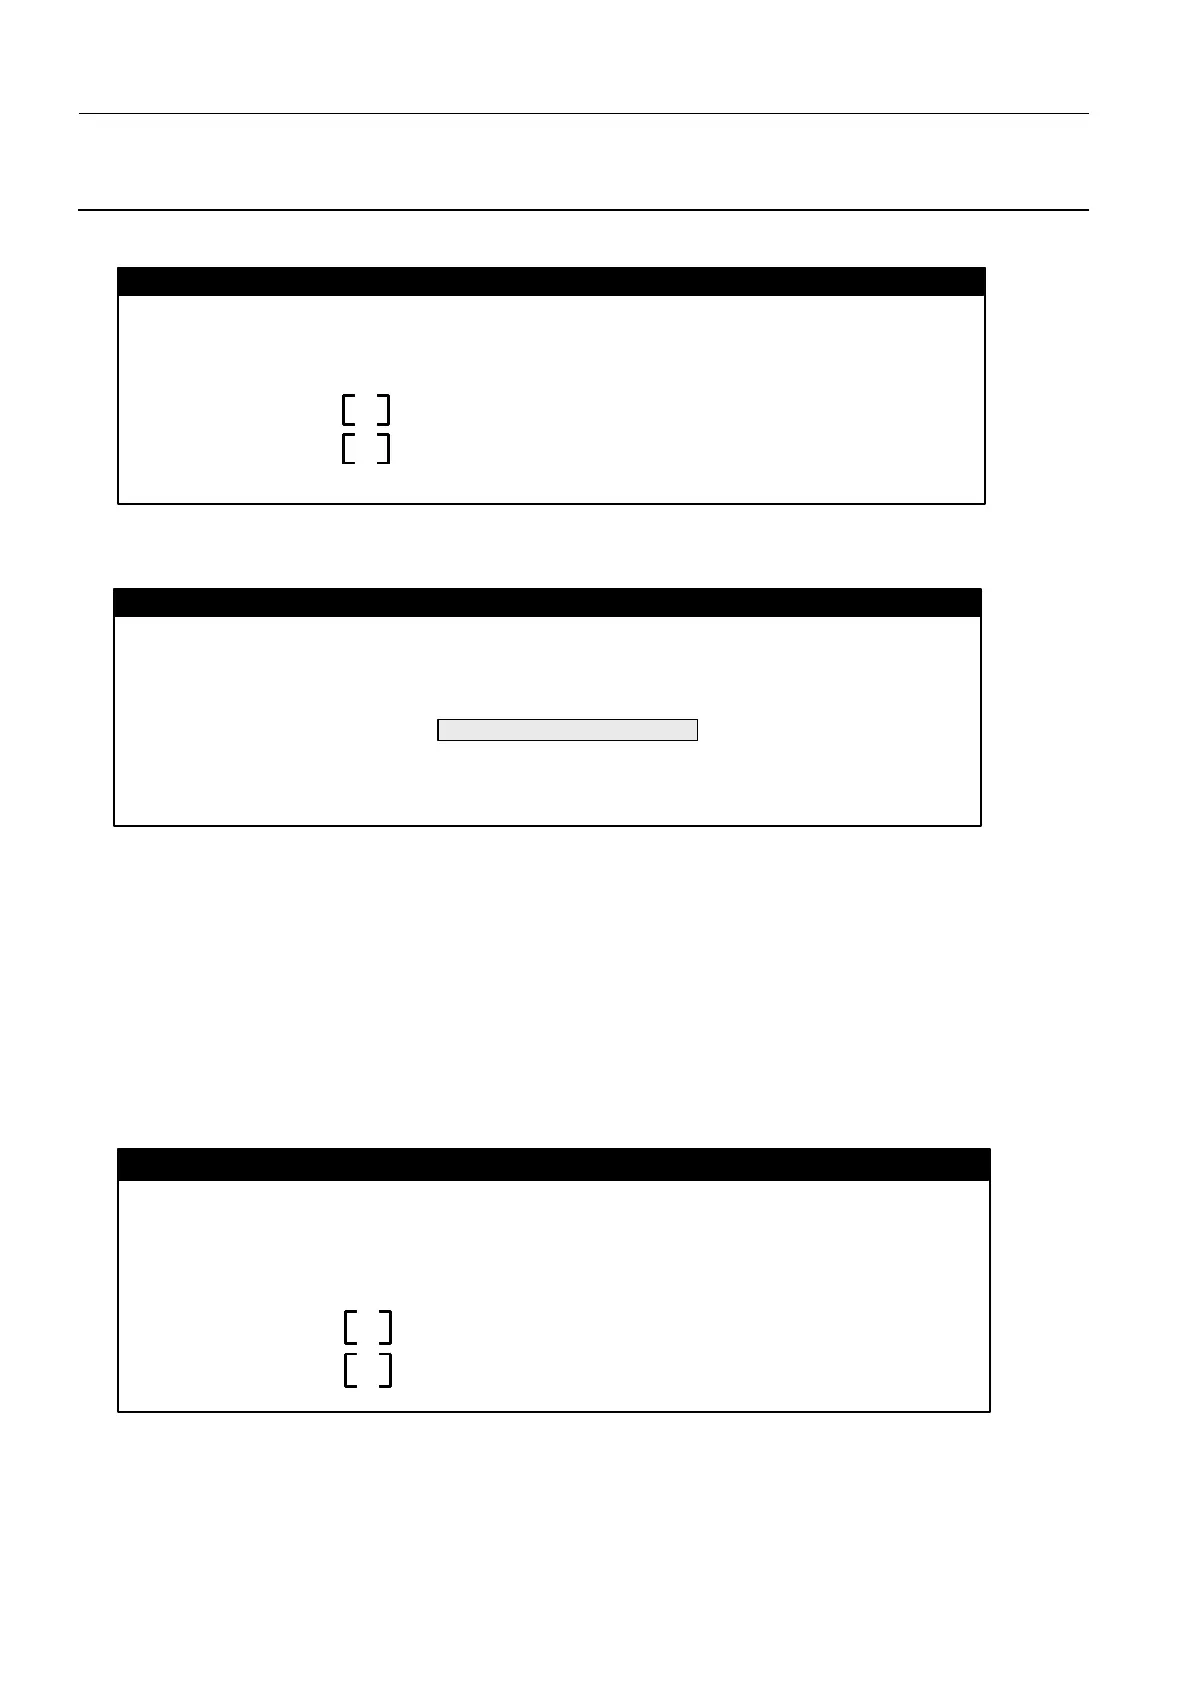
7. A Netmask screen appears with a default netmask of 255.255.255.0..
Specify an appropriate netmask as follows:
• lf the Hospital Network Administrator has given you a different netmask to the default value of
255.255.255.0, erase the displayed default Netmask by back-spacing over it. Then type in the
new Netmask address.
• If the Hospital Network Administrator has not given you a different netmask to the default value of
255.255.255.0, leave the default Netmask of 255.255.255.0 as is.
Press the <F2> key to continue.
8. At the IPv6 for nge0 screen, ensure that No is selected for the Use IPV6 option, and press the <F2>
key to continue.
9. At the Set the Default Route for nge0 screen, ensure that None is selected for the Default Route for
On this screen you must specify whether this system is ...
System part of a subnet
Yes
No
X
Subnet for nge0
‐‐‐‐‐‐‐‐‐‐‐‐‐
X
On this screen you must specify the netmask for your ...
.........................
Netmask for nge0
Netmask for nge0
255.255.255.0
Enable IPV6 for nge0
Yes
No
X
Specify whether or not you want to enable IPv6, the next ...
.........................
IPv6 for nge0
--------------------
X

 Loading...


