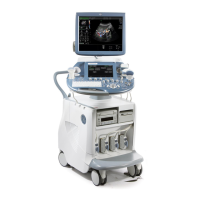
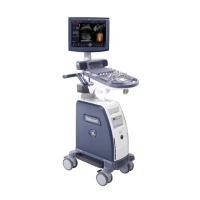
GE HEALTHCAREDRAFT VOLUSON E8 / VOLUSON E6
D
IRECTION KTD102576, REVISION 7 DRAFT (AUGUST 23, 2012) SERVICE MANUAL
Chapter 3 - Setup Instructions 3-11
3-5-2 Connecting the Black & White Printer
1.) Power OFF/Shutdown the system as described in: Section 3-6-3 on page 3-34.
2.) Connect the Black & White printer according to connection scheme, see: Figure 3-6 on page 3-12.
NOTE: The B&W printer should be connected to the USB3 port of the Voluson E8 / Voluson E6´s PC-part.
Location of the USB3 port depends on the installed PC-Motherboard.
3.) When all the cables are connected, press the Power ON switch on the Black & White printer.
4.) Power ON/Boot up the Voluson E8 / Voluson E6 system as described in Section 3-6-2 on page 3-
31. All software drivers are pre-installed for the designated Black & White printer only.
5.) After physical connection to the Voluson E8 / Voluson E6 system, assign the printer to a remote key
(P1
, P2, P3 and/or P4) as described in Section 3-7-5 "Remote Control Selection" on page 3-48.
6.) Verify the correct settings in the printer “Properties”, see: Section 3-7-4 "Adjustment of Printer
Settings" on page 3-41.
If the printer driver for the Mitsubishi P95D B&W printer is not pre-installed, install it manually by means
of the “Found New Hardware Wizard” and the printer driver disk which is included with this new printer.
!! WARNING:
After each installation, the leakage currents have to be measured according to
IEC 60601-1 respectively UL 60601-1.
 Loading...
