3 - Instrument Settings
44 / 112
000HZ6006EN.US • 02 • GEM Hemochron 100 Operator Manual
45 / 112
000HZ6006EN.US • 02 • GEM Hemochron 100 Operator Manual
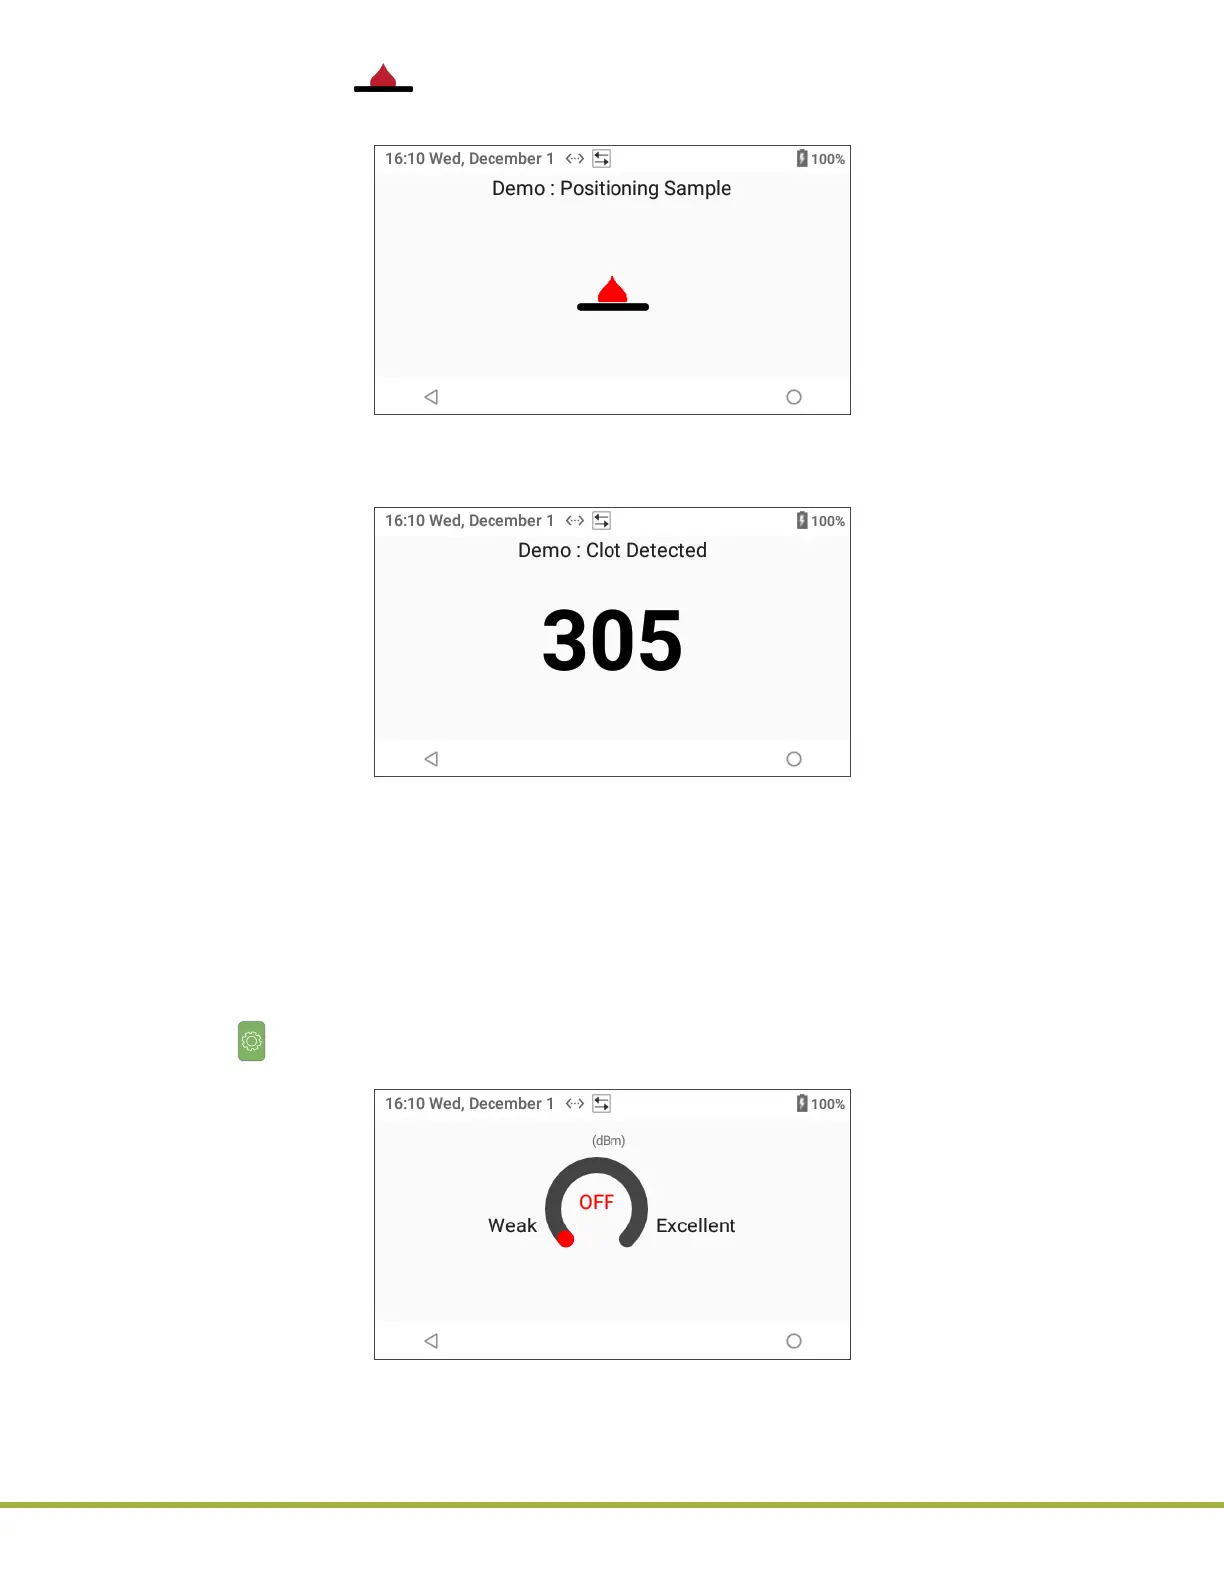
4 The demo displays (Sample in Test Channel), indicating the sample volume is adequate. The
instrument draws the sample into the test channel of the test cartridge and proceeds with the analysis of
the sample (
Figure 44
). At this point, the
Operator
would wait for the test results.
Figure 44
: Demo – Positioning Sample
5 The demo displays the test result as Celite equivalent ACT value in seconds when clotting is detected
(
Figure 45
). At this point, the
Operator
could view more details about the test.
Figure 45
: Demo – Clot Detected
This concludes the demo. For instructions on how to run a patient or LQC test, see the following:
● To run a patient test, see
“Run a Patient Test” (page 47)
.
● To run an LQC test, see
“Run an LQC Test” (page 59)
.
3.5
Wi‑Fi Signal Strength
To see the details for the wireless network, see
“Check the Quality of a Wireless Network Signal” (page 37)
.
To check the strength of a wireless signal:
● Select (Settings) > Wi-Fi Signal Strength.
NOTE: Signal Strength is the Wi-Fi RSSI. The indicator is a relative indication (Figure 46).
Figure 46
: Wi-Fi Signal Strength (Wi-Fi RSSI)
 Loading...