5 June 2020 CasTemp Wireless including CasTemp Superheat Page 6
4. Click on QUBE CTW module number.
5. Click on Update:
a. On the QUBE CTW module both lights will flash for several minutes during update,
however the software might indicate completion before this. DO NOT close this
screen until the module completes
b. IMPORTANT: The operation is only complete when the two amber LED’s on the
QUBE CTW module stop flashing, and the module reverts to a green “ready to pair”
LED
c. IMPORTANT: The update process locks the instrument onto location ID 41 for a few
minutes, preventing the pairing of other instruments. It is recommended that firmware
upgrade is carried out offline in a workshop environment.
6. Repeat steps 2 and 3 to confirm firmware is correct.
7. Close the menus and test that the QUBE CTW module correctly pairs (Section 4.2).
Recovery of a module
In the event of a failure to complete the update, the module may be recovered as follows:
a. Set the location ID to 0 and click on Search
b. Immediately start the module, it should be found quickly
c. Repeat steps 3-6.
If this does not work, return the module for repair.
Note: On start-up, the module may be briefly located on location ID 0, regardless of whether
functional firmware is installed.
7.5 Download Data
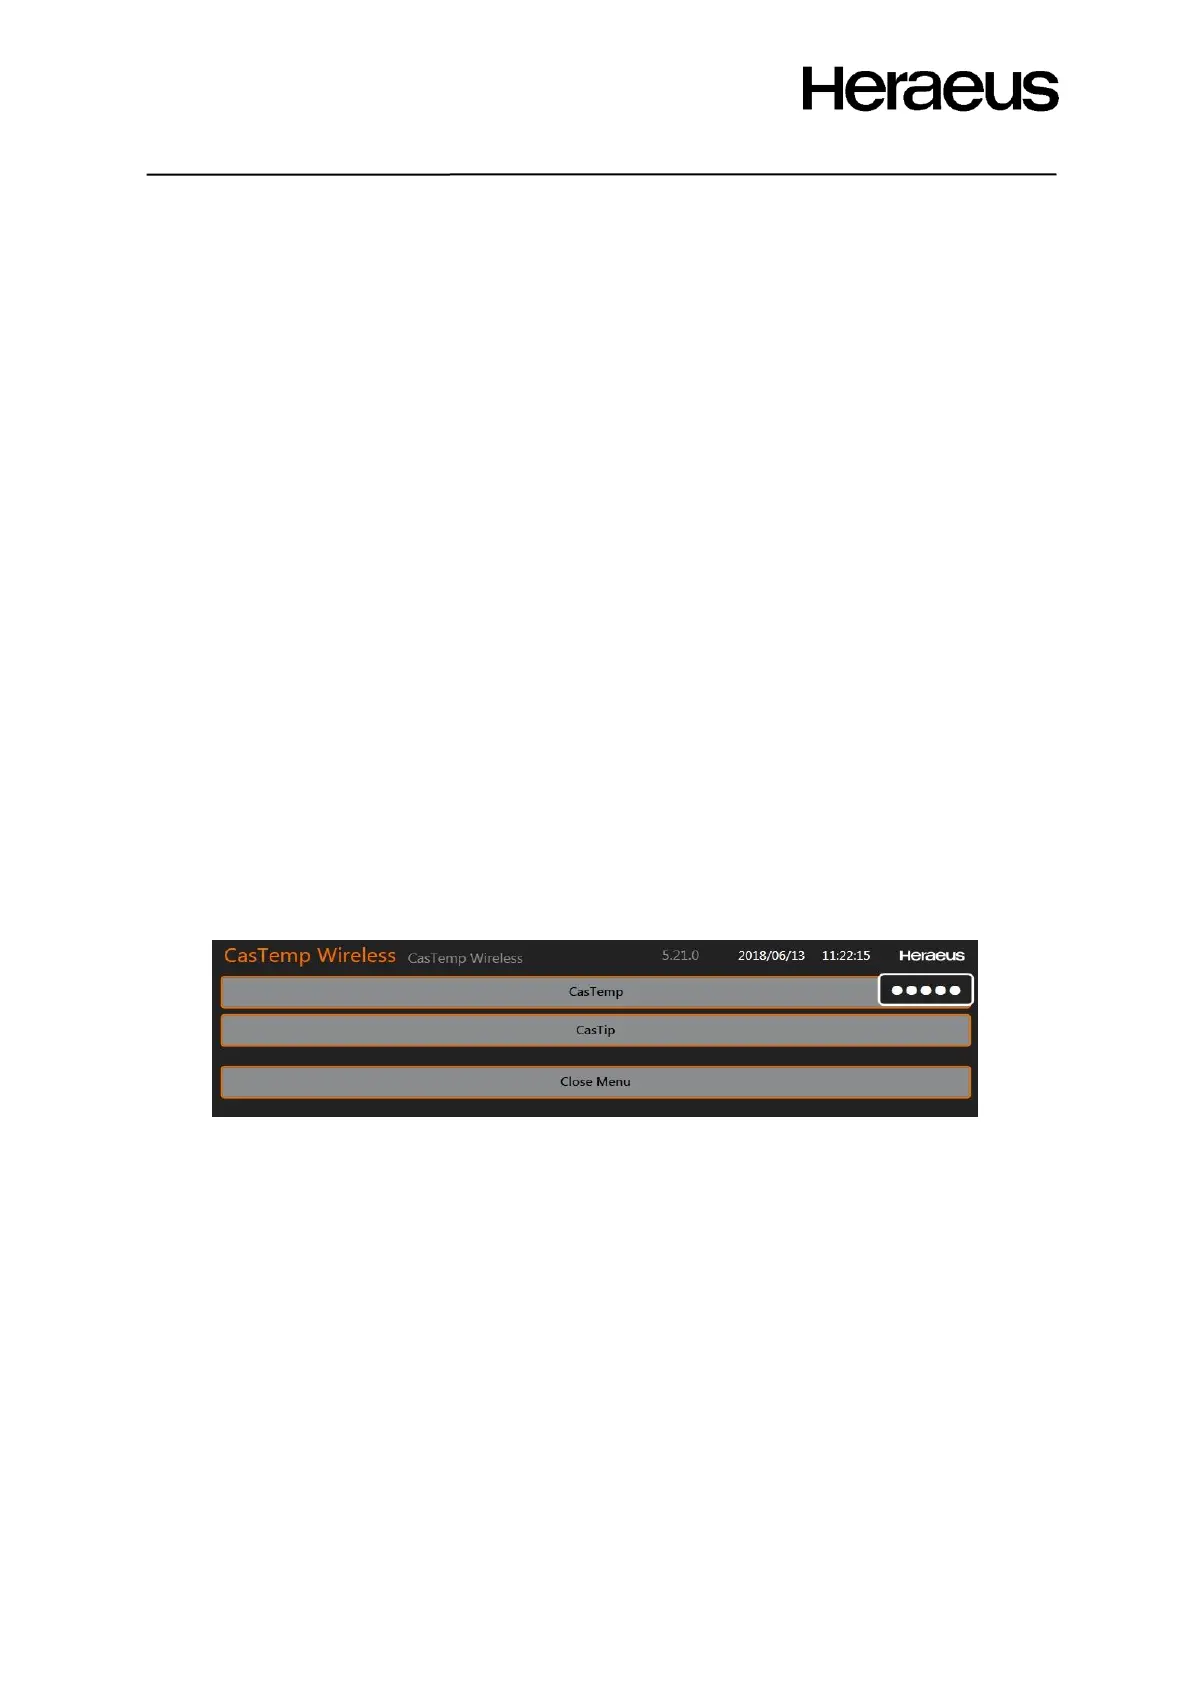
Click the Download Data button to access the Download Data screen. The screen of Figure 71 pops
up.
Figure 71: Download Data window
Choose between CasTemp and CasTip to download the relevant information. Set a directory
destination to export measurement values to. This can be on the hard drive or a removal drive. Use
the Browse button to set the path correctly. Then:
• Select the stored values for a pairing sequence individually, by use of the check boxes. Each
line selected will be highlighted. They can be unselected by removing the check.
• Select ‘Export measurements’: this will report start / stop values
• Select ‘Export samples’: this will report the values measured
The exported data is in the form of a CSV file which can read imported into a suitable program or
spreadsheet for interrogation.