EasyManuals Logo

Hitachi IJ UX Service Manual

Hitachi IJ UX
308 pages
To Next Page IconTo Next Page
To Previous Page IconTo Previous Page
Page #152 background imageLoading...
Page #152 background image
4-19
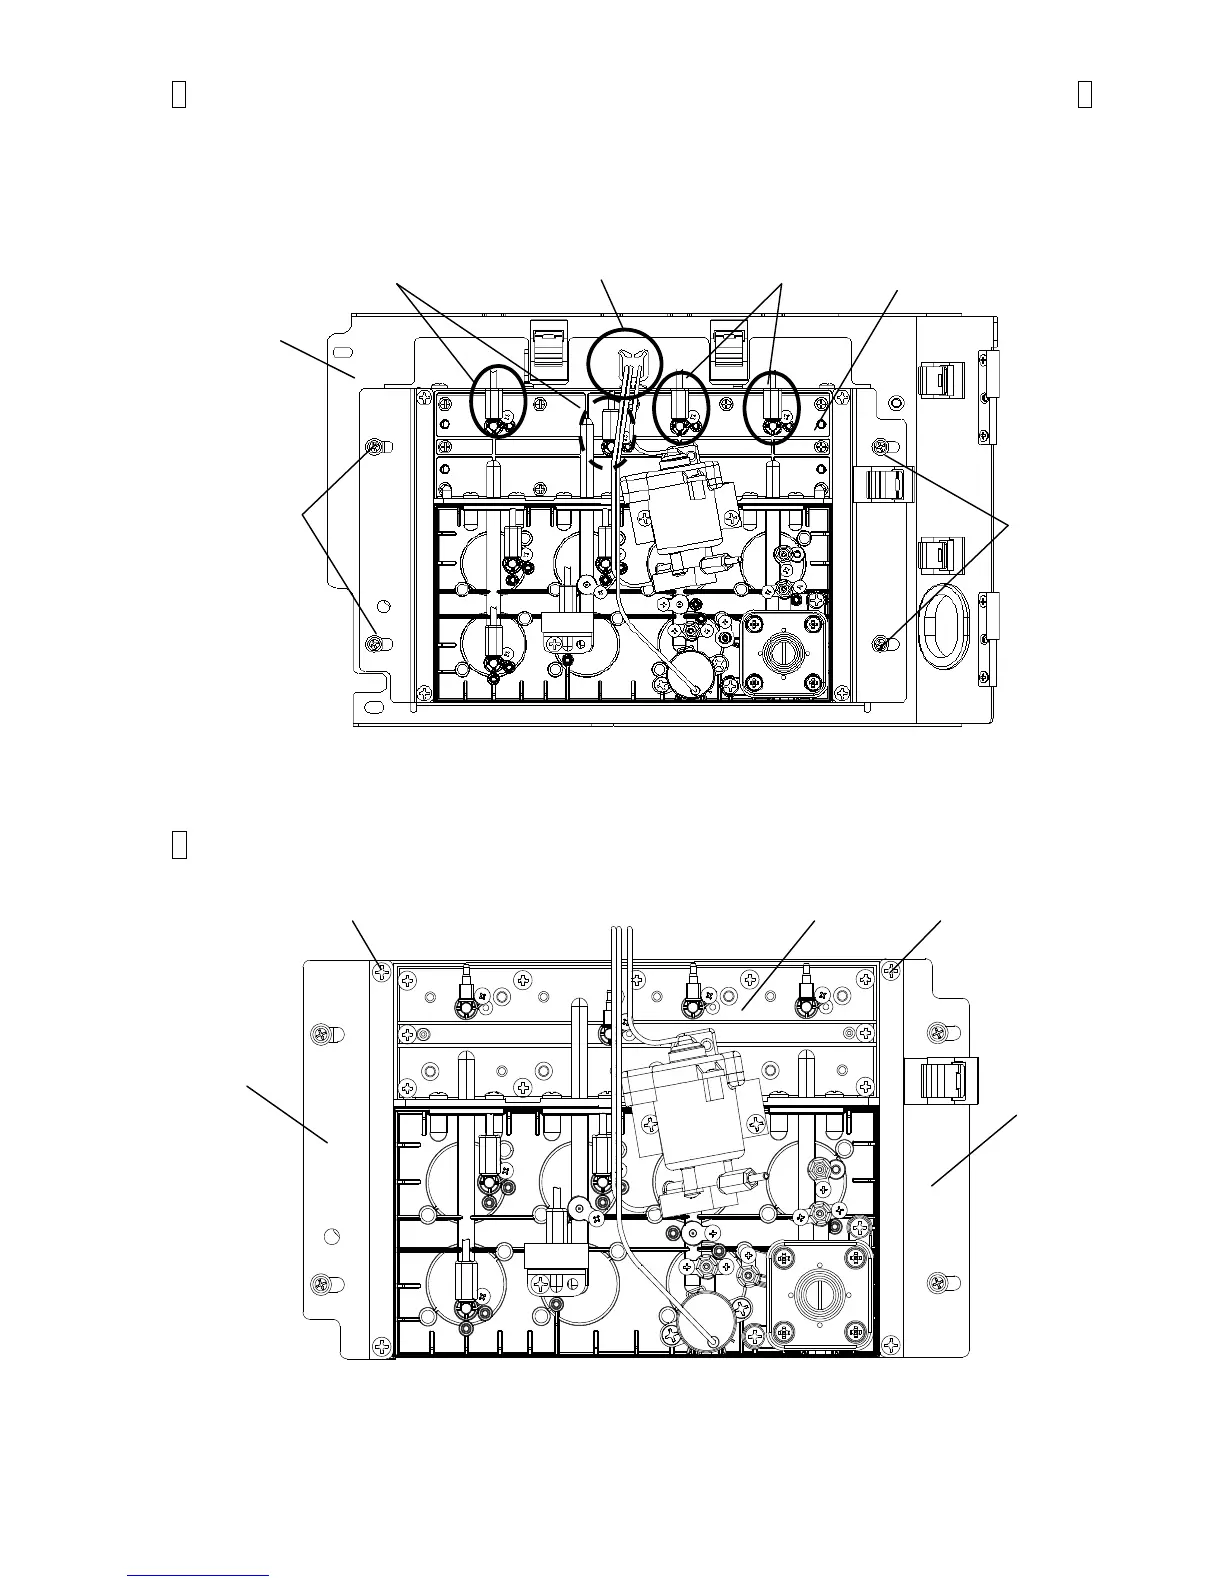
6 Pull out connectors(6 positions) toward the front, which were disengaged in item 5
above. Then, remove the tubes (4 positions) and remove the screws (2 positions) that fix
the pump unit on the door.
(Remove the tube from the ICU joint, which is shown by dashed line. Remove the other
tubes (3 positions) by loosening the tube locks.
7 Remove two screws which are located topside. These screws are fixing ICU Fixing plate
to Pump unit.
Fixing screw
Fixing screw
ICU fixing plate
ICU fixing plate
Pump unit
Pull out connectors(6 positions)
Tubes
Tube
Fixing screws
Fixing screws
Door
Pump unit

Table of Contents

Other manuals for Hitachi IJ UX

Questions and Answers:

Question and Answer IconNeed help?

Do you have a question about the Hitachi IJ UX and is the answer not in the manual?

Hitachi IJ UX Specifications

General IconGeneral
BrandHitachi
ModelIJ UX
CategoryPrinter
LanguageEnglish

Related product manuals