Assembly Access
4-57
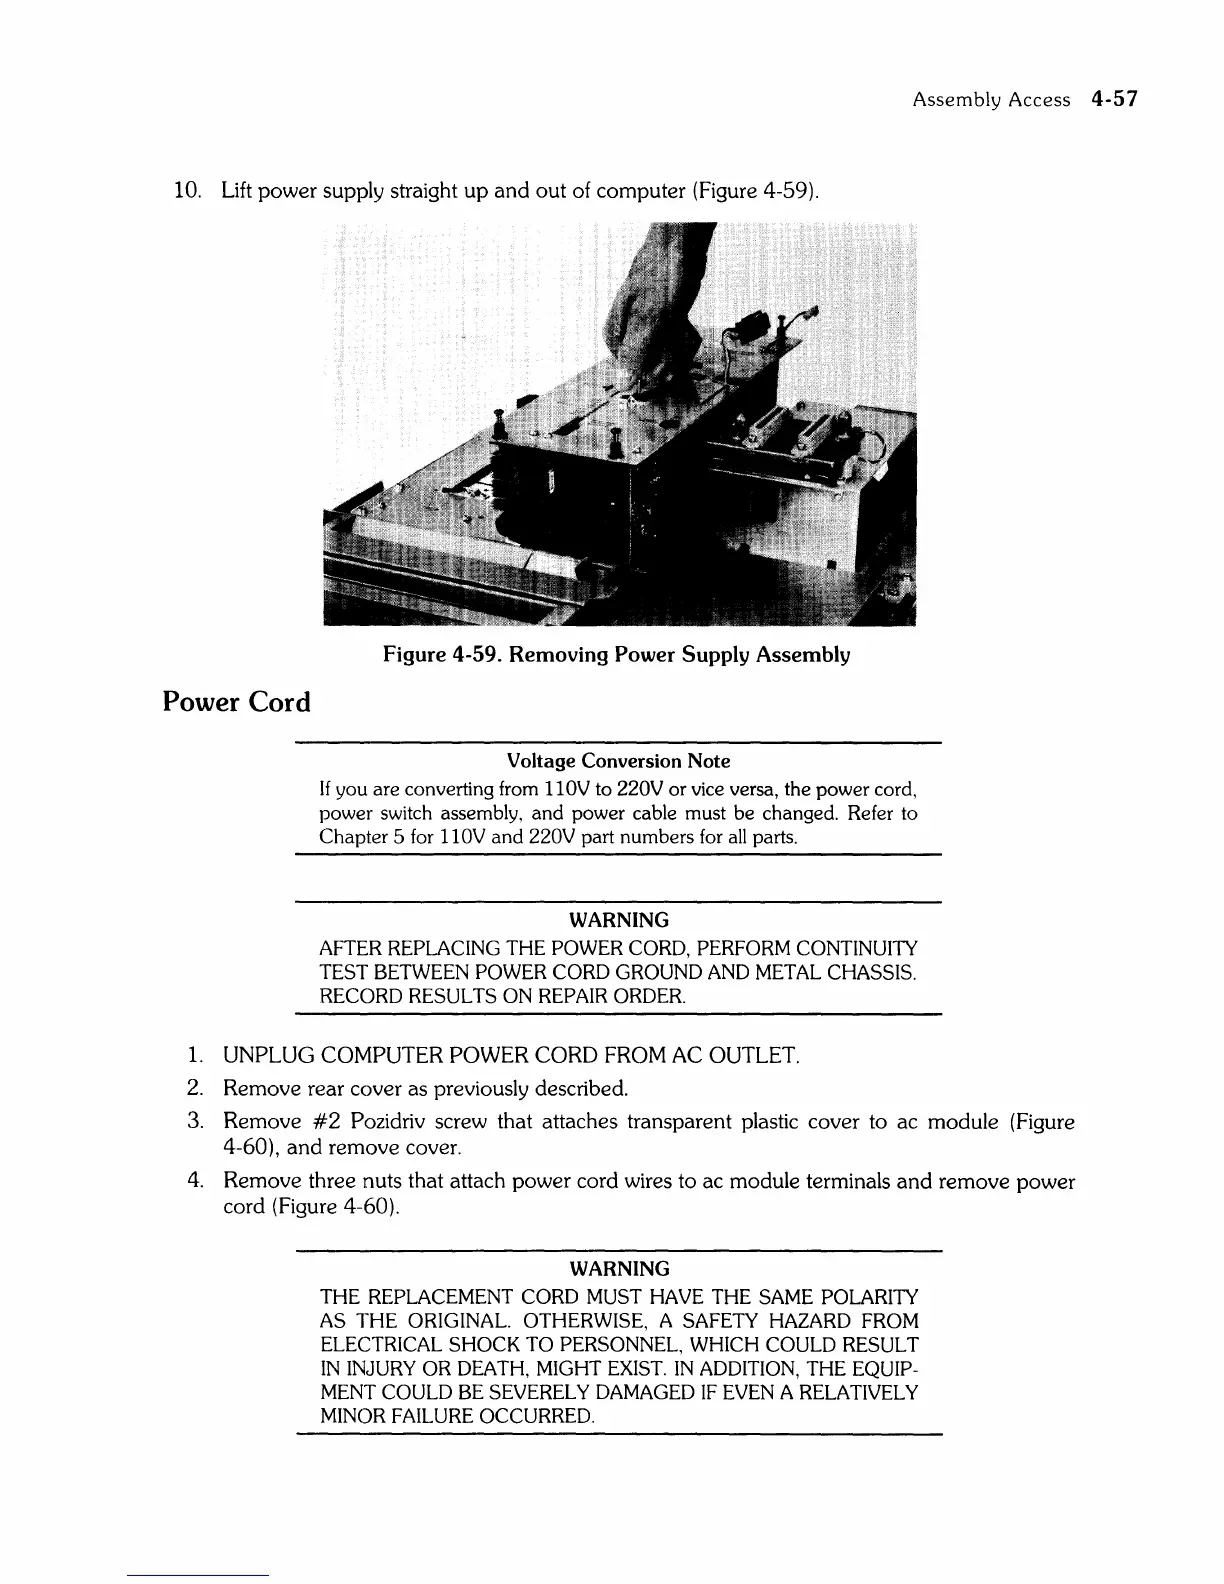
10.
Lift
power supply straight
up
and out of computer (Figure 4-59).
Power Cord
Figure 4-59. Removing Power Supply Assembly
Voltage Conversion Note
If you are converting
from
110V to 220V or
vice
versa, the power cord,
power
switch
assembly, and power cable must be changed. Refer
to
Chapter 5
for
110V and 220V part numbers
for
all
parts.
WARNING
AFTER
REPLACING
THE
POWER
CORD,
PERFORM
CONTINUITY
TEST
BETWEEN
POWER
CORD
GROUND
AND
METAL
CHASSIS.
RECORD
RESULTS
ON
REPAIR
ORDER.
1.
UNPLUG COMPUTER POWER CORD FROM
AC
OUTLET.
2.
Remove rear cover as previously described.
3. Remove
#2
Pozidriv screw that attaches transparent plastic cover to ac module (Figure
4-60), and remove cover.
4.
Remove three nuts that attach power cord wires to ac module terminals
and
remove power
cord (Figure
4-60).
WARNING
THE
REPLACEMENT
CORD
MUST
HAVE
THE
SAME
POLARITY
AS
THE ORIGINAL. OTHERWISE, A
SAFETY
HAZARD
FROM
ELECTRICAL
SHOCK
TO
PERSONNEL, WHICH
COULD
RESULT
IN
INJURY
OR
DEATH,
MIGHT
EXIST.
IN
ADDITION,
THE
EQUIP-
MENT
COULD
BE
SEVERELY
DAMAGED
IF
EVEN
A
RELATIVELY
MINOR
FAILURE
OCCURRED.