4-52
Assembly
Access
4.
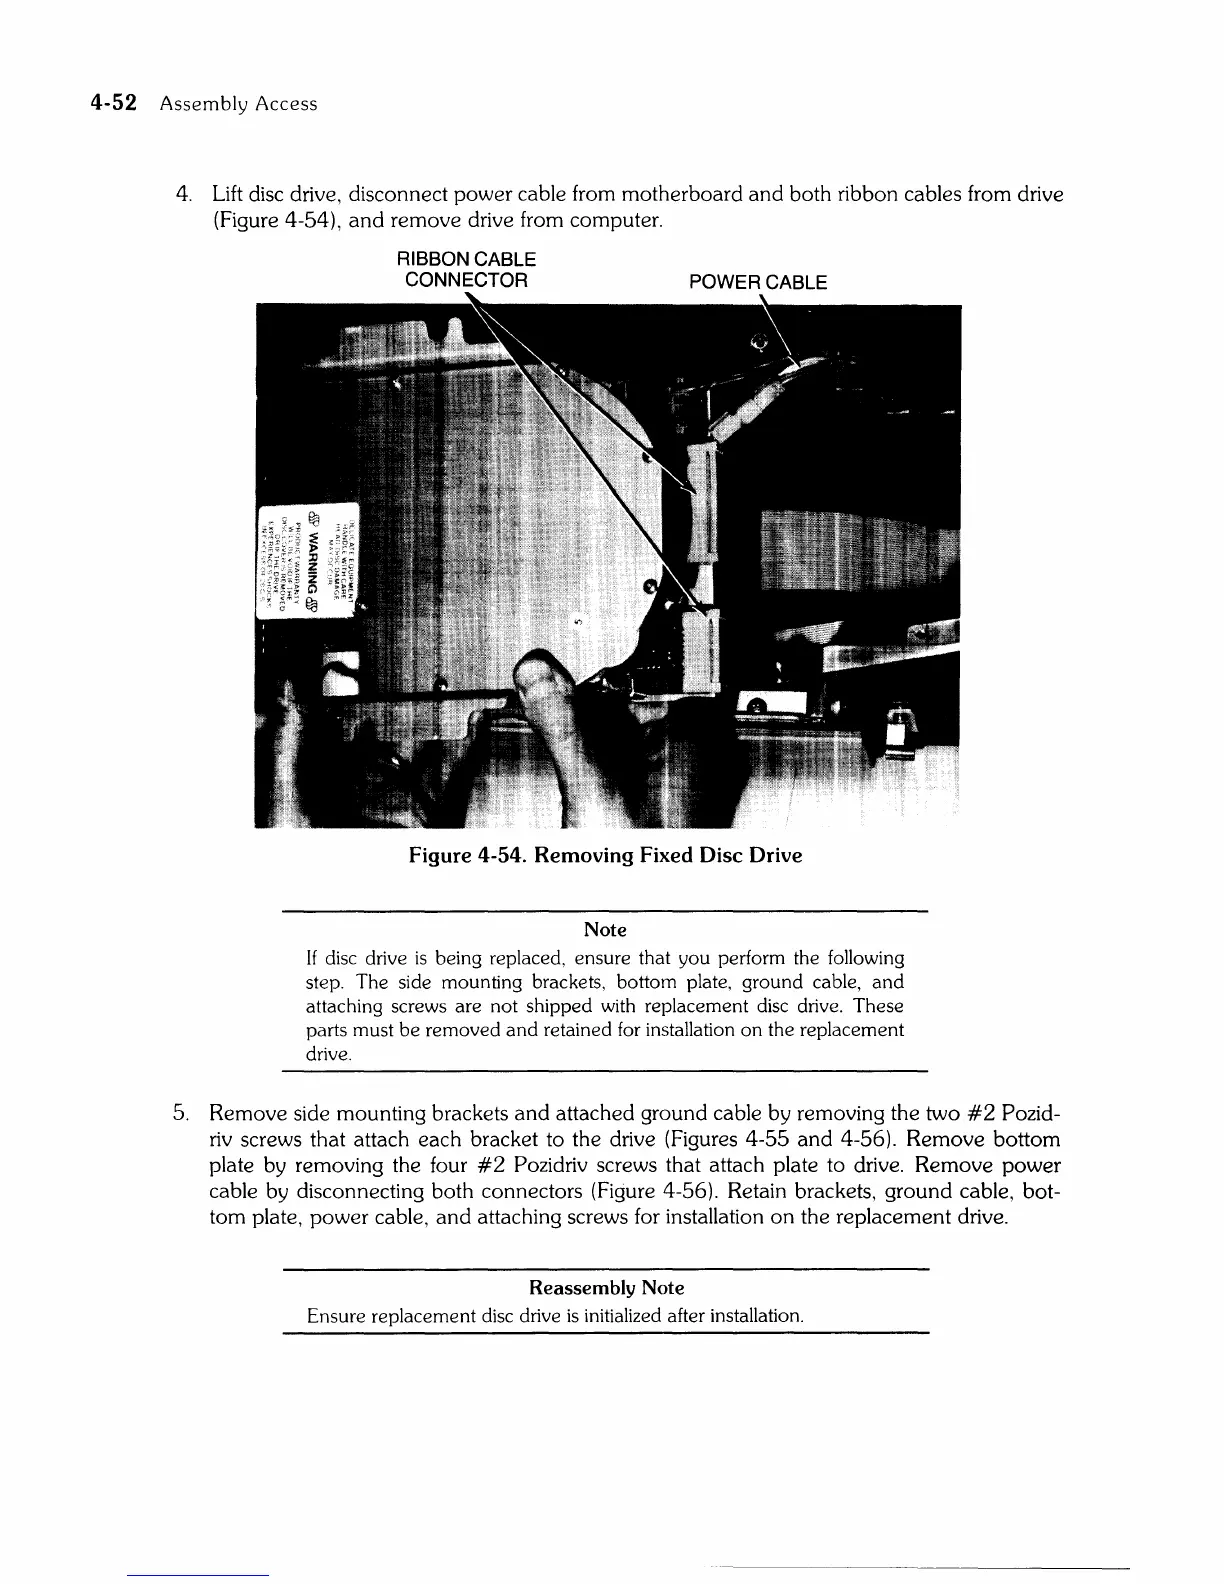
Lift
disc drive, disconnect power cable from motherboard
and
both ribbon cables from drive
(Figure 4-54),
and
remove drive from computer.
RIBBON CABLE
CONNECTOR
POWER CABLE
Figure 4-54. Removing Fixed Disc Drive
Note
If disc drive
is
being replaced, ensure that you perform the following
step. The side mounting brackets, bottom plate, ground cable,
and
attaching screws are not shipped with replacement disc drive. These
parts must
be
removed
and
retained for installation
on
the replacement
drive.
5. Remove side mounting brackets
and
attached ground cable by removing the two
#2
Pozid-
riv
screws that attach each bracket to the drive (Figures 4-55
and
4-56). Remove bottom
plate by removing the four
#2
Pozidriv screws that attach plate to drive. Remove
power
cable by disconnecting both connectors (Figure 4-56). Retain brackets, ground cable, bot-
tom plate, power cable,
and
attaching screws for installation
on
the replacement drive.
Reassembly Note
Ensure replacement disc drive
is
initialized after installation.