09/01/133.24 | Installaon www.HandiQuilter.com
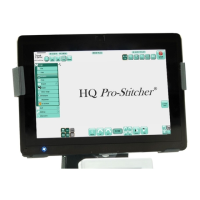
3. The Y end of the power cord that is not aached to
the P-Pod should be aached to the power supply at
the back end of the Pro-Stcher carriage.
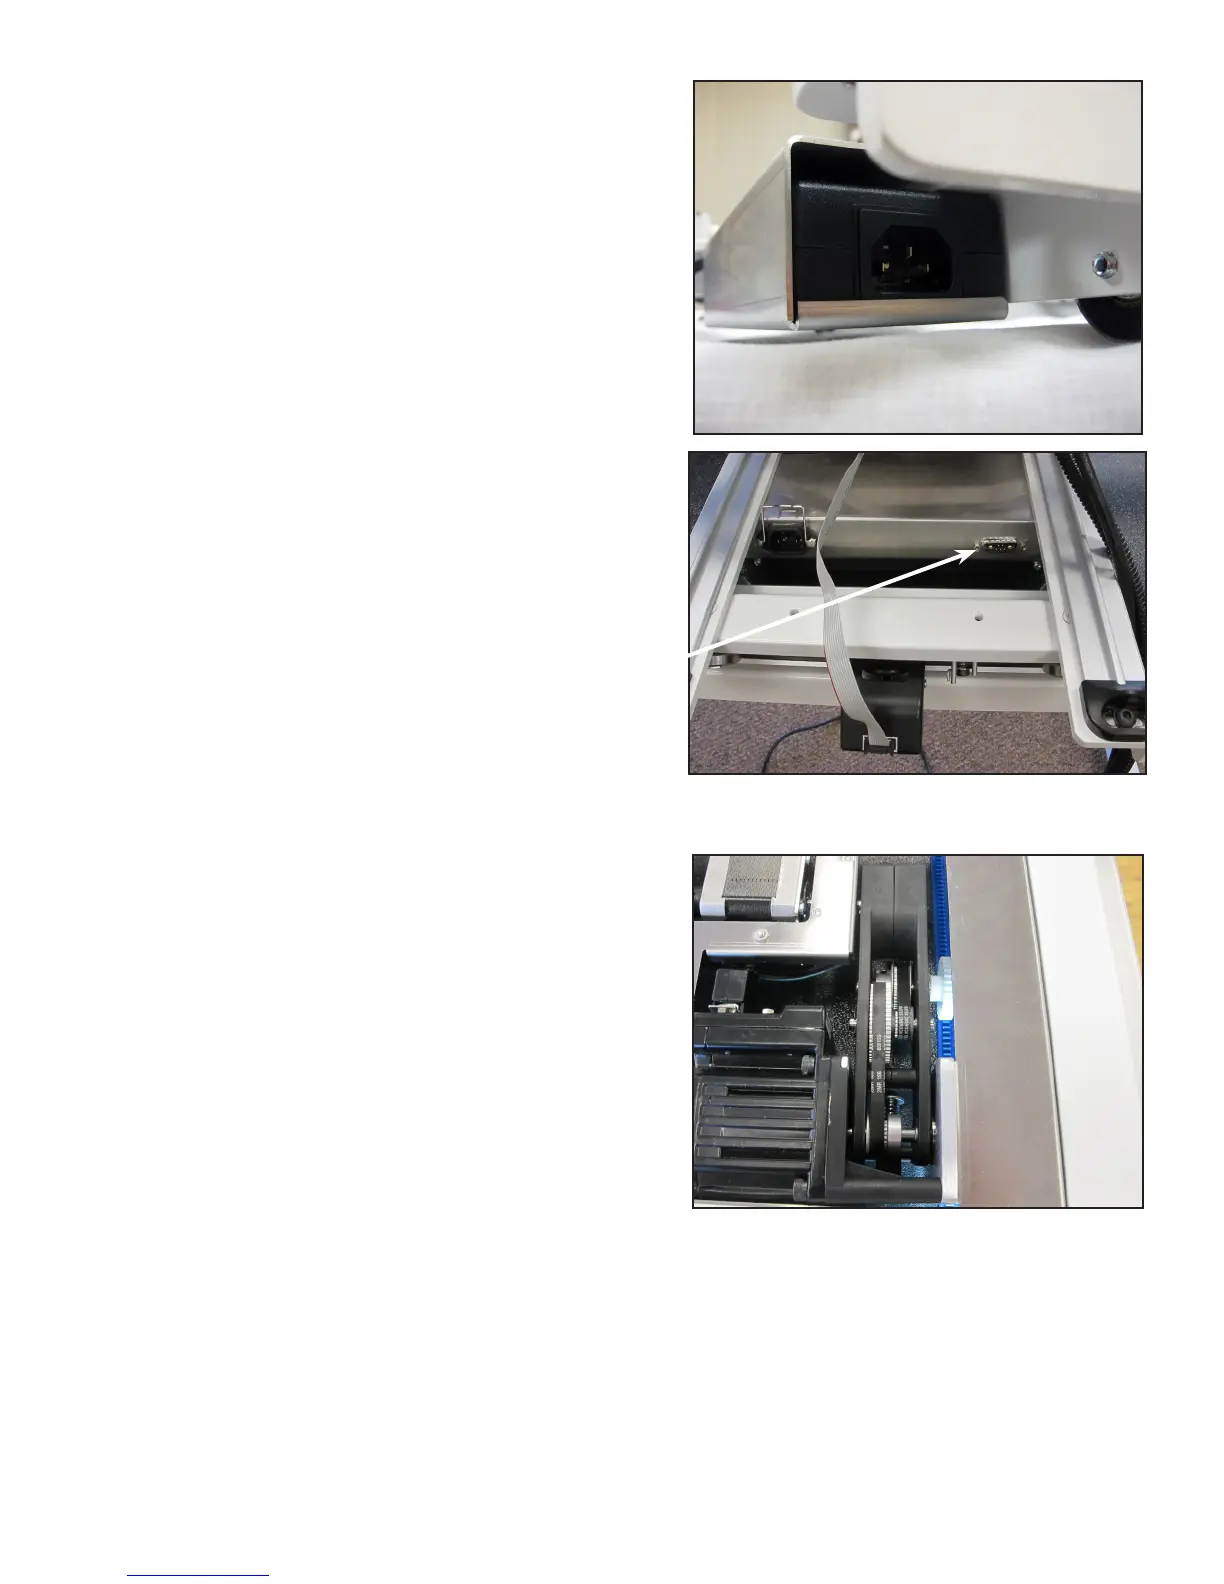
4. Aach one end of the harness cable (see Parts List,
item P) into the connector on the right side of the
power supply. Tighten the side screws. You will plug
the other ends to the bracket as part of step 6 when
you aach the tablet computer.
Harness cable connecon
5. Place the carriage on the table so the carriage wheels are in place on the table tracks.
6. Verify that the y-axis gear engages the blue Flexirack
for the y-axis.