Powermax30 AIR Service Manual 808850 139
6 – Power Supply Component Replacement
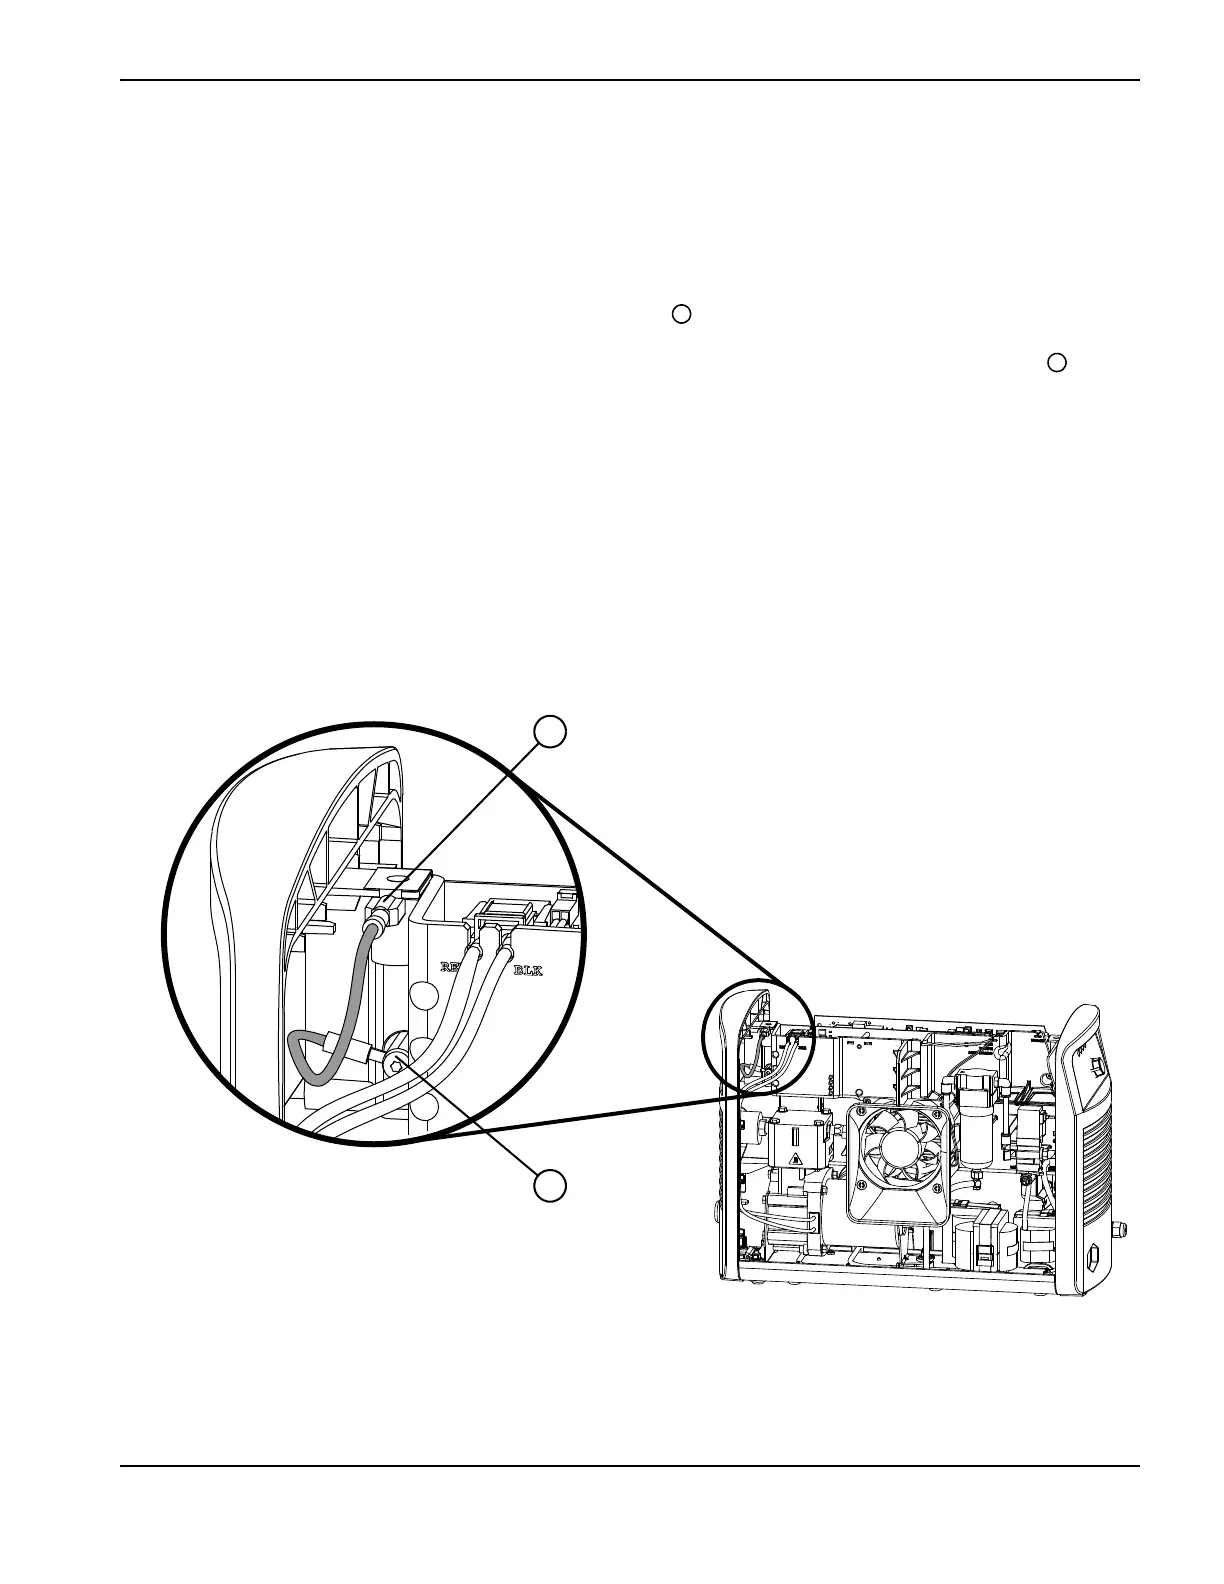
Remove and install the ground clip wire from the center panel to the rear panel
1. Complete the following procedures:
a. Set the power switch to OFF (O), and disconnect the power cord from the power source.
b. See Remove the power supply cover on page 98.
2. Detach the connector from the ground clip on the rear panel . See Figure 57.
3. Remove the ground wire’s ring terminal from the screw that attaches it to the standoff in the center panel .
4. Tighten the new ground wire’s ring terminal to the standoff in the center panel. Tighten the screw to 17.3 kg∙cm
(15 inch∙pounds).
5. Press the connector on the other end of the wire onto the rear panel’s ground clip.
6. Complete the following procedures:
a. See Install the power supply cover on page 99.
b. Reconnect the power cord, and set the power switch to ON (I).
Figure 57

 Loading...


