Service Procedures for the Cover, Panels, and Connectors
Powermax65/85 SYNC Service Parts and Procedures 810440 57
Loosen and attach the rear panel
Loosen the rear panel
Some repairs are easier to make if you first loosen the rear panel from the plasma power supply. To
replace an old rear panel with a new one, complete this procedure, then continue with step 3 in
Replace the rear panel on page 60.
1. Set the power switch on the plasma power supply to OFF (O), disconnect the power cord, and
disconnect the gas supply.
2. Remove the plasma power supply cover and the component barrier. Refer to page 49.
3. Remove the end panel bracket. Refer to page 53.
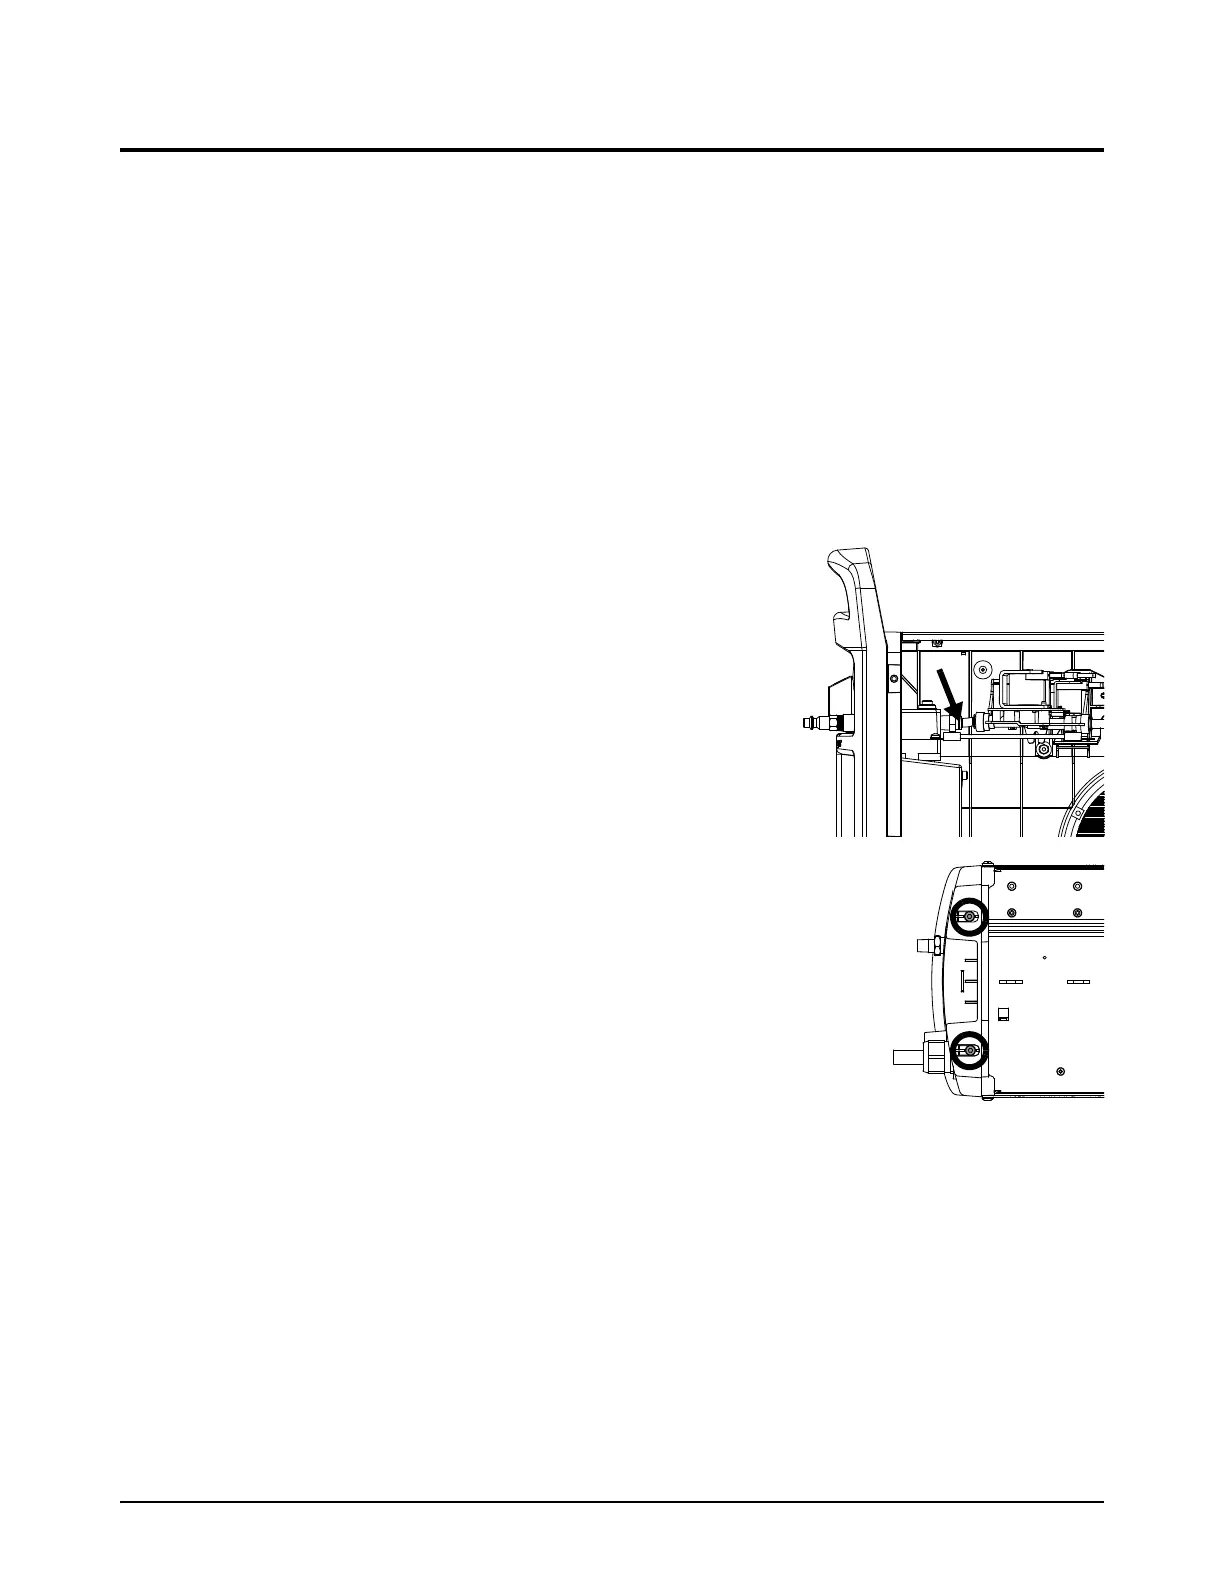
4. Push-to-disconnect the gas tube from the air filter.
5. Put the fan side of the plasma power supply on a clean,
dry, and flat surface.
6. Remove the screws that attach the rear panel to the
bottom of the plasma power supply.
7. Move the bottom of the rear panel off of the bottom of the plasma
power supply. Use a blade screwdriver to carefully pry the rear panel
away from the bottom of the plasma power supply.
8. Put the plasma power supply in an upright position.