Service Procedures for the Gas Line
Powermax65/85 SYNC Service Parts and Procedures 810440 89
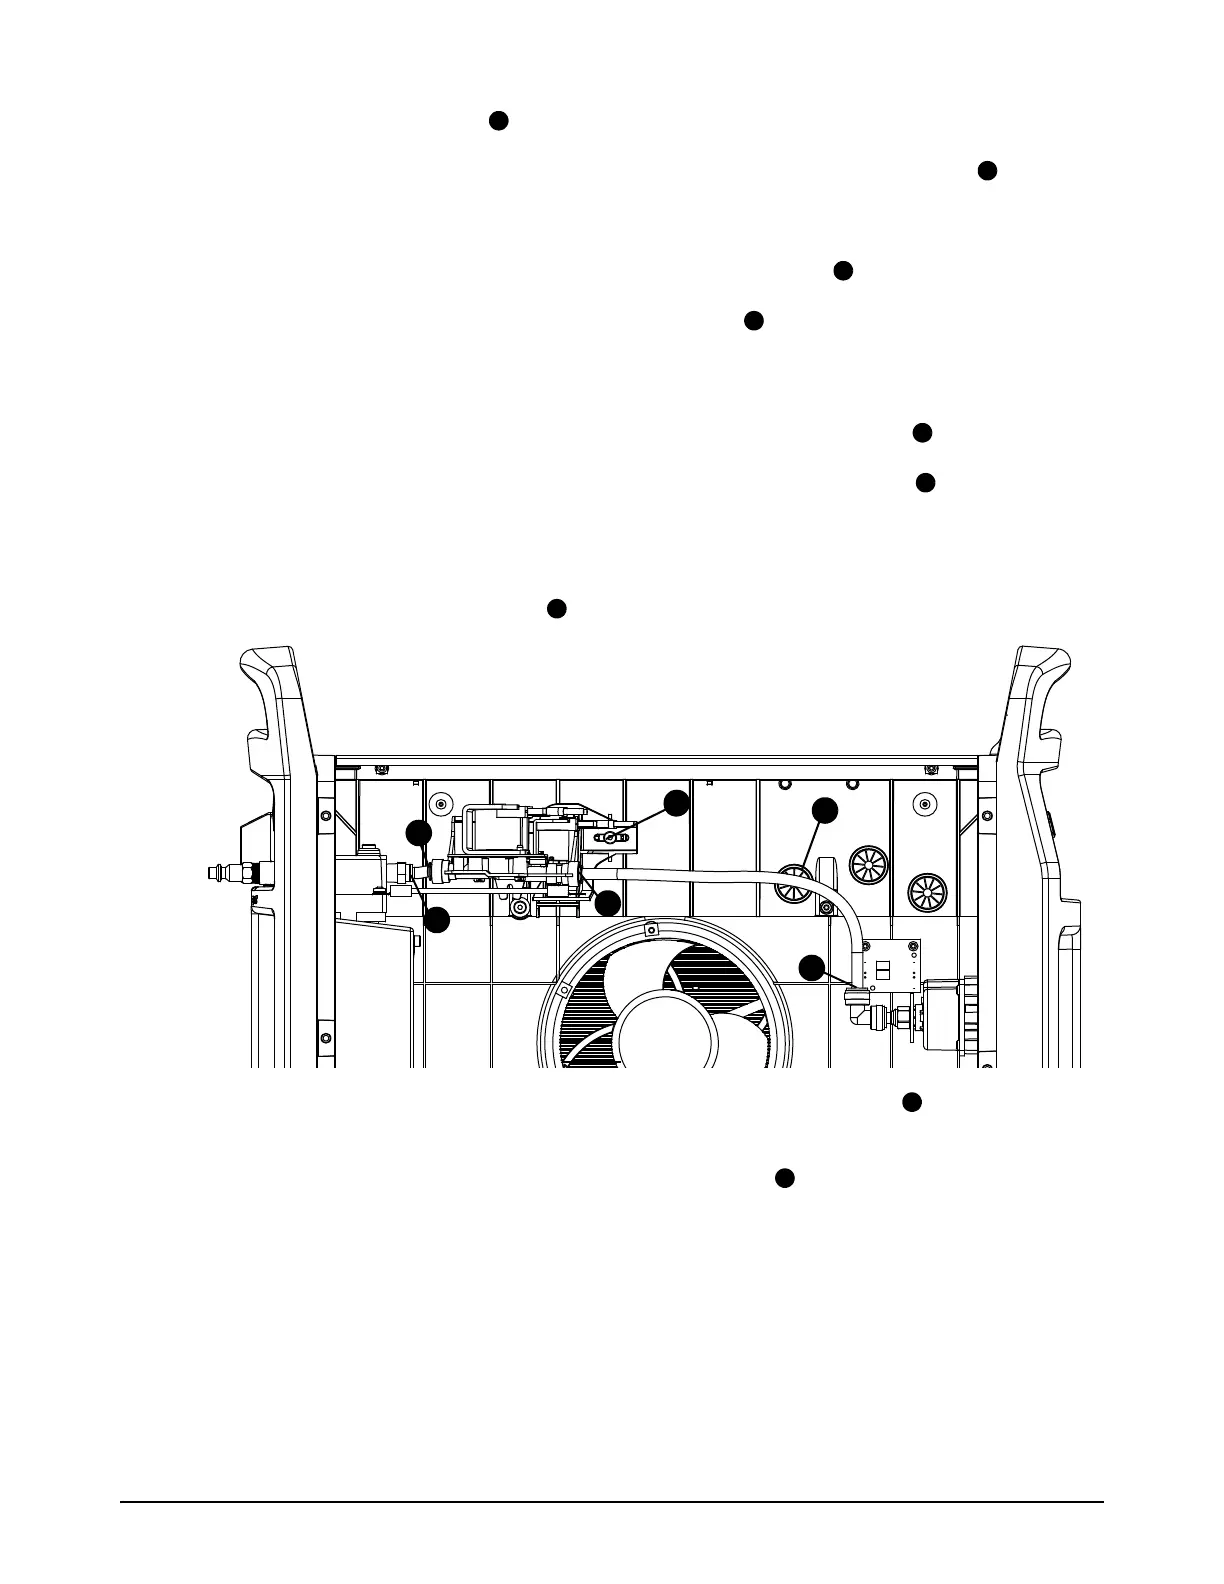
7. Remove the mounting screw from the bracket.
8. Push-to-disconnect the short gas tube and long gas tube from the solenoid valve .
9. Remove the solenoid valve and bracket.
10. Push-to-disconnect the short gas tube from the air filter assembly .
11 . Push-to-disconnect the long gas tube from elbow fitting .
Install the solenoid valve
1. Push-to-connect the shortest gas tube supplied into the air filter assembly .
2. Push-to-connect the middle length gas tube supplied into the elbow fitting .
3. If necessary, snap the new bracket onto the new solenoid valve.
4. Hold the solenoid valve and bracket in position, and push-to-connect the short gas tube and
long gas tube to the solenoid valve .
5. Attach the new solenoid valve to the center panel with the supplied screw . Tighten the screw
to 2.2Nm (20lbfin).
6. Put the solenoid valve wires through the lower left grommet .