Service Procedures for the Gas Line
Powermax65/85 SYNC Service Parts and Procedures 810440 91
Replace the gas tubes
For kit contents, refer to Plasma power supply interior, fan side on page 21.
This kit contains an extra gas tube.
Remove the gas tubes
1. Set the plasma power supply switch to OFF (O), disconnect the power cord from the power
source, and disconnect the gas supply.
2. Remove the plasma power supply cover and the component barrier. Refer to page 49.
3. Remove the end panel bracket. Refer to page 53.
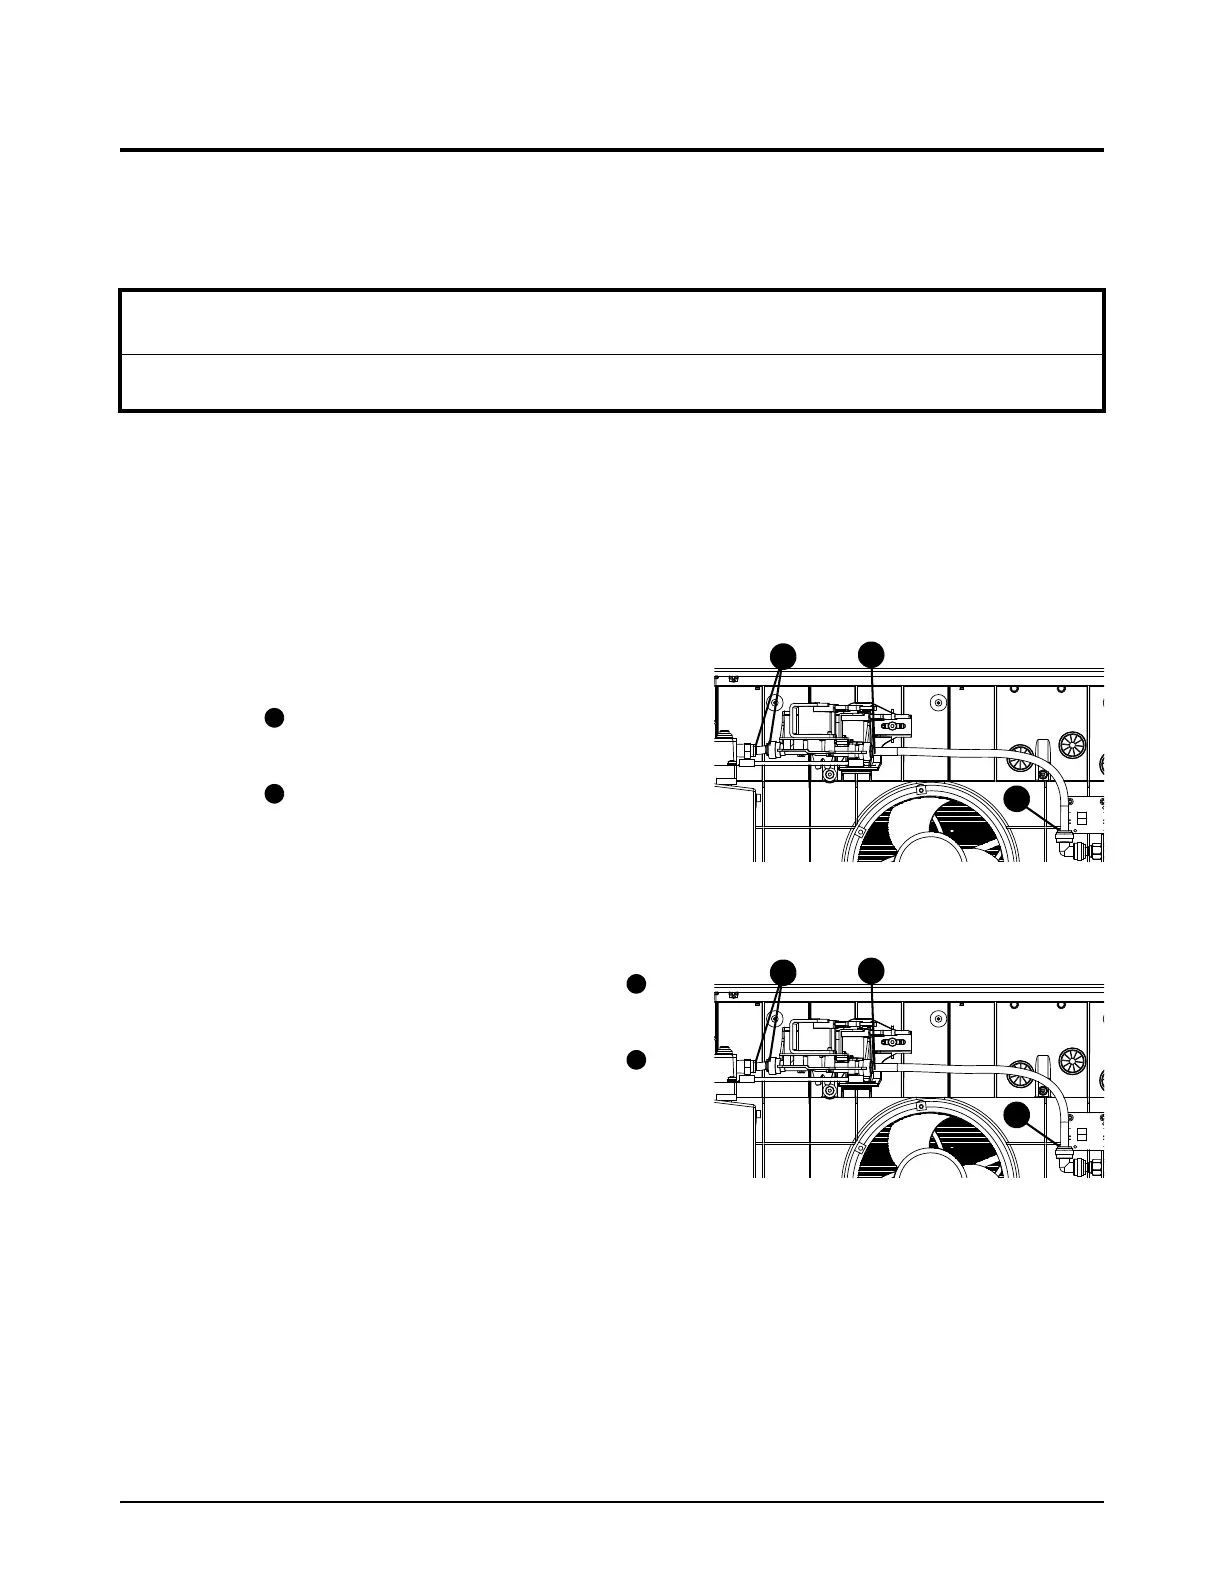
4. Push-to-disconnect both ends of the short gas
tube .
5. Push-to-disconnect both ends of the long gas
tube .
Install the gas tubes
1. Use the 44.5 mm (1.75 inch) gas tube in the kit.
Push-to-connect both ends of the gas tube .
2. Use the 196.9 mm (7.75 inch) gas tube in the kit.
Push-to-connect both ends of the gas tube .
3. Install the end panel bracket. Refer to page 54.
4. Install the component barrier and the plasma power
supply cover. Refer to page 51.
NOTICE
Do not make kinks or bend the gas tubes. This will damage the gas tubes.