EasyManuals Logo
Home>Hypertherm>Welding System>Powermax65 SYNC

Hypertherm Powermax65 SYNC User Manual

Hypertherm Powermax65 SYNC
136 pages
To Next Page IconTo Next Page
To Previous Page IconTo Previous Page
Page #88 background imageLoading...
Page #88 background image
Service Procedures for the Gas Line
4
88 810440 Service Parts and Procedures Powermax65/85 SYNC
Replace the solenoid valve
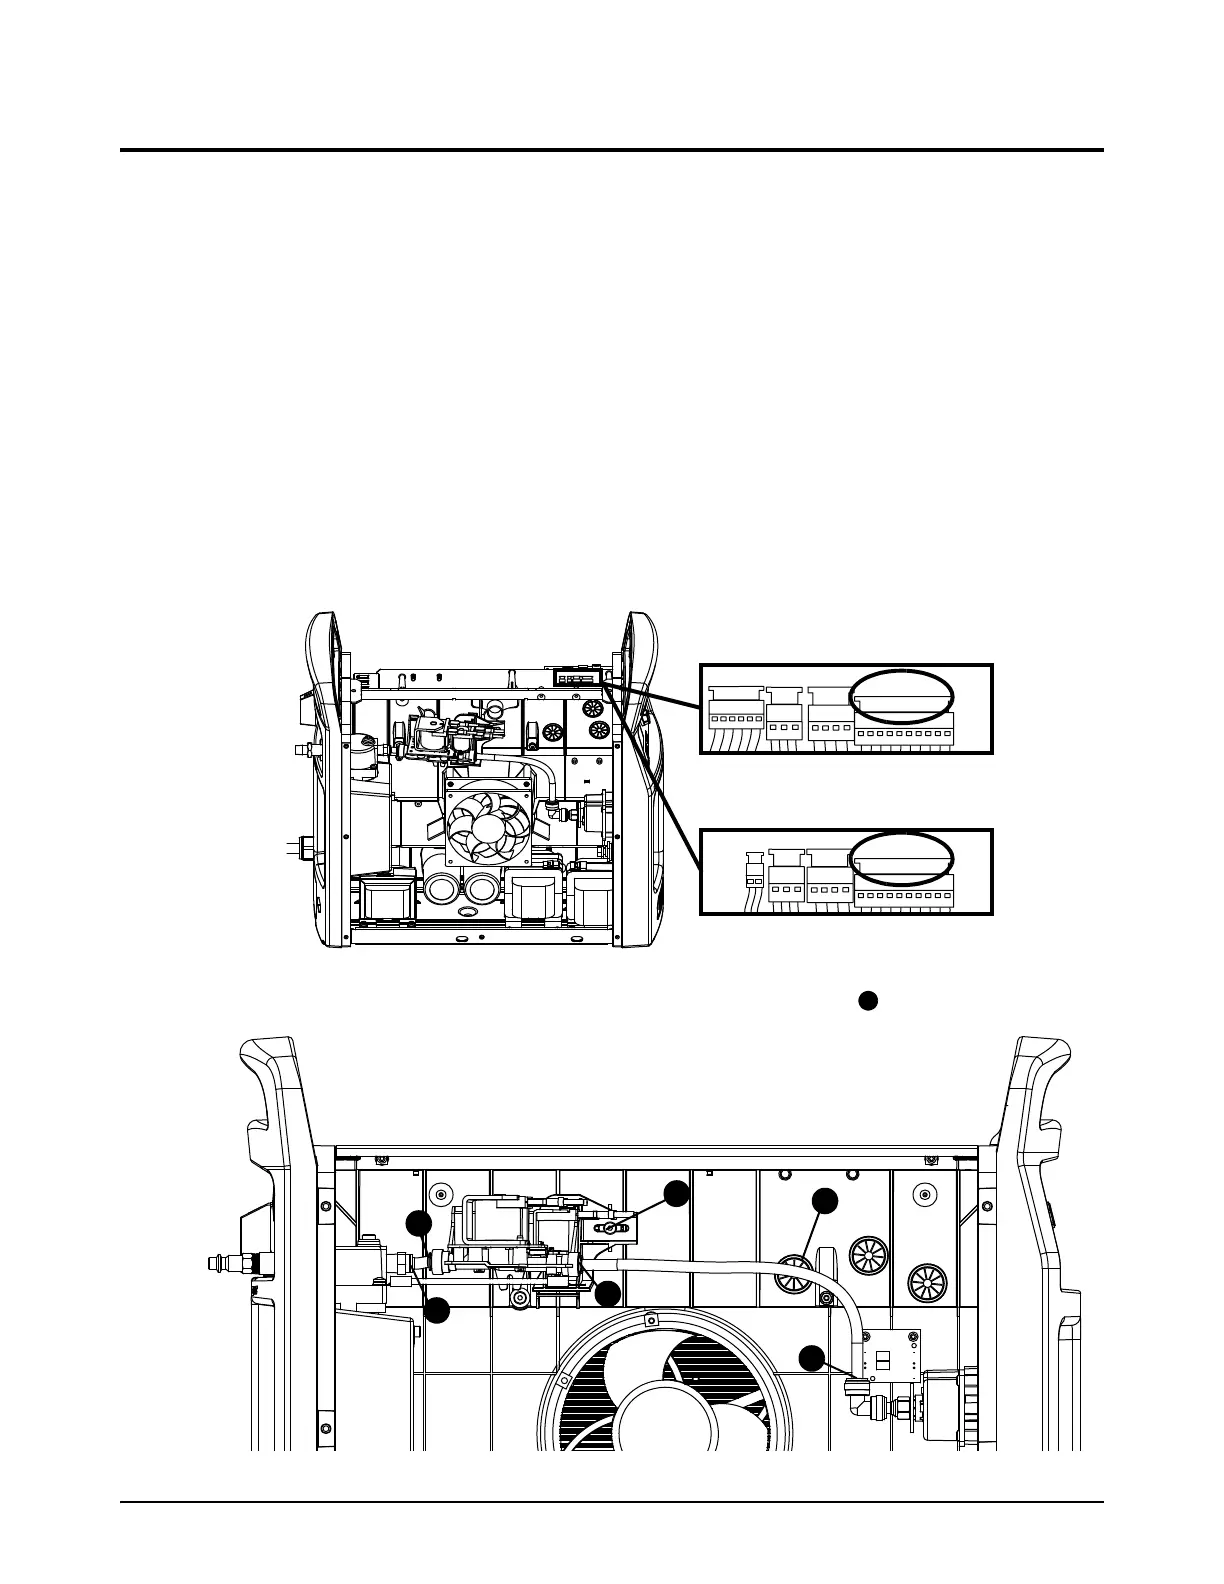
For kit contents, refer to Plasma power supply interior, fan side on page 21.
Remove the solenoid valve
1. Set the plasma power supply switch to OFF (O), disconnect the power cord from the power
source, and disconnect the gas supply.
2. Remove the plasma power supply cover and the component barrier. Refer to page 49.
3. Remove the end panel bracket. Refer to page 53.
4. Cut the cable tie that holds the solenoid valve wires.
5. Disconnect the solenoid valve wire connector from J4 (CSA) or J6 (CE/CCC) near the top of
the power PCB.
6. From the fan side, pull the solenoid valve wires through the grommet .
J2 J3
J3
J1
J4
J4 J5
J6
CSA
CE/CCC
1
2
1
3
3
4
5

Table of Contents

Other manuals for Hypertherm Powermax65 SYNC

Questions and Answers:

Question and Answer IconNeed help?

Do you have a question about the Hypertherm Powermax65 SYNC and is the answer not in the manual?

Hypertherm Powermax65 SYNC Specifications

General IconGeneral
BrandHypertherm
ModelPowermax65 SYNC
CategoryWelding System
LanguageEnglish

Related product manuals