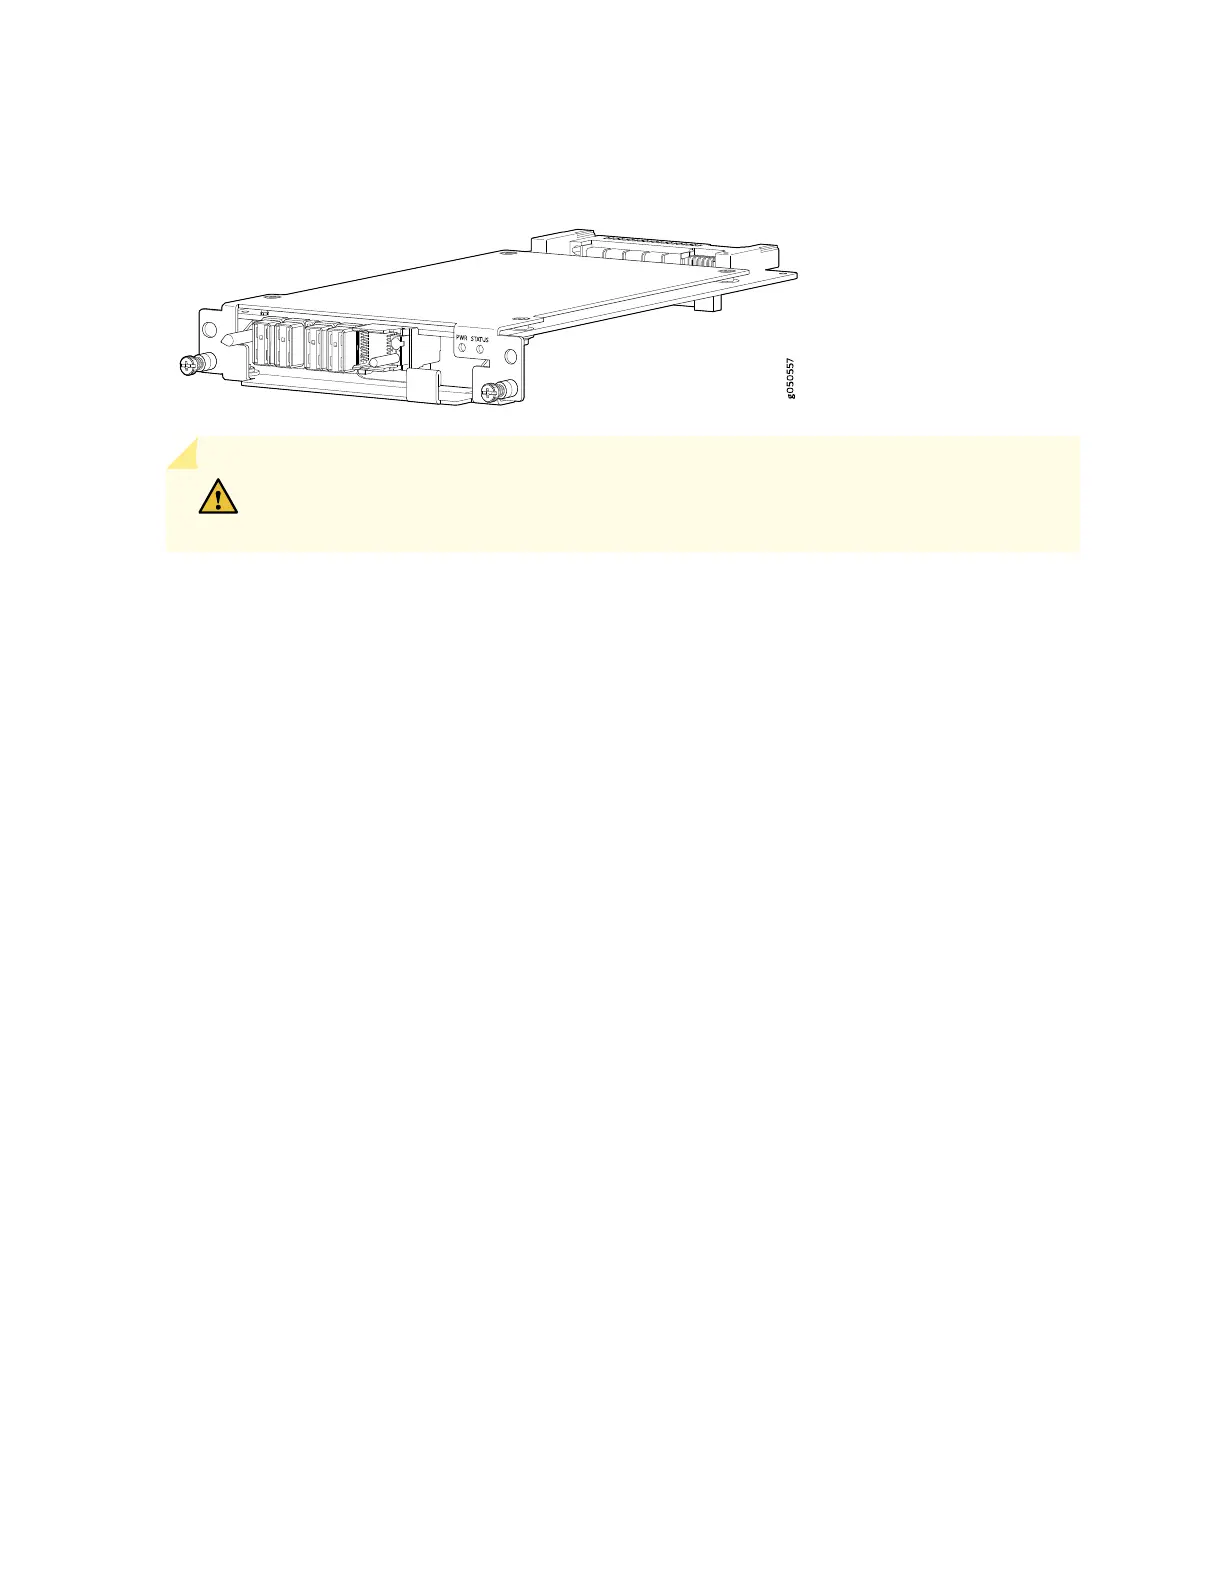
Figure 67: Fan Tray Controller
CAUTION: Do not remove the fan tray controller unless you have a replacement controller
available.
To access a fan tray controller, you must first remove the fan tray. With the fan tray removed, the fan tray
controller is installed horizontally above the Switch Fabric Boards (SFBs) at the top of the chassis.
Before you remove a fan tray controller:
•
Ensure you understand how to prevent ESD damage. See “Prevention of Electrostatic Discharge Damage”
on page 303.
Ensure that you have the following parts and tools available to remove a fan tray controller:
•
Electrostatic discharge (ESD) grounding strap
•
An electrostatic bag or an antistatic mat
•
A number 1 Phillips (+) screwdriver to loosen the captive screws
1. Remove the fan tray (see “Removing an MX10016 Fan Tray” on page 163).
2. Loosen the two captive screws on each side of the fan tray controller.
3. Grasp the fan tray controller, and pull it straight out of the slot (see Figure 68 on page 170).
169