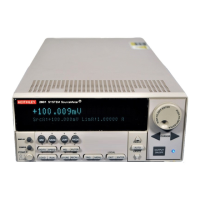
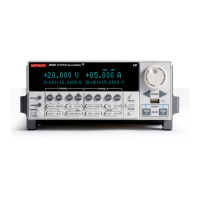
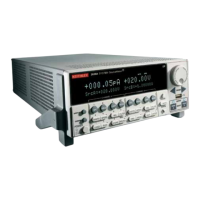
2: General operation Series 2600B System SourceMeter® Instrument
2-34 2600BS-901-01 Rev. C / August 2016
Step 1: Select and set the source level
Perform the following steps to select the source and edit the source value:
1. Press the SRC key as needed to select the voltage source or current source, as indicated by the
units in the source field on the display. The flashing digit (cursor) indicates which value is
presently selected for editing.
2. Move the cursor to the digit to change, then press the navigation wheel to enter the EDIT mode,
as indicated by the EDIT indicator.
3. Use the RANGE keys to select a range that will accommodate the value you want to set. See
Range (on page 2-81
) for more information. For best accuracy, use the lowest possible source
range.
4. Enter the source value.
5. Press the ENTER key or the navigation wheel
to complete editing.
Step 2: Set the compliance limit
Perform the following steps to edit the compliance limit value:
1. If the instrument has two channels (Models 2602B, 2604B, 2612B, 2614B, 2634B, and 2636B)
and is in dual-channel display mode, perform the following (steps a, b, and c). Otherwise, go to
the next step.
a. Press the CONFIG key.
b. Press the LIMIT key and then select CURRENT or VOLTAGE.
c. Press the ENTER key or the navigation wheel
.
2. If the instrument has only one channel (Models 2601B, 2611B, and 2635B), or if it is a
two-channel instrument that is in single-channel display mode, press the LIMIT key.
3. Move the cursor to the digit to change, then press the navigation wheel
to enter the EDIT mode,
as indicated by the EDIT indicator.
4. Enter the limit value, then press the ENTER key or the navigation wheel
to complete editing.
Step 3: Select the measurement function and range
Select measurement function and range as follows:
1. If the instrument has two channels (Models 2602B, 2604B, 2612B, 2614B, 2634B, and 2636B),
press the DISPLAY key to place it in single-channel-display mode (if not already). Otherwise, go
to the next step.
2. Select the measurement function by pressing the MEAS key.
3. Set the measurement range with the RANGE keys, or enable AUTO range. When setting the
range, consider the following points:
• When measuring the source (such as when sourcing V and measuring V), you cannot select the
measurement range using the RANGE keys. The selected source range determines the measurement
range.
• When not measuring the source (such as when sourcing V but measuring I), measurement range
selection can be done manually or automatically. When using manual ranging, use the lowest possible
range for best accuracy. When autorange is enabled, the Series 2600B automatically goes to the most
sensitive range to make the measurement.
Step 4: Turn the output on
Turn on the output by pressing the OUTPUT ON/OFF switch. The OUTPUT indicator light turns on.