CHAPTER 1: INSTALLATION AND
C
ONFIGURATION
Installation
Unpacking and Inspection
This unit has been thoroughly calibrated and inspected, both electronically and
mechanically, to ensure that it meets the published specifications. The following items
are included with each unit:
Description Quantity
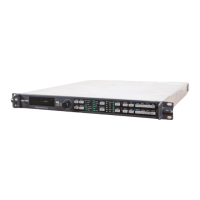
DPS-475 or DPS-575 Multi-Function AV Synchronizer 1
Operations Manual 1
AC Power Cord (Part # 773-254 or 773-505) 1
Rear Support Bracket (Part # 741-983) 1
Video Breakout Cable (Part # 774-753) 1
Audio Breakout Cable (Part # 774-755) 1
(included only with the DPS-475AV and DPS-575AV)
2 x Analog Audio Terminal Blocks (Part # 722-184) 1
(included only with the DPS-475AV and DPS-575AV)
(these may be pre-installed on your unit)
Mounting
The size of the DPS-475 and DPS-575 allows them to fit into most standard consoles
or 19-inch racks. If the unit is to be mounted in a rack, then the included rear support
bracket must be used. Care must be taken to select a dry, well-ventilated location with
a minimum of dust and vibration. Also, leave sufficient clearance from the unit’s sides
to allow for proper air circulation.
After unpacking the unit and before installing it in a console or rack, allow at least 30
minutes for temperatures to equalize and to eliminate any condensation that may have
developed.
Hardware Options
If you purchased hardware options such as the Audio Synchronizer Module, the
Animated Logo Option, or the DV I/O module separately from the main unit, you
will need to install them. Please see Appendix C for detailed instructions for installing
your options safely and correctly.
3
Chapter 1:
Installation and Configuration