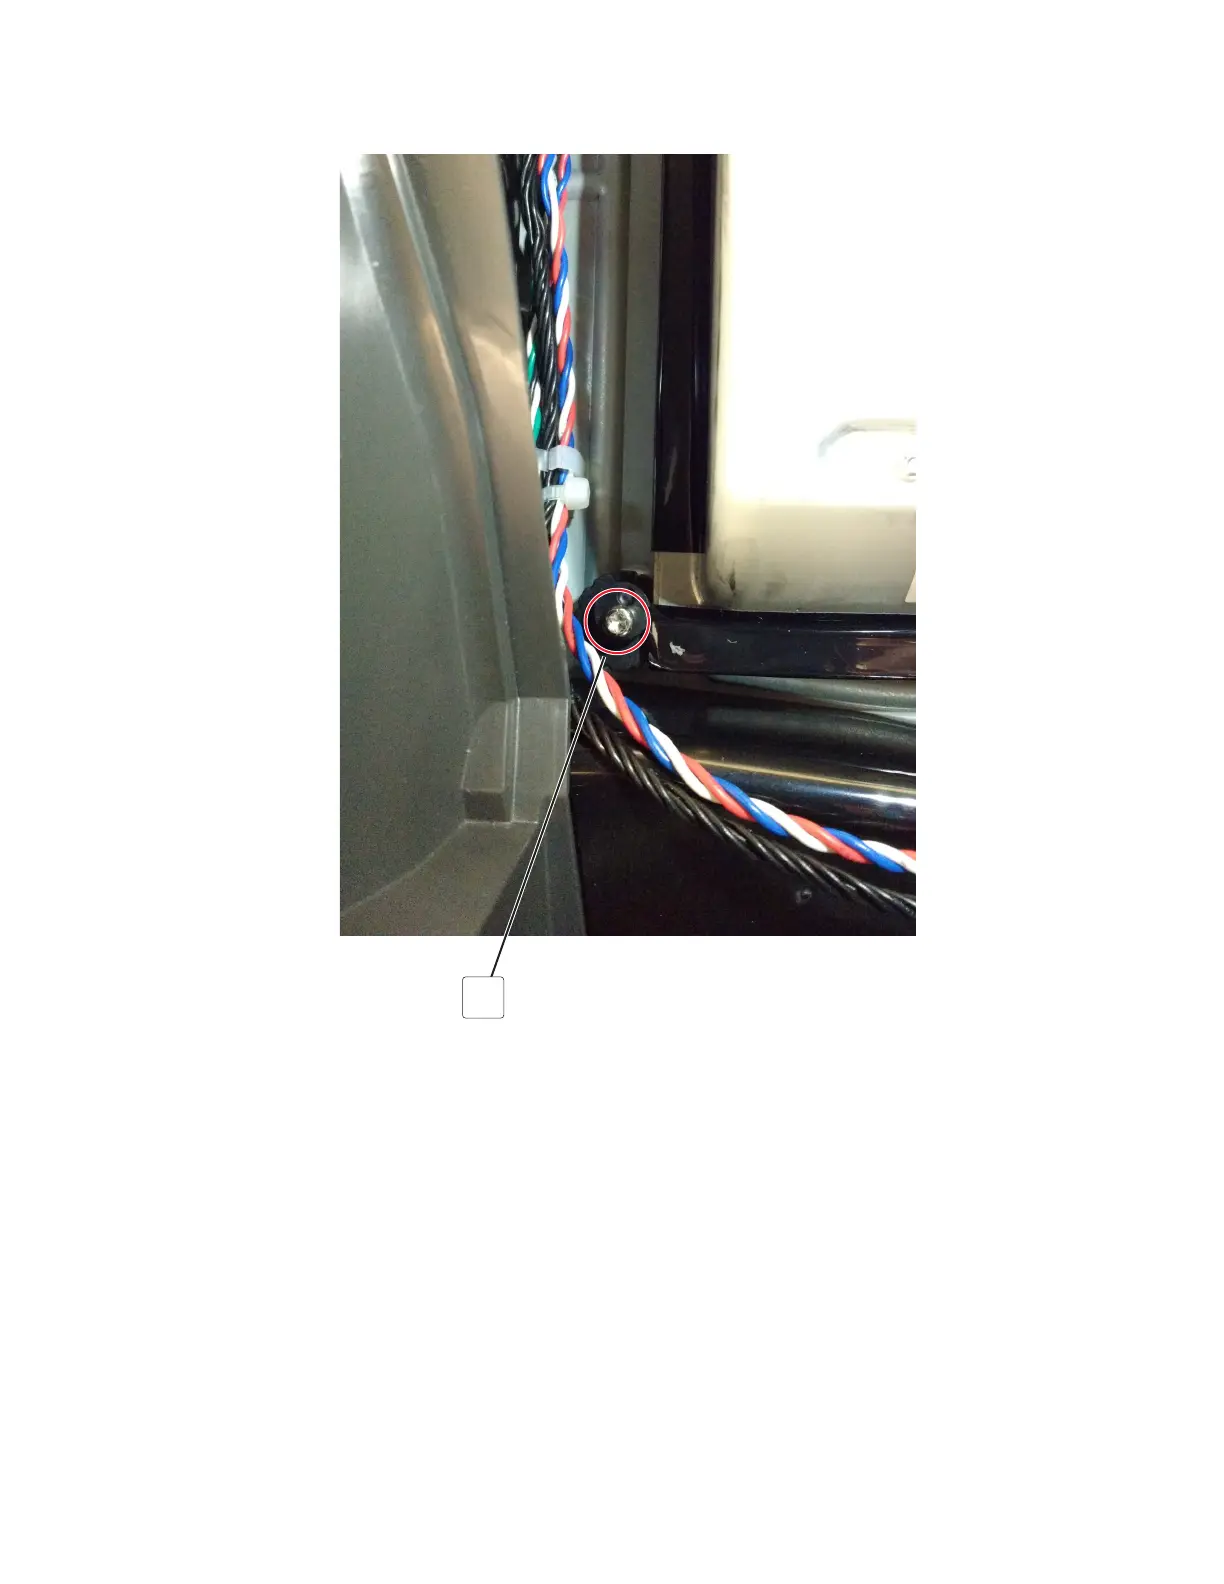
3 Adjust the printhead until the bottom left corner of the printhead touches the alignment pin (A).
A
4 Print another test page, and then check if the printhead is aligned.
5 Repeat steps 4 and 5 until the printhead is aligned.
6 Tighten the three screws.
Registration adjustment
Image misalignments may occur after printhead replacement. Perform this procedure to correct the position of
the image relative to the paper edges.
Generating a test page for margin alignment
Enter the Diagnostics menu, and then navigate to:
Printer diagnostics & adjustments > Registration adjust > Quick test
5028
Repair information
263

 Loading...